New Garden Design

When we bought our farm it came ready made for planting. We were blessed to have raised beds and a chicken coop ready to go. However, the beds were quite old and situated on top of grass (requiring lots of mowing and edging around them). Every gardener knows what a pain that can be.
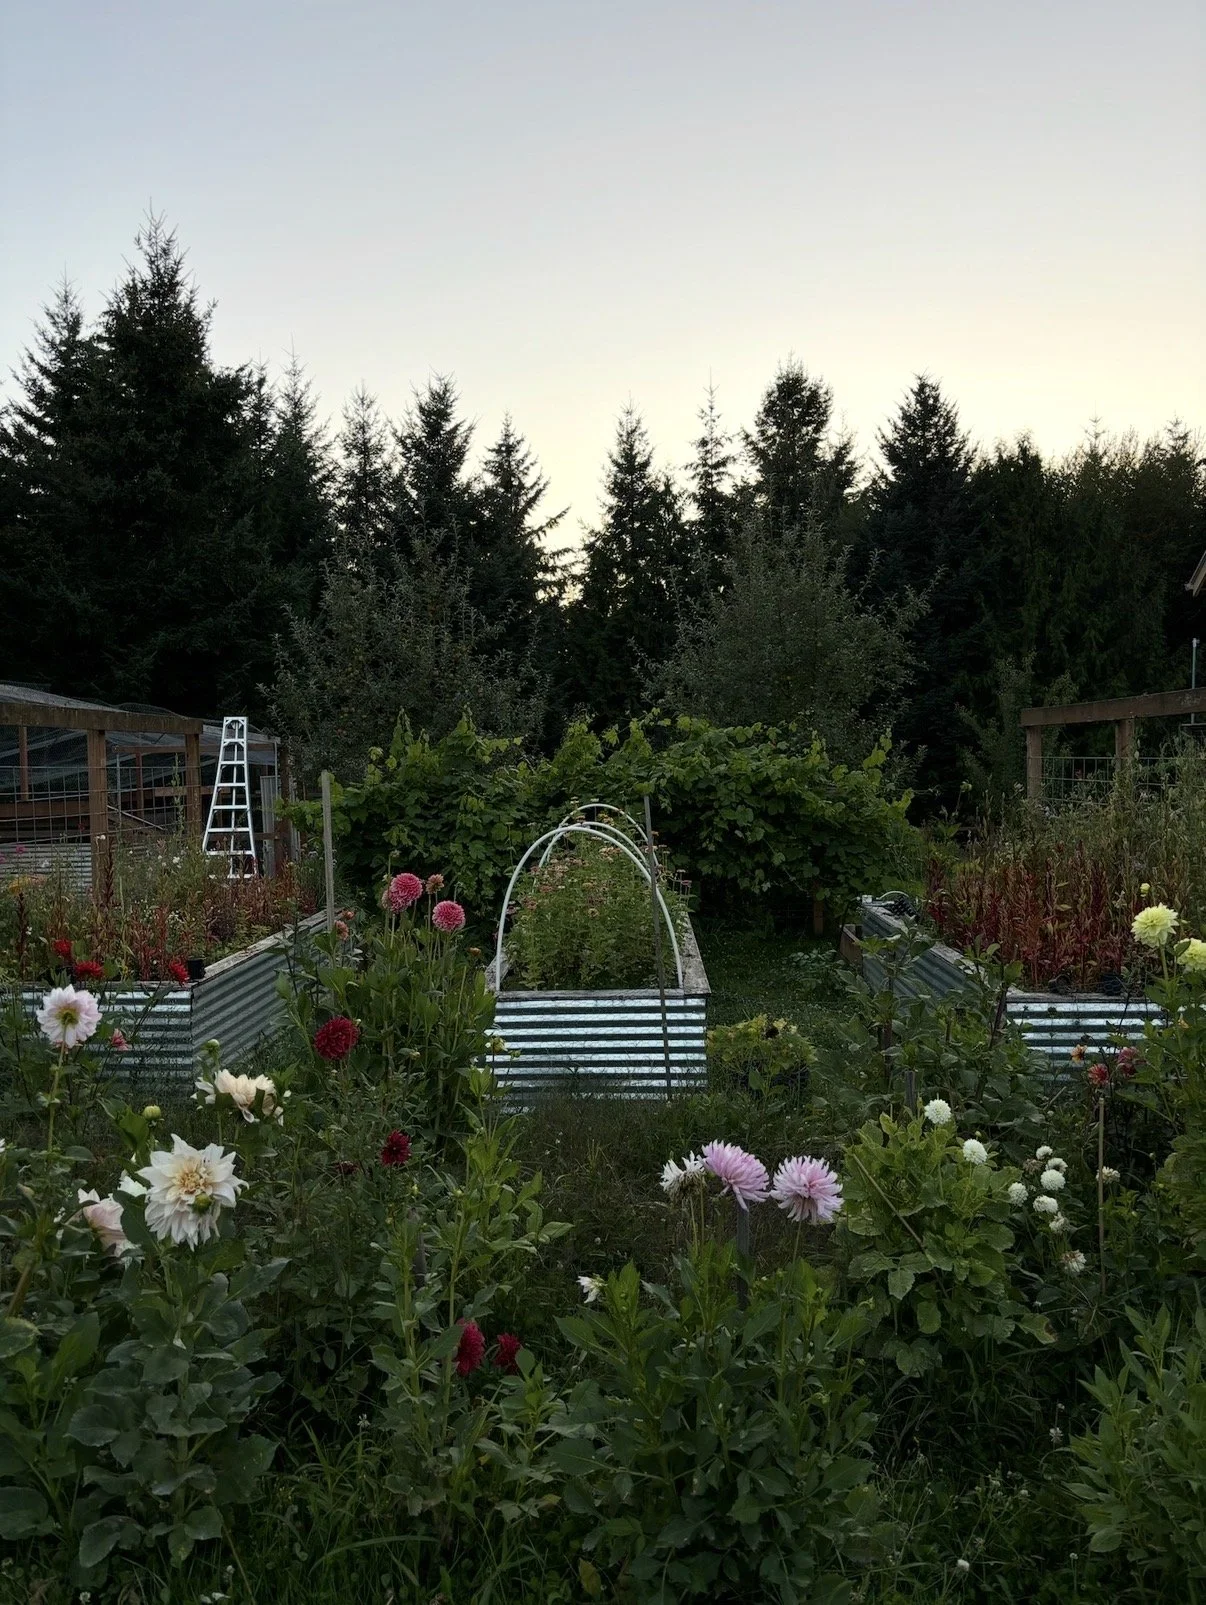
Above: How the garden looked into 2025. It’s very pretty on camera, but the upkeep was difficult. It was always overgrown and swimming with weeds despite weekly weeding (not to mention moss).

The raised beds were tall but rather shallow (an optical illusion as they look deep due to their height). Given they were slightly raised off the ground, we had constant problems with critters making homes underneath. The wood was old and moss spores seemed to take over our soil with any moisture. The trellises were placed in a way that made harvesting and planting difficult. The original owners carved out a beautiful space that we are grateful to work from but it felt time for a re-design!
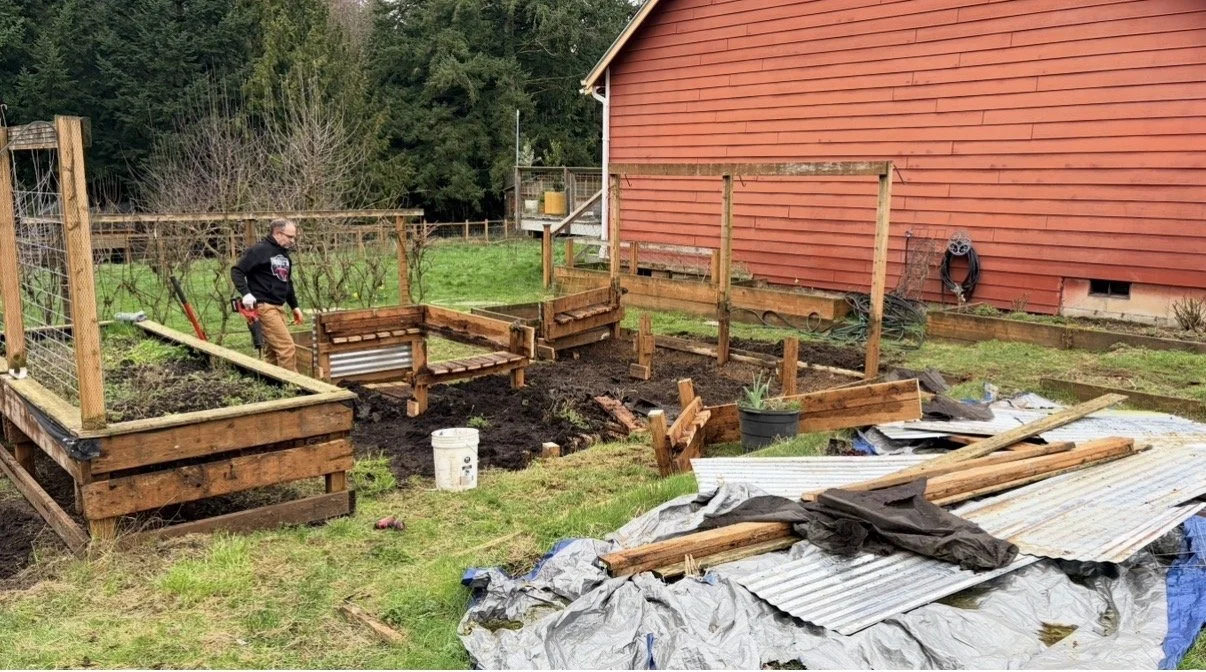
Above: Demo day in early March 2026. Taking out the old beds proved to be time consuming.
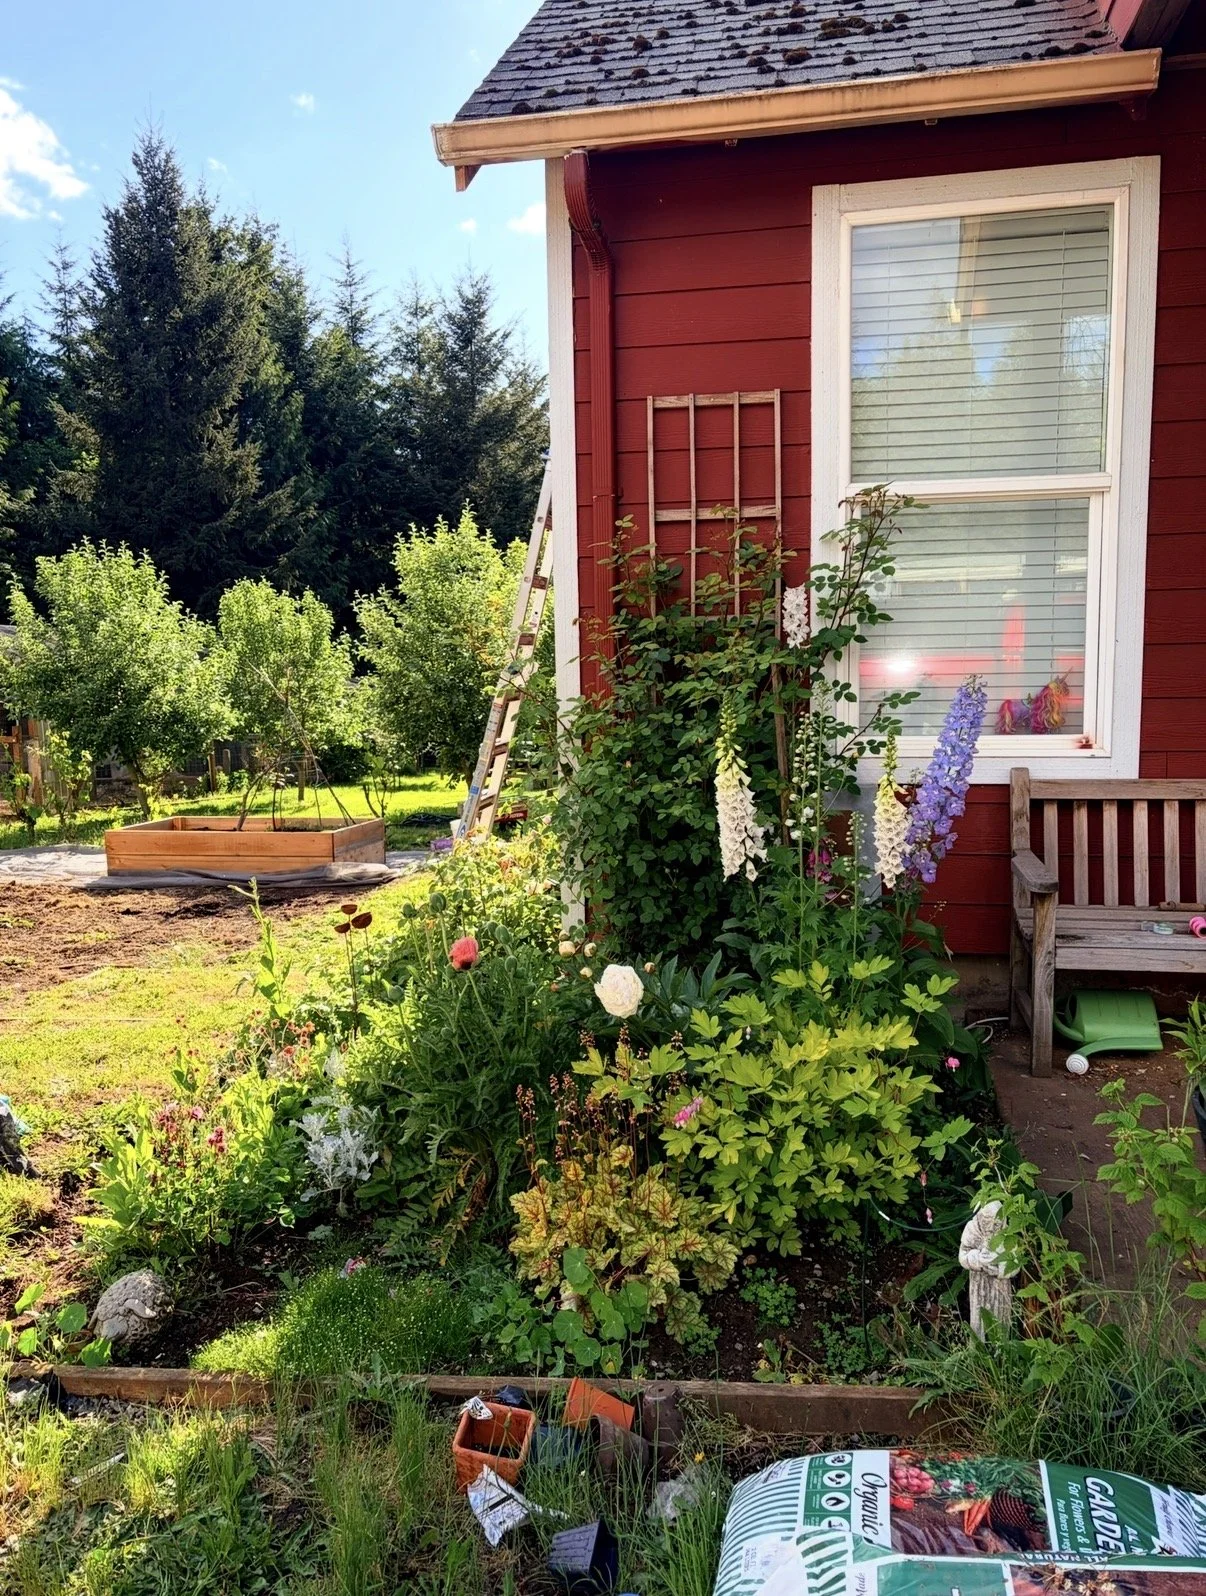
Above: The first new raised bed goes in as spring flowers began to bloom.

We tore every old bed out. We even tore out our grapes! I know this seems very sad but they didn’t taste particularly good, were not suitable for wine and overtook the garden quite quickly. We plan to plant new varieties elsewhere next season. Additionally the Dahila rows were moved to our lower yard to make more space for produce.

To avoid edging and mowing between beds we cleared all the grass and laid down landscaping fabric. Once the beds were built, we put down “crushed fine gravel”. I highly recommend crushed fine for walk ways and garden paths. It is gravel that has been ground down to tiny rock and powder, helping to drown out the sun. The fines have worked amazingly well for weed control around the beds. I’ve found it much more useful than other classic gravel, bark dust or wood chips. It also looks nice!
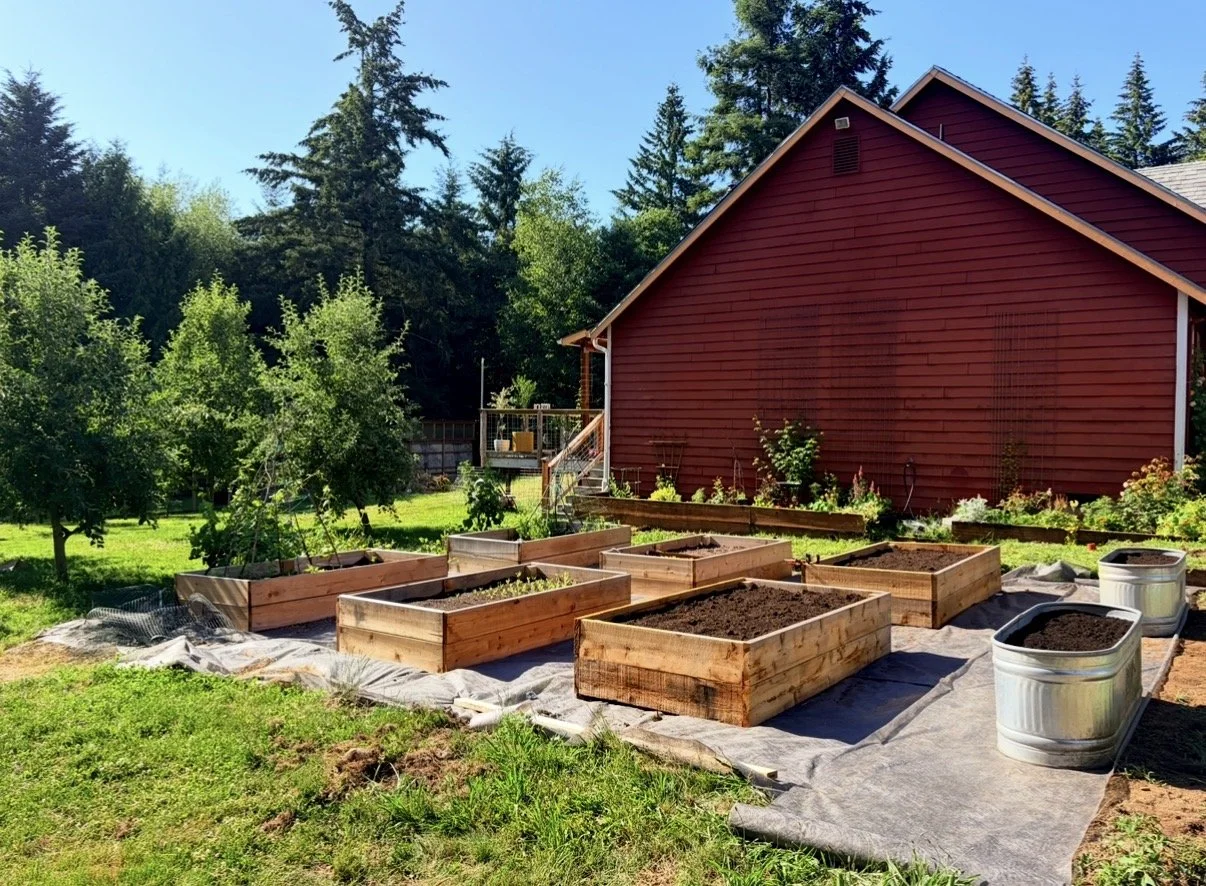
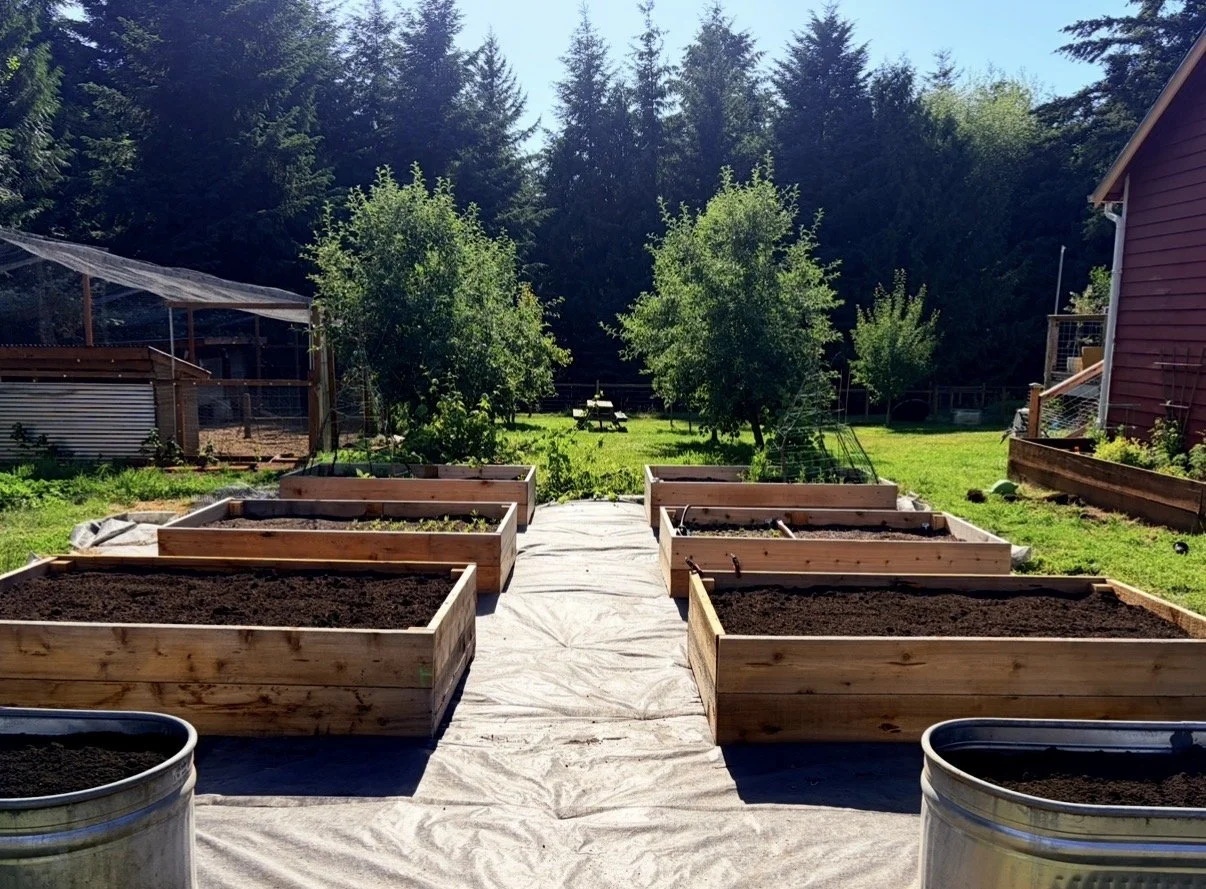
Above: Using landscaping fabric for weed control.
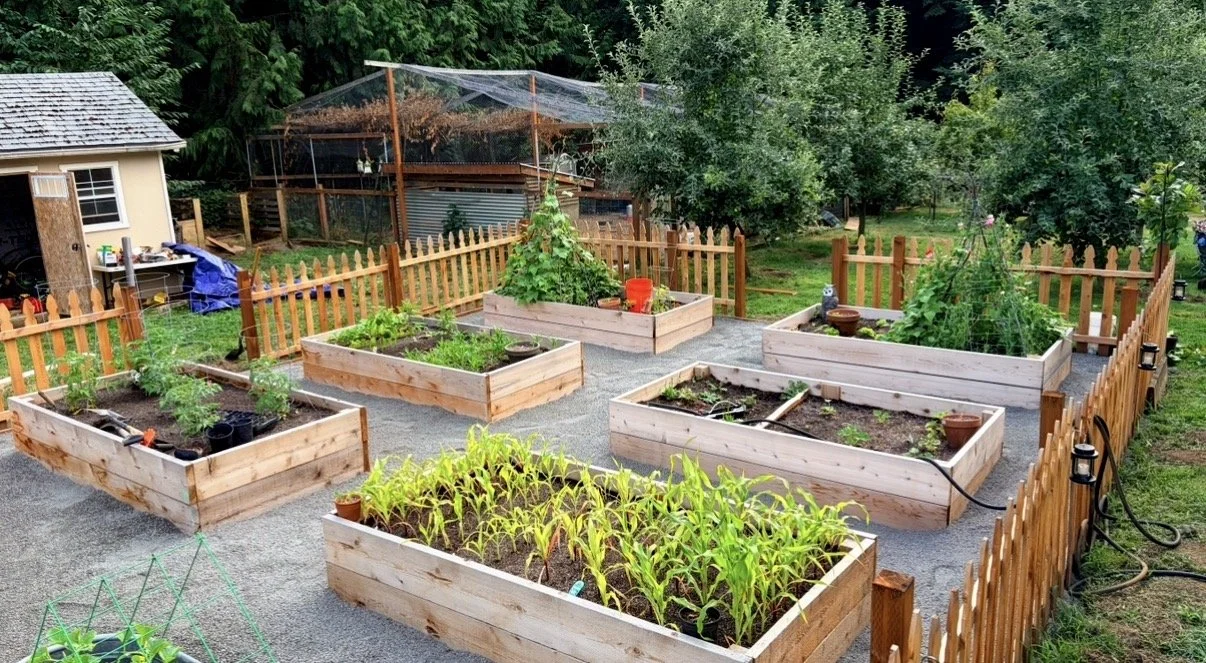
Above: Using “crushed fine” as ground cover on top of the fabric around the beds.

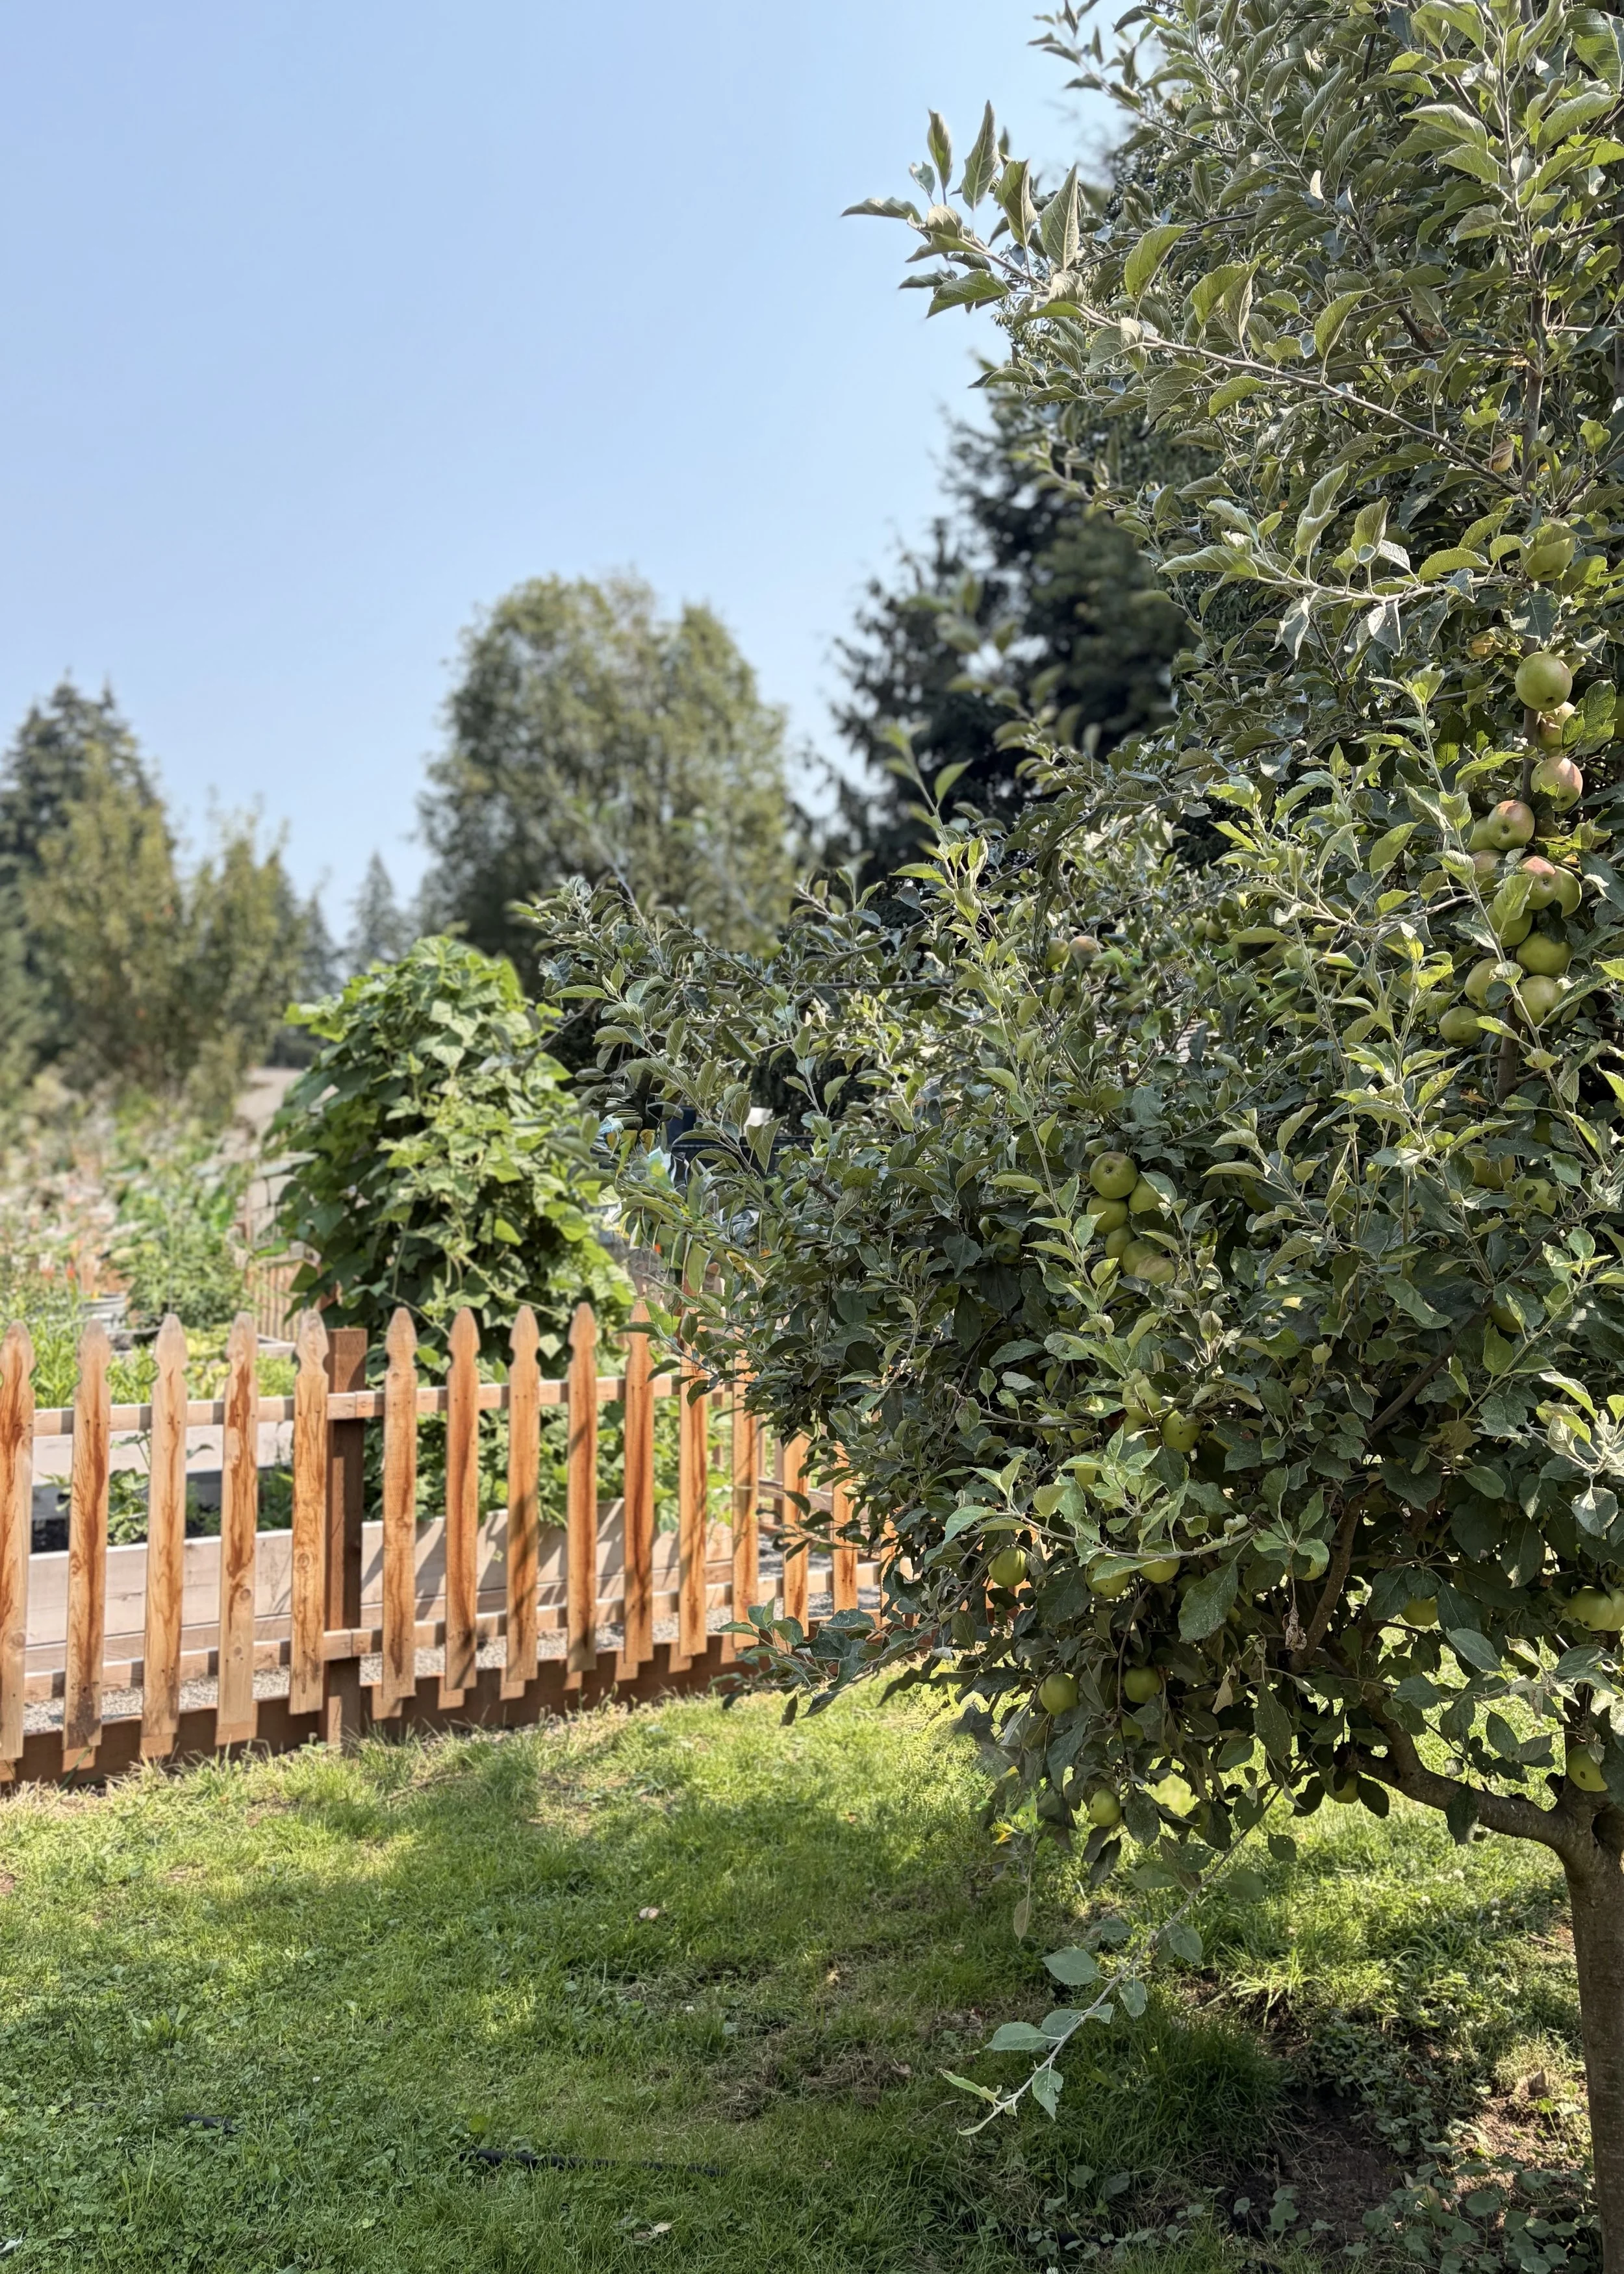
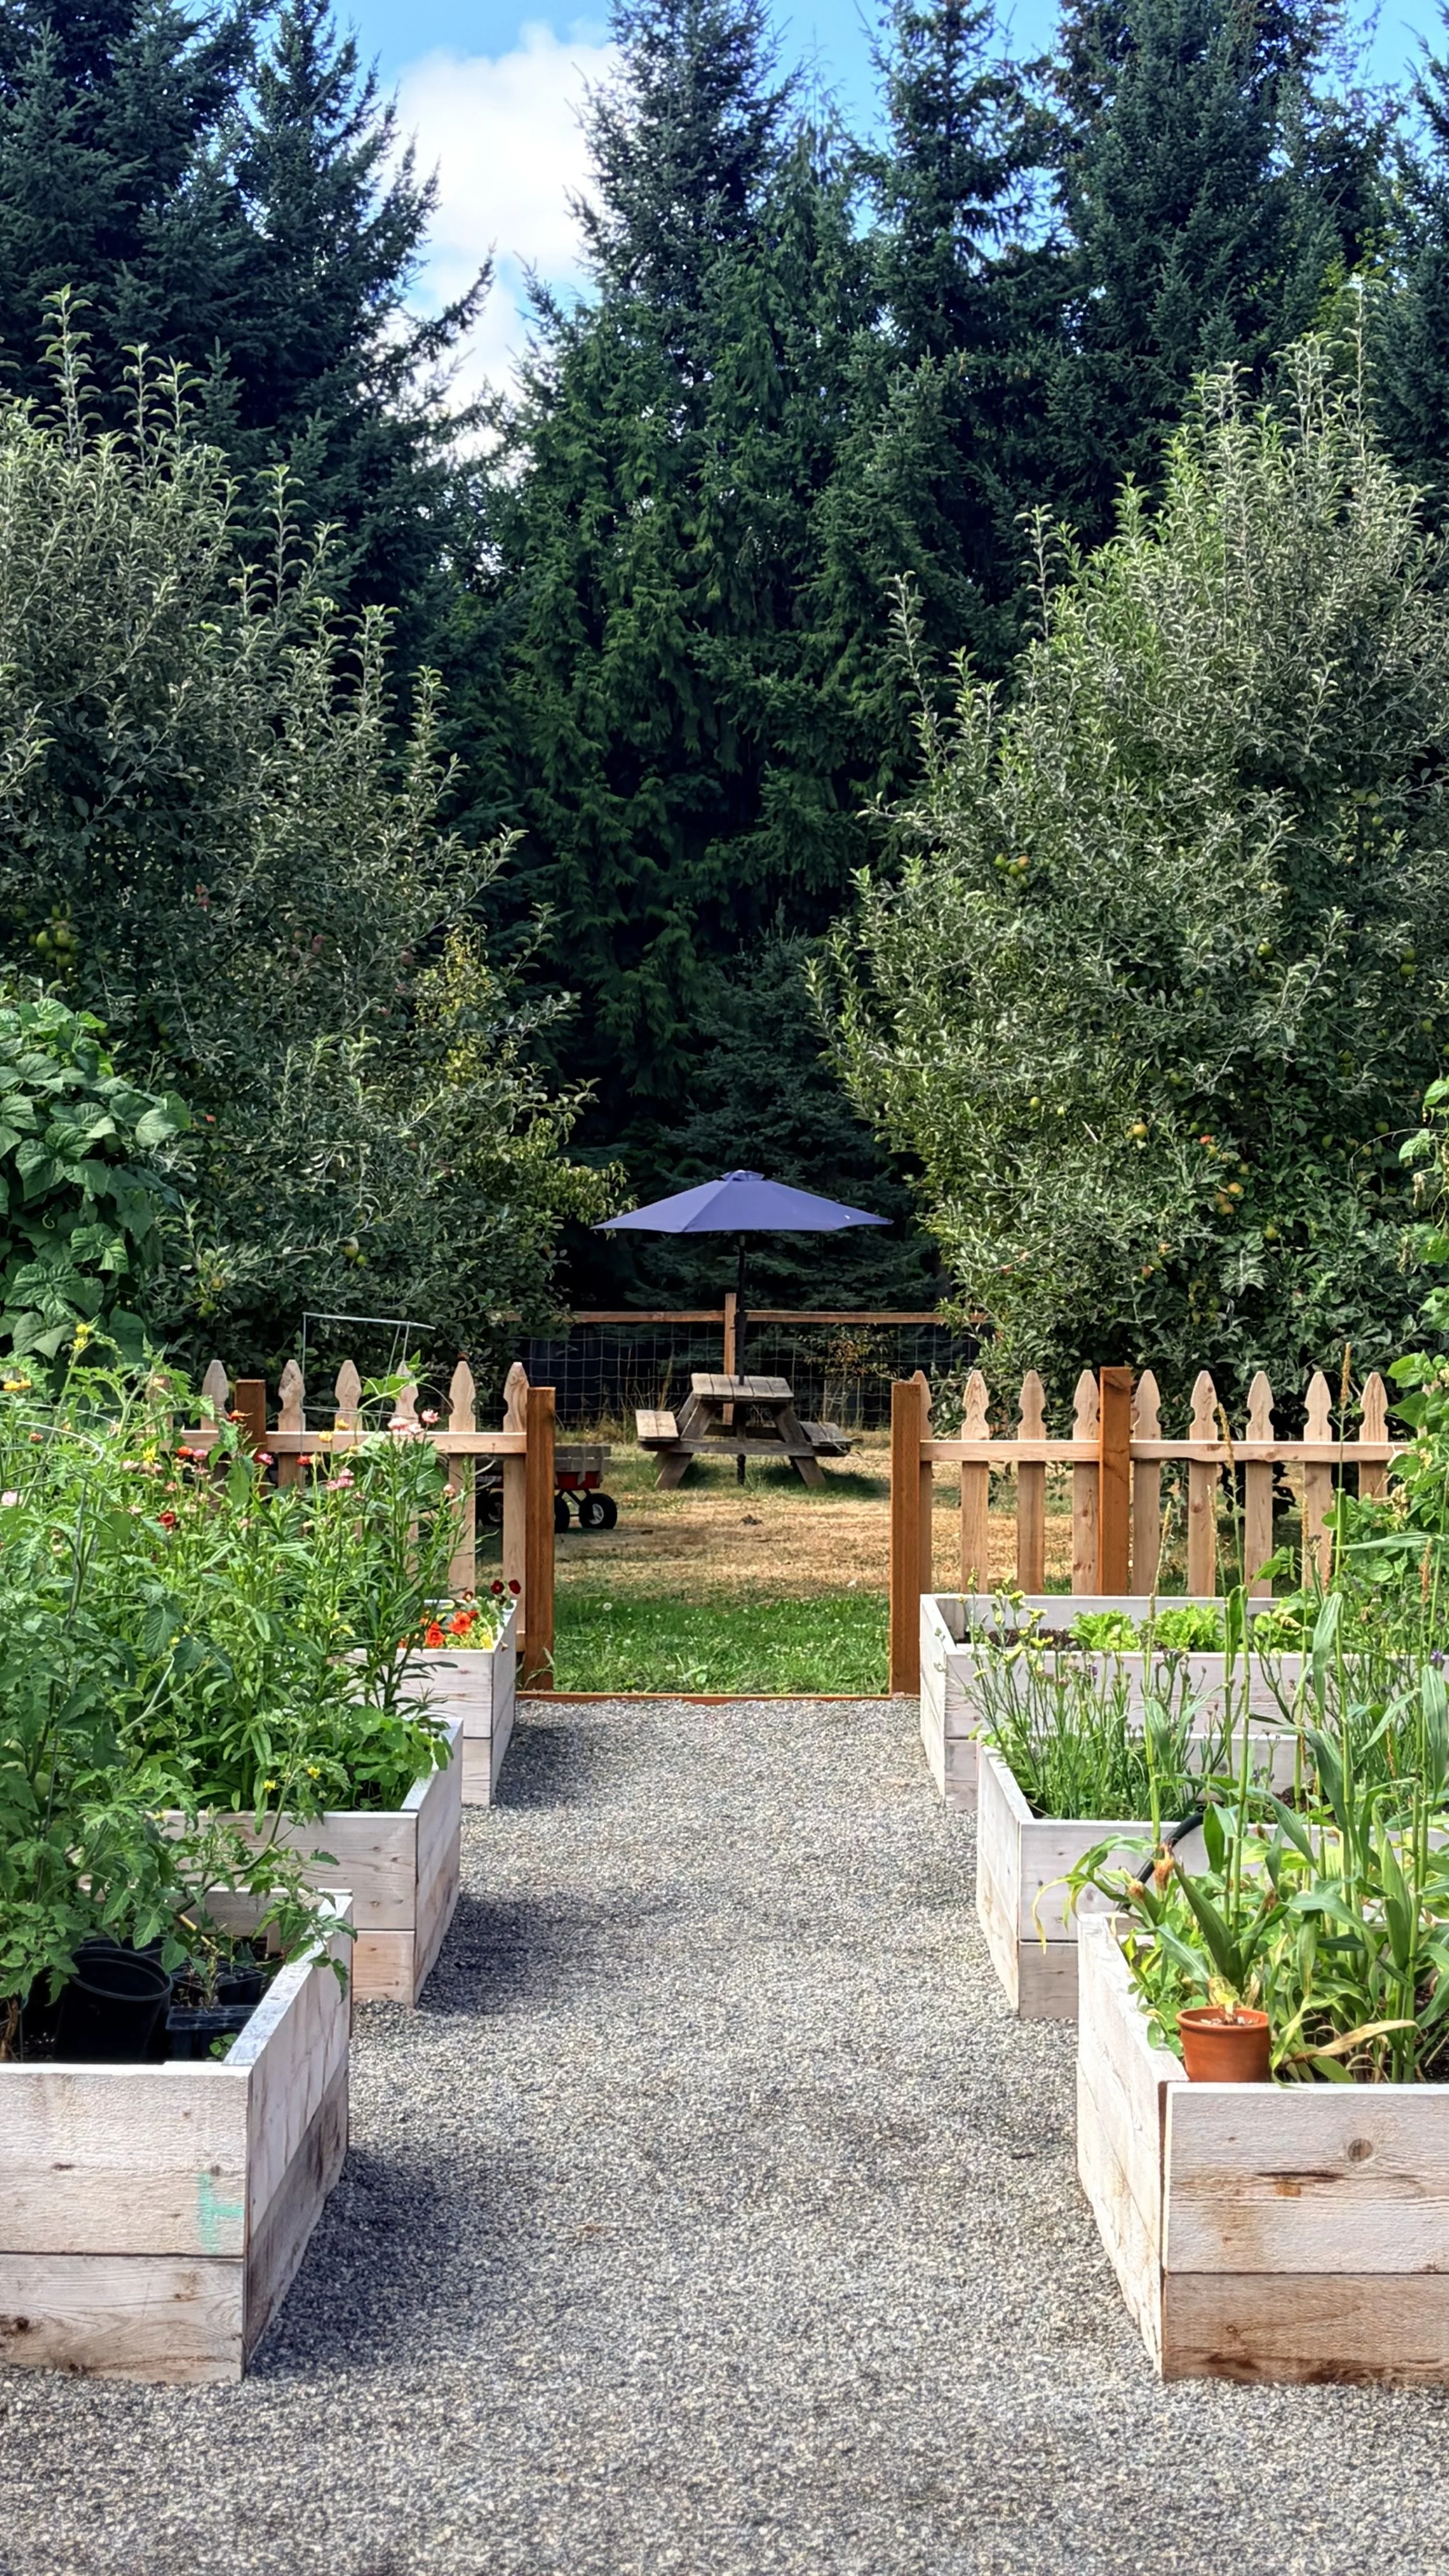
The final stage was adding a fence around the garden. I felt this added some much needed structure. It also helps keep our chickens out as they don’t like perching on the gothic peaks.
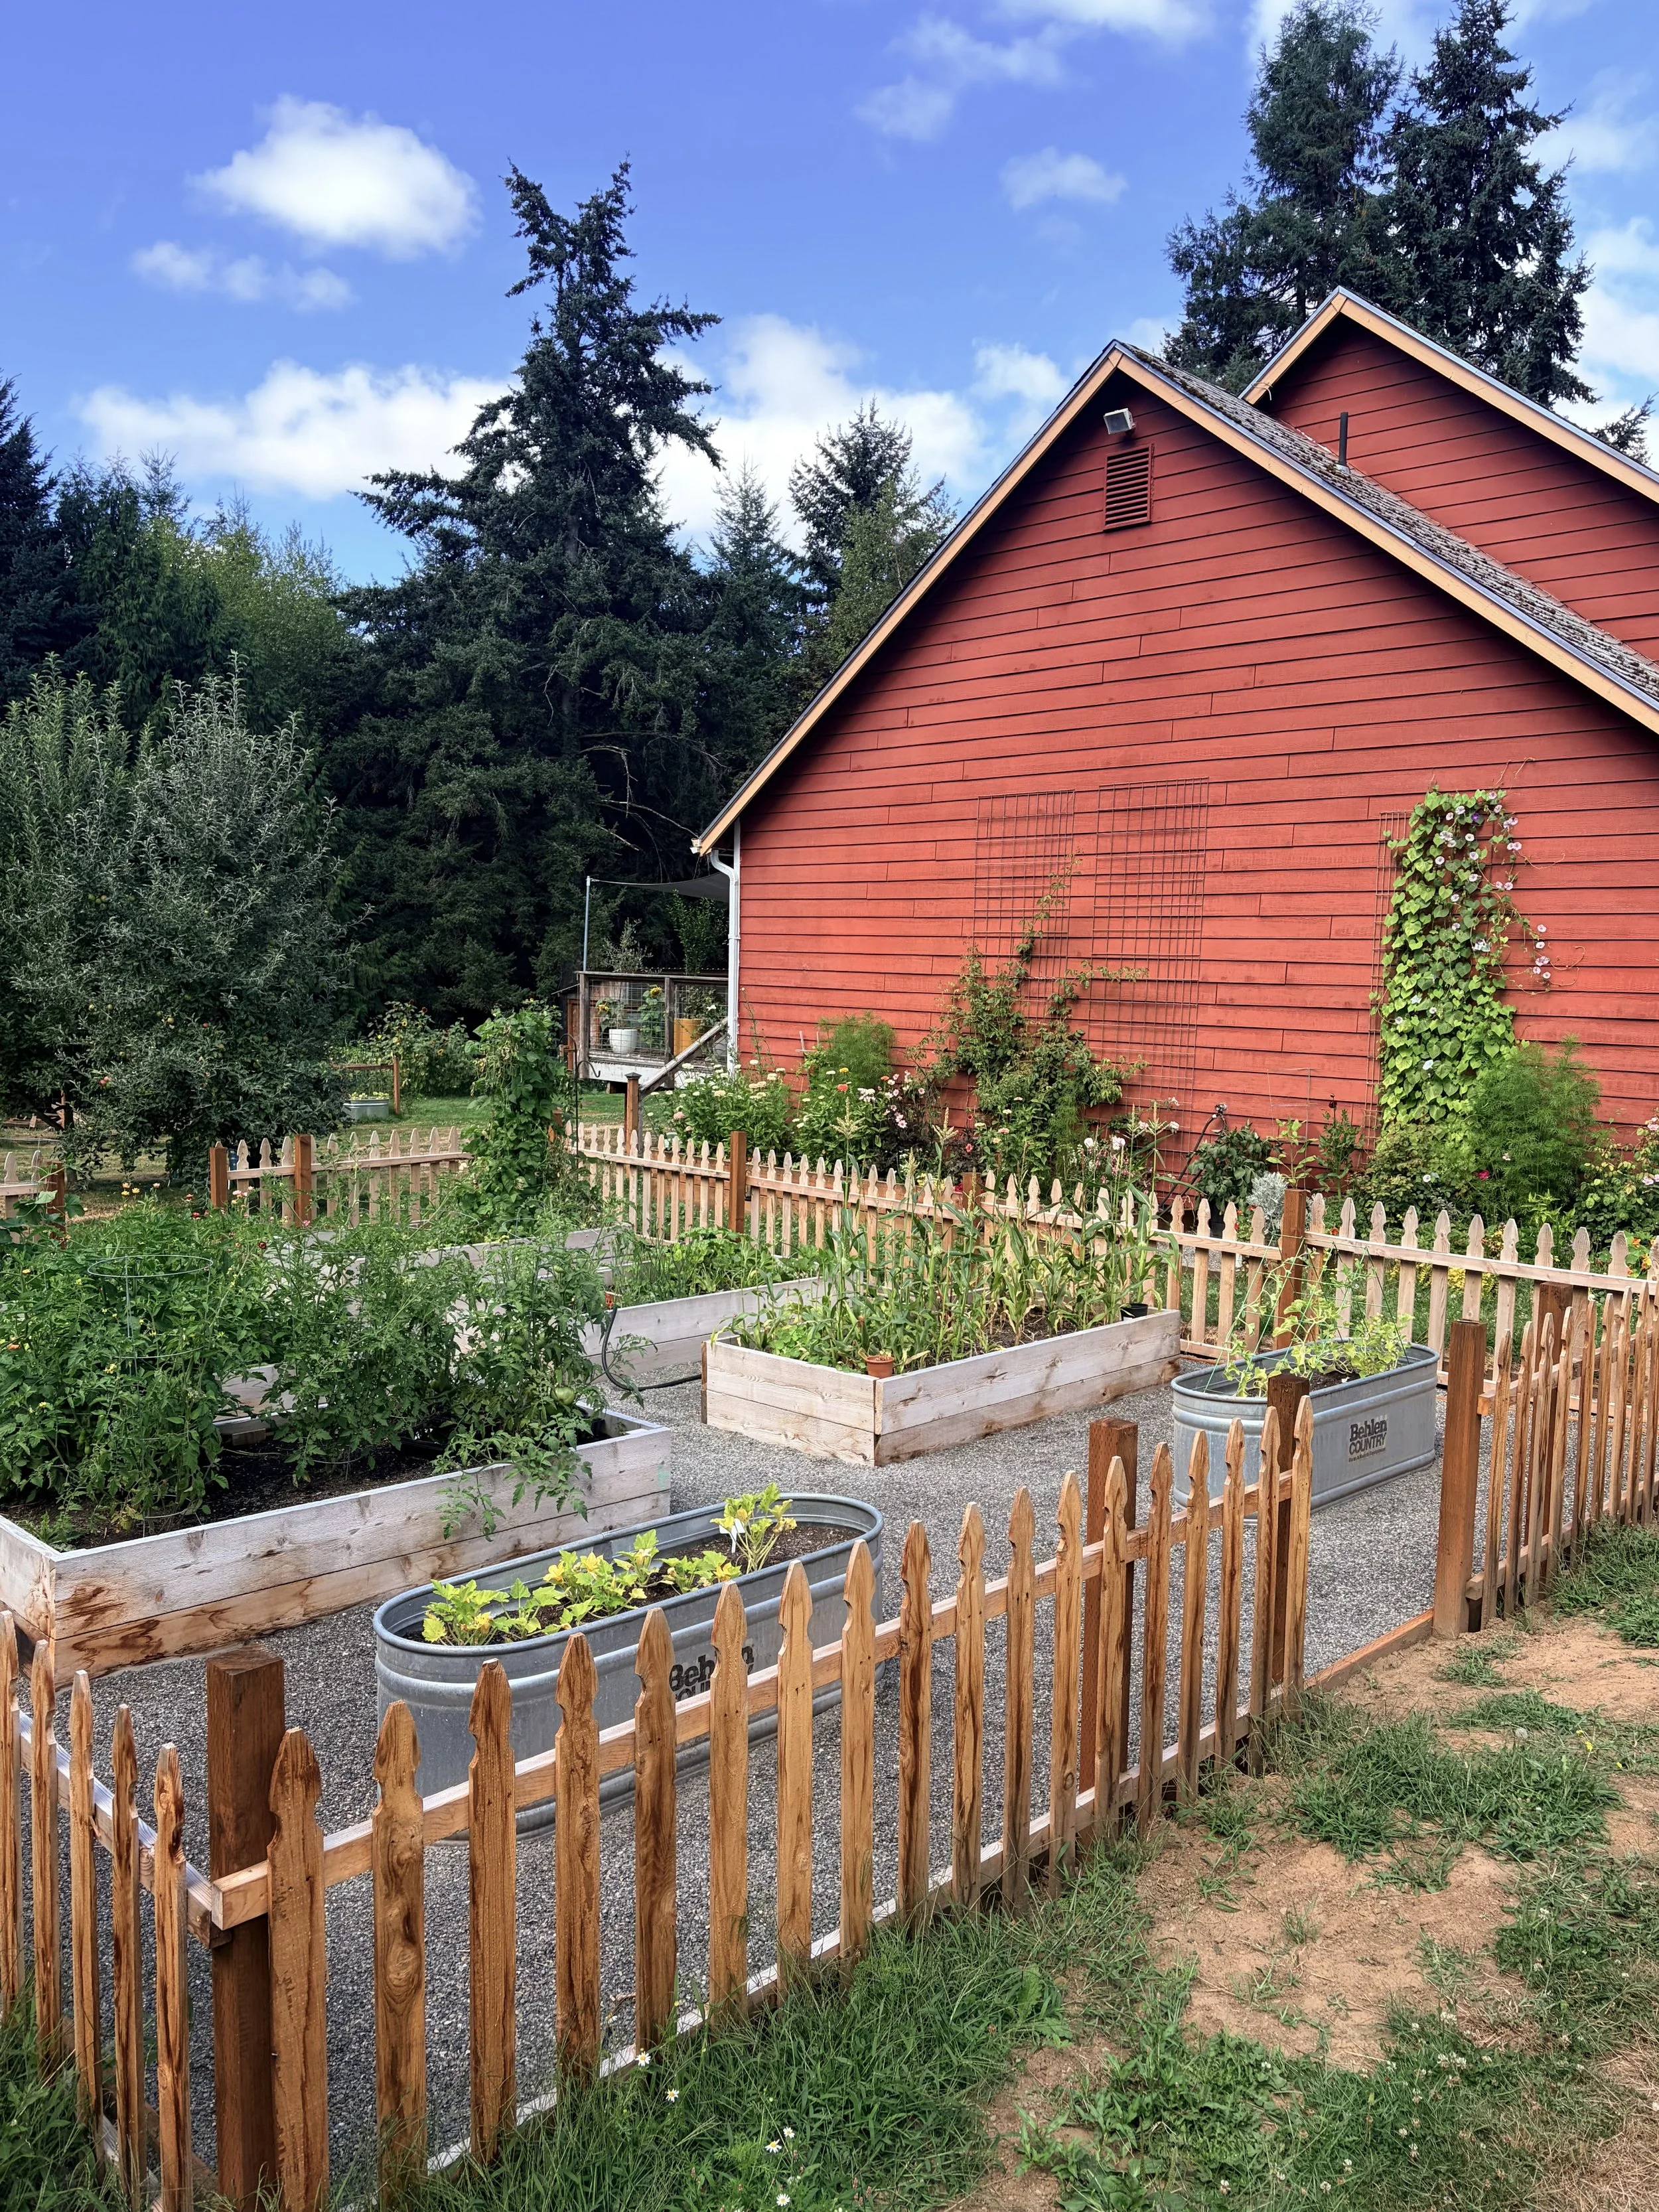
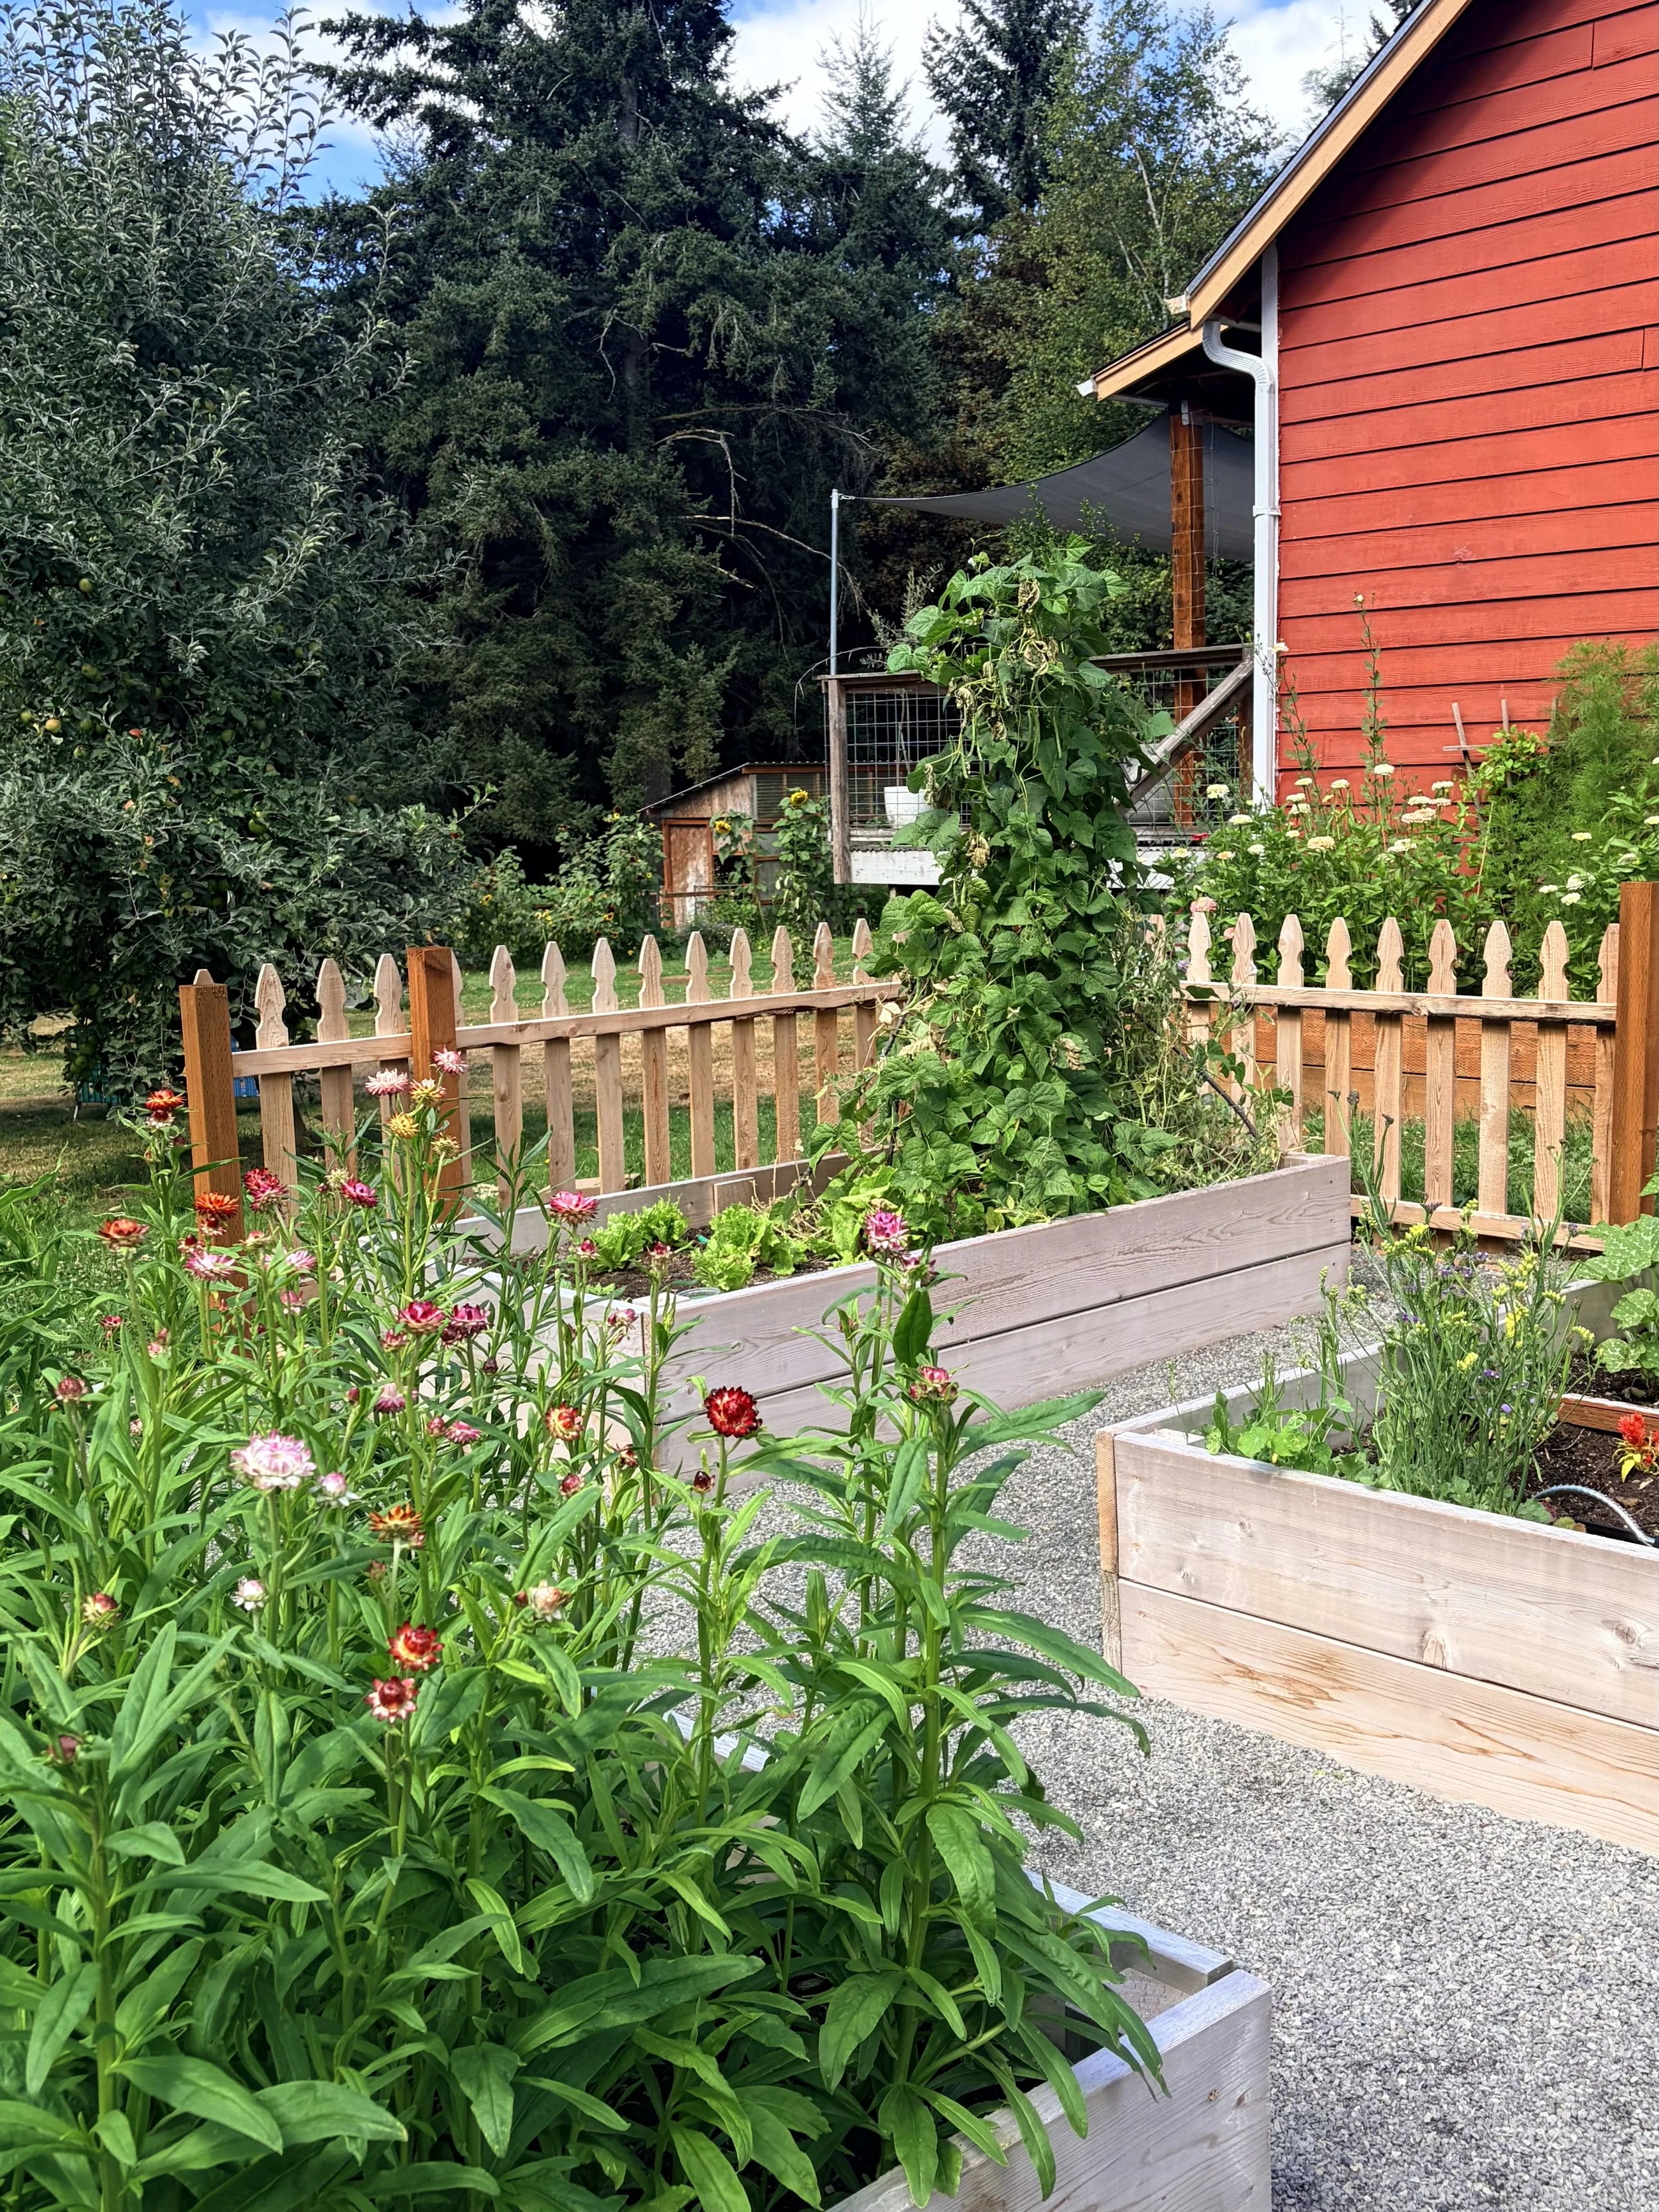
We were forced to plant as we built, making our garden later than usual this year (though I think it’s doing well). The project took 6 months to complete in total. On camera it may appear less lush than the original garden. However, being overgrown with weeds will definitely add unwanted lushness to a photo! I’m loving the new weed control and beauty of the gravel pathways.

Our final task will be adding garden gates which will be finished this coming weekend. I’m so pleased with the final design and proud of the planting we managed to pull off despite the set backs.

Supply Highlights:

  1. Untreated Dimensional Cedar (best for beds you will grow food in). 4x4 posts, 2x10x8 for length, 2x10x4 width, stacked two high all the way around.

  2. Crushed “fines” (gravel)

  3. Landscaping Fabric (best deal is Costco)

  4. 8ft Gothic Fence panels (best deal was Lowe’s)

  5. Every kind of tool and power tool you can imagine for demolition, cutting wood and construction. ;) Sorry friends, not my wheelhouse to list.

  6. Soil (the most important part).

  7. Most important tools according to my husband: Driver for screwing it all in, mitre saw for cutting the wood, tape measure for the measuring.

Tip: Be aware of leveling the space. We didn’t plan too well for that. We found work arounds that ended up meeting our needs fine -but do your research on that ahead of time!
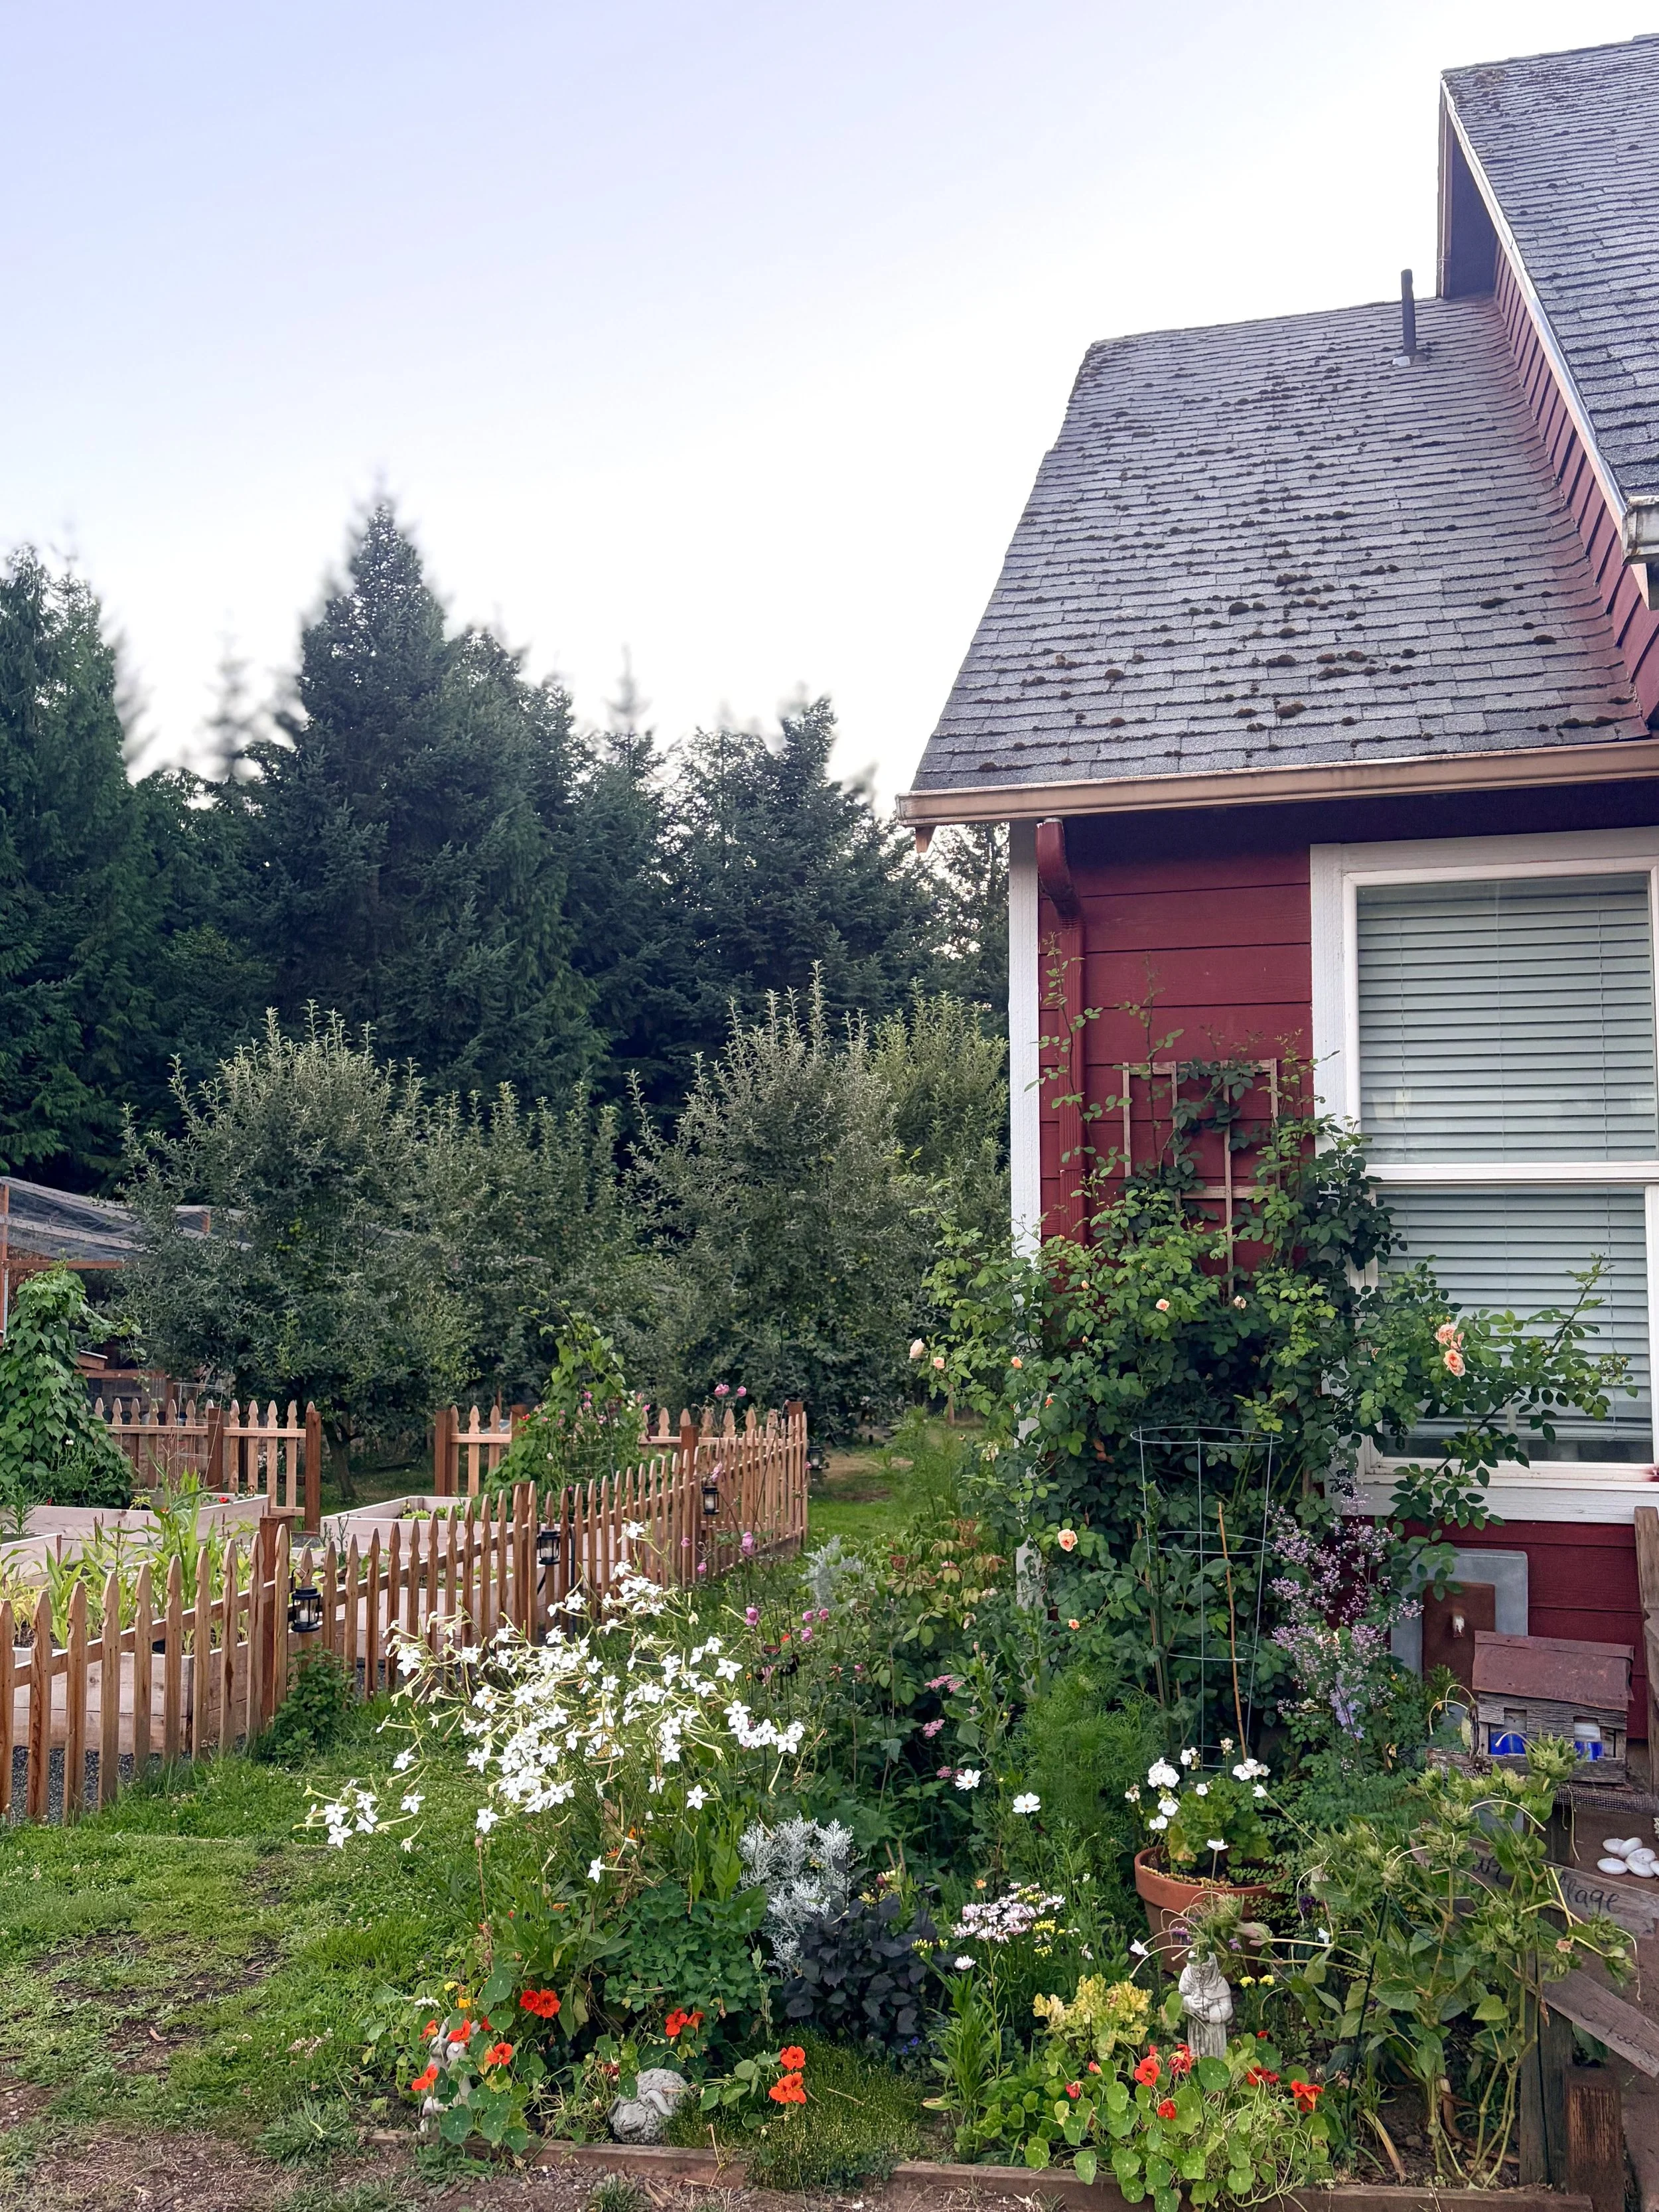
My goal for the farm is more produce to share and sell, a proper cut and dried flower garden separate from my other beds, as well as expanding our offerings to consistent jams, butters and sourdough. Goats may even be on the horizon if I can convince my husband ;)

If you hung in for this entire blog post you must be an elder millennial or older…I salute your attention span. There are still some of us left! Thanks for visiting the Josephine Farm journal :)
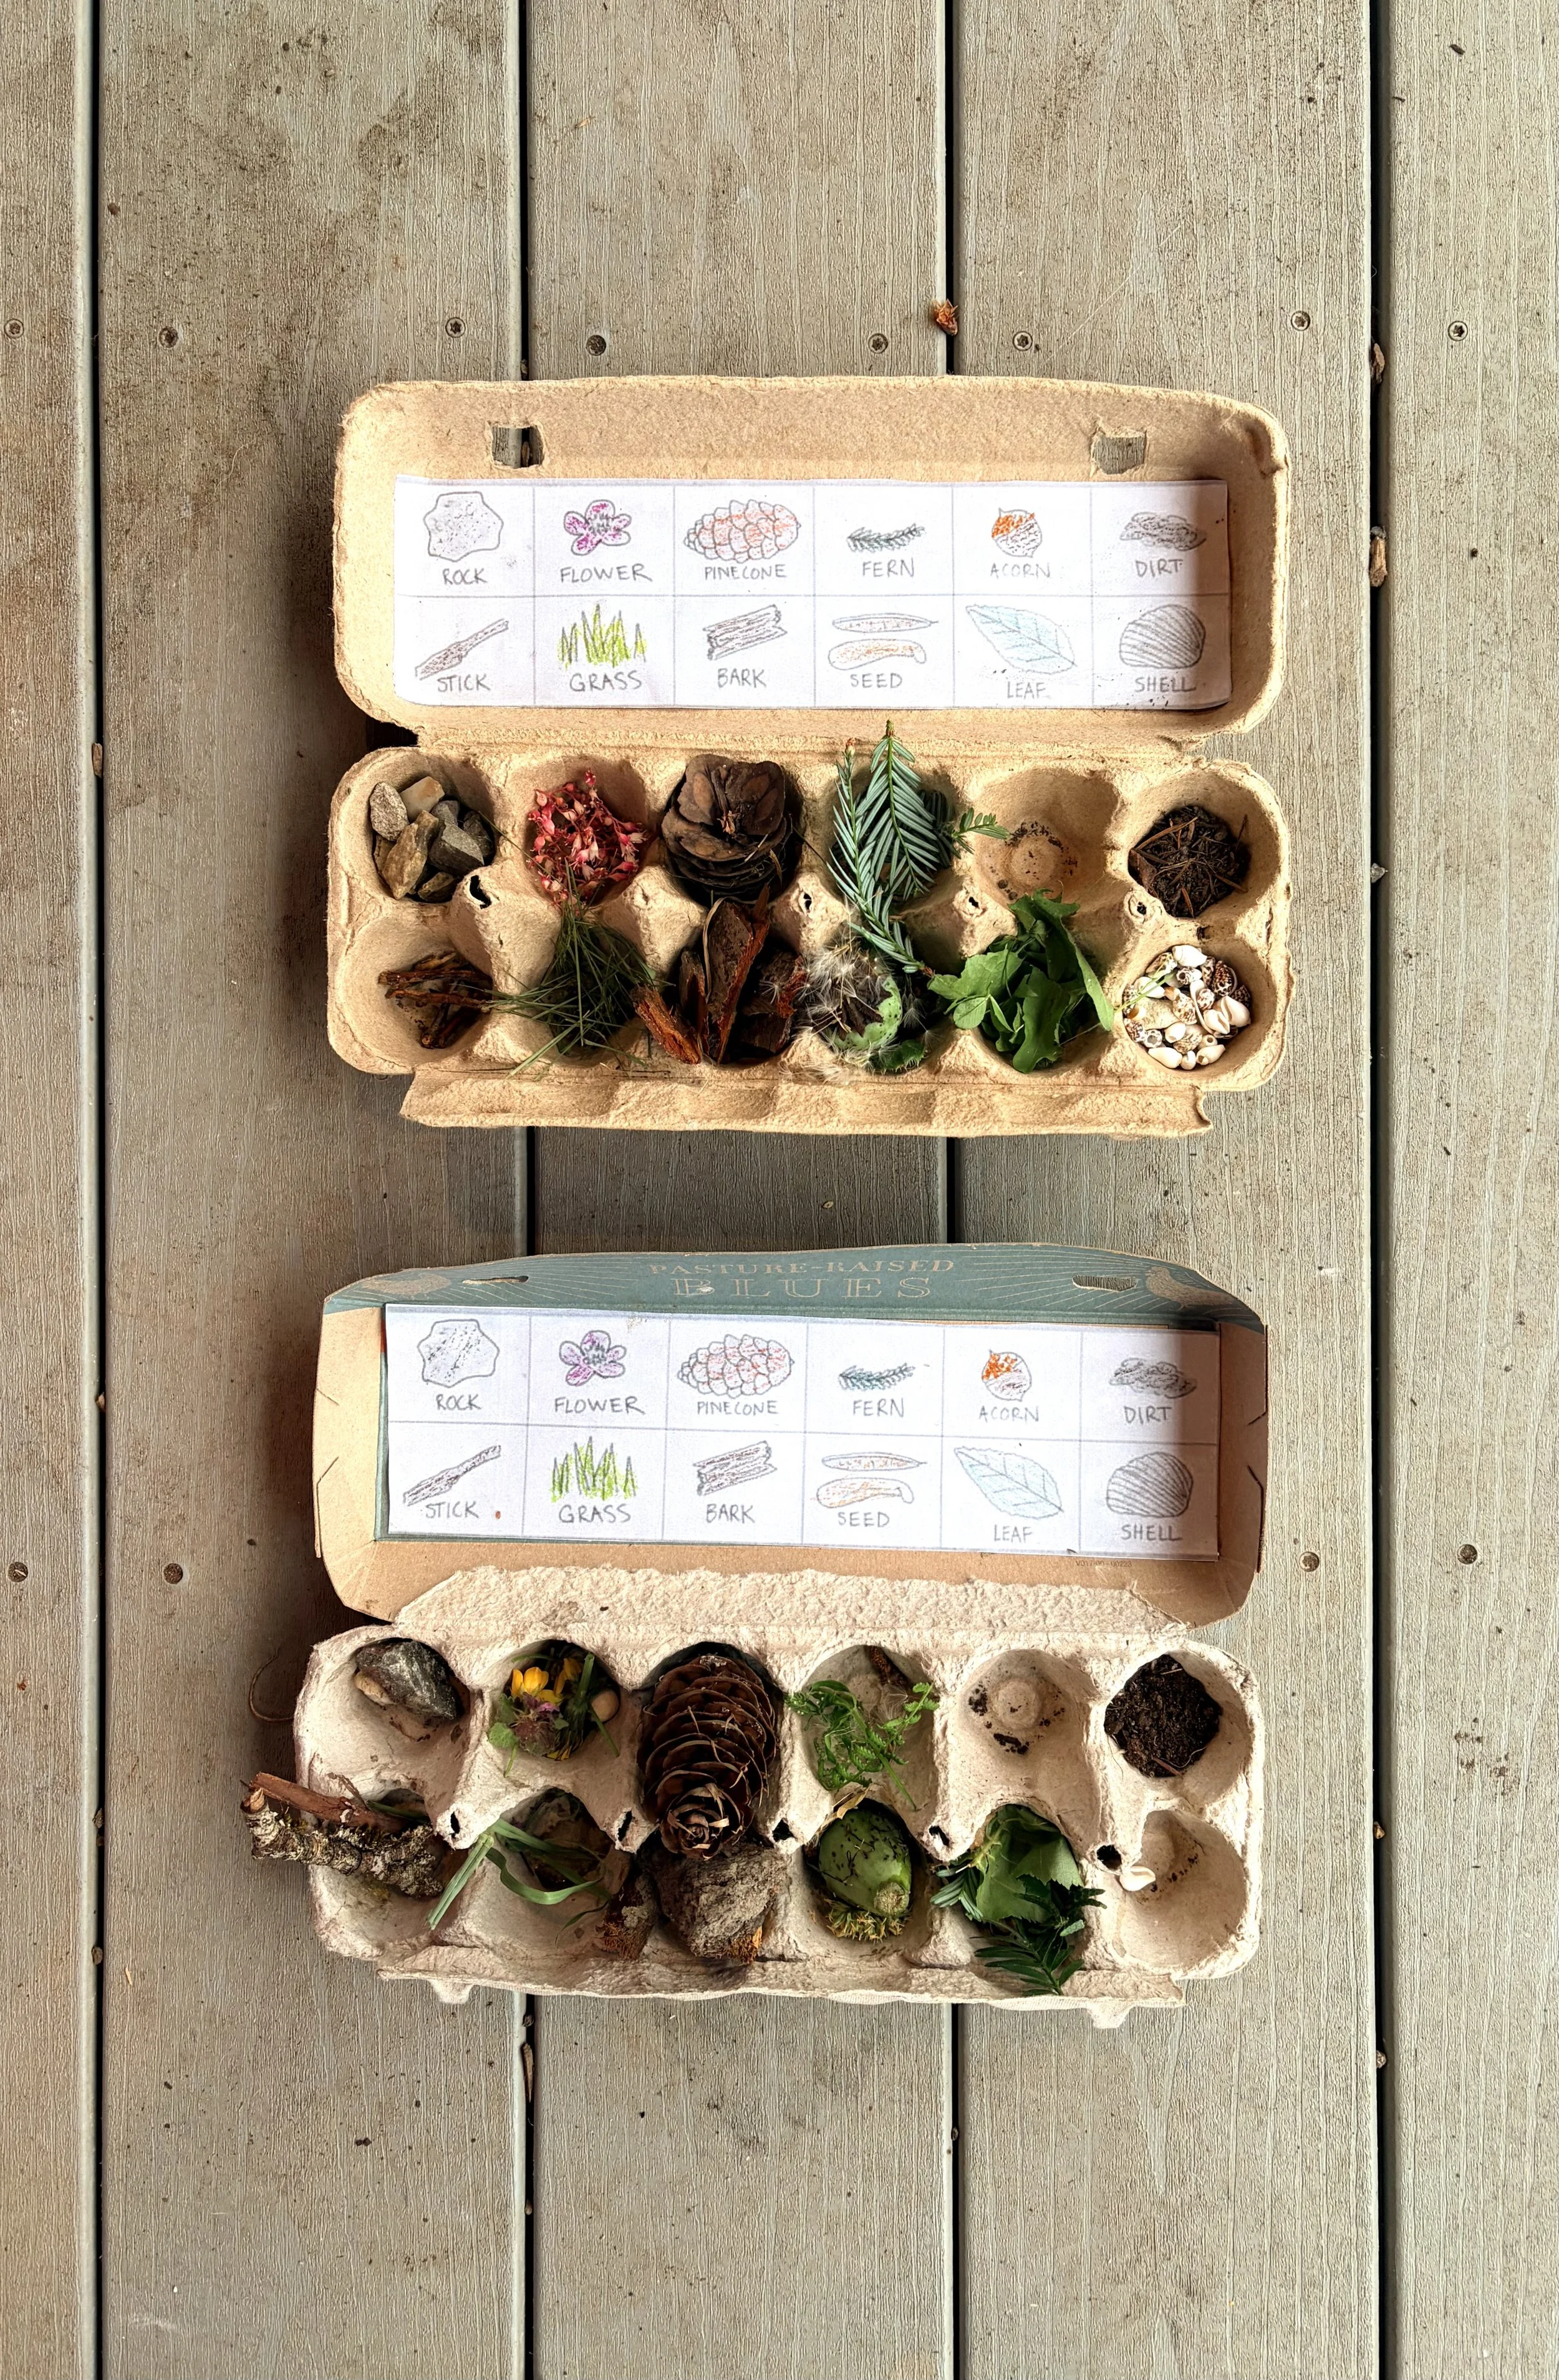
Egg Carton Nature Collection + Faerie Chain Project For Kids

School is officially out! I work at my children’s school which means I am now home all day too. Slow days at home are a luxury and a relief. However, too much open time and lack of structure…my kids turn into crazy people.

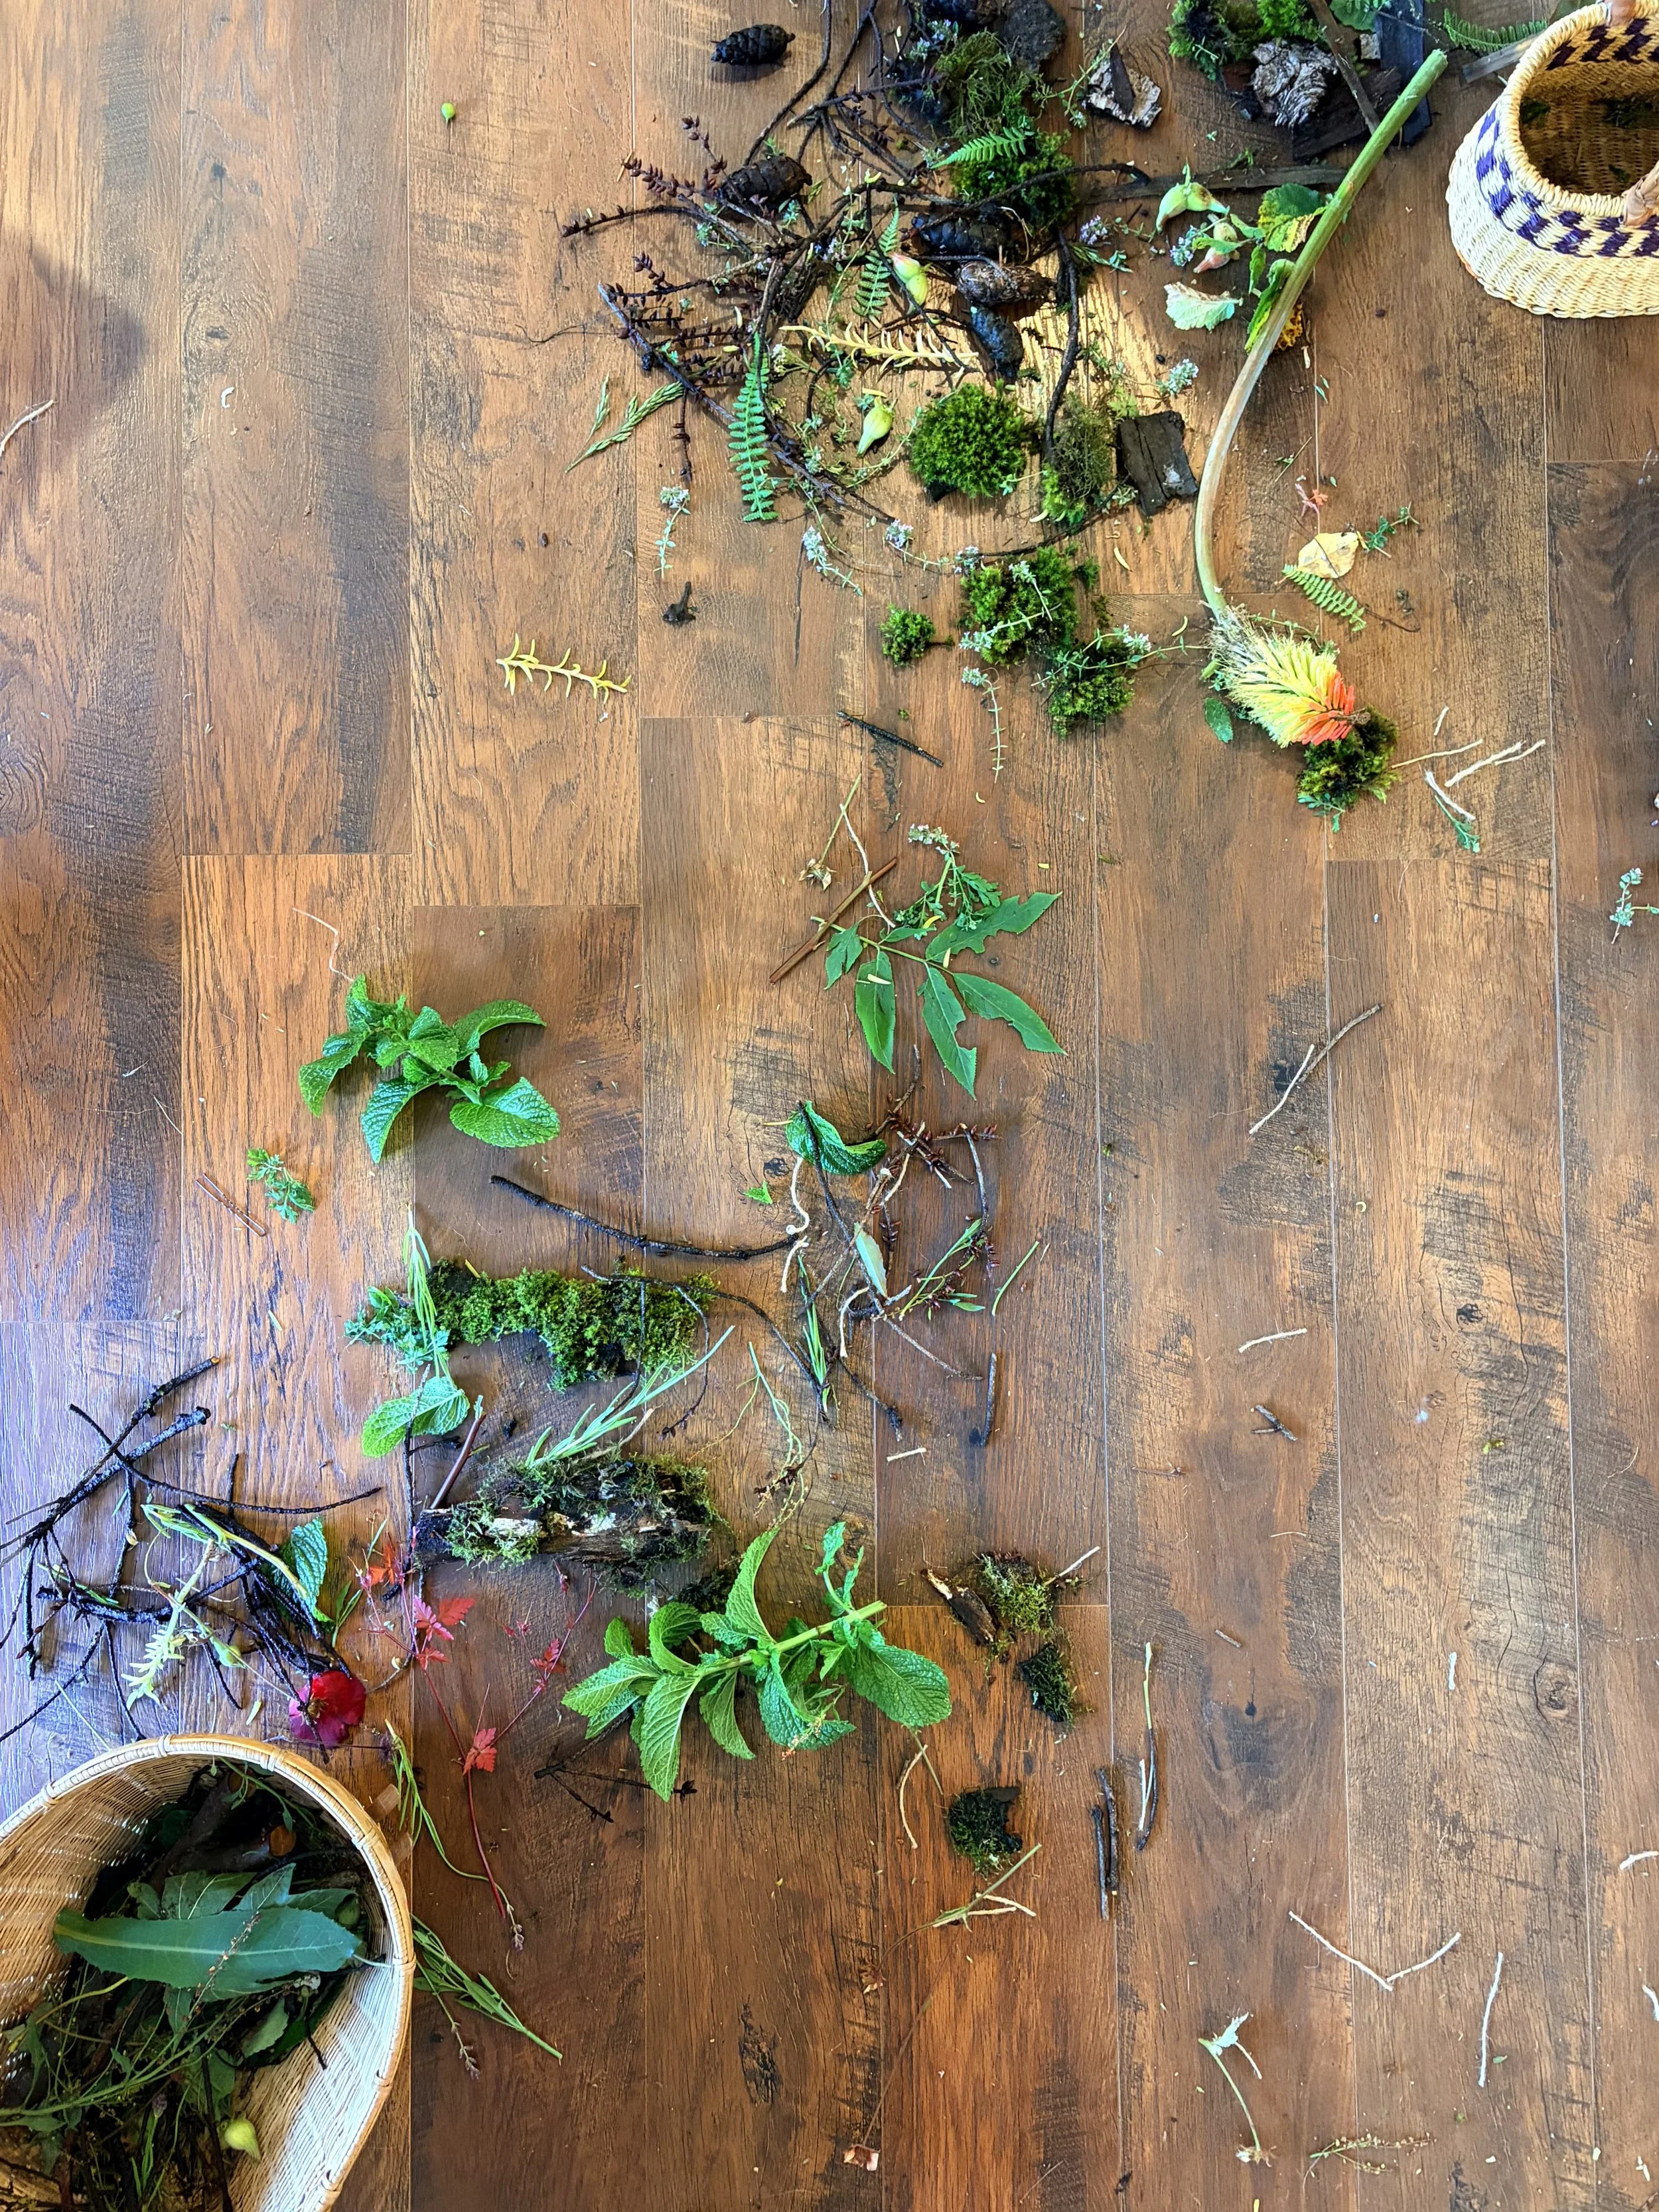
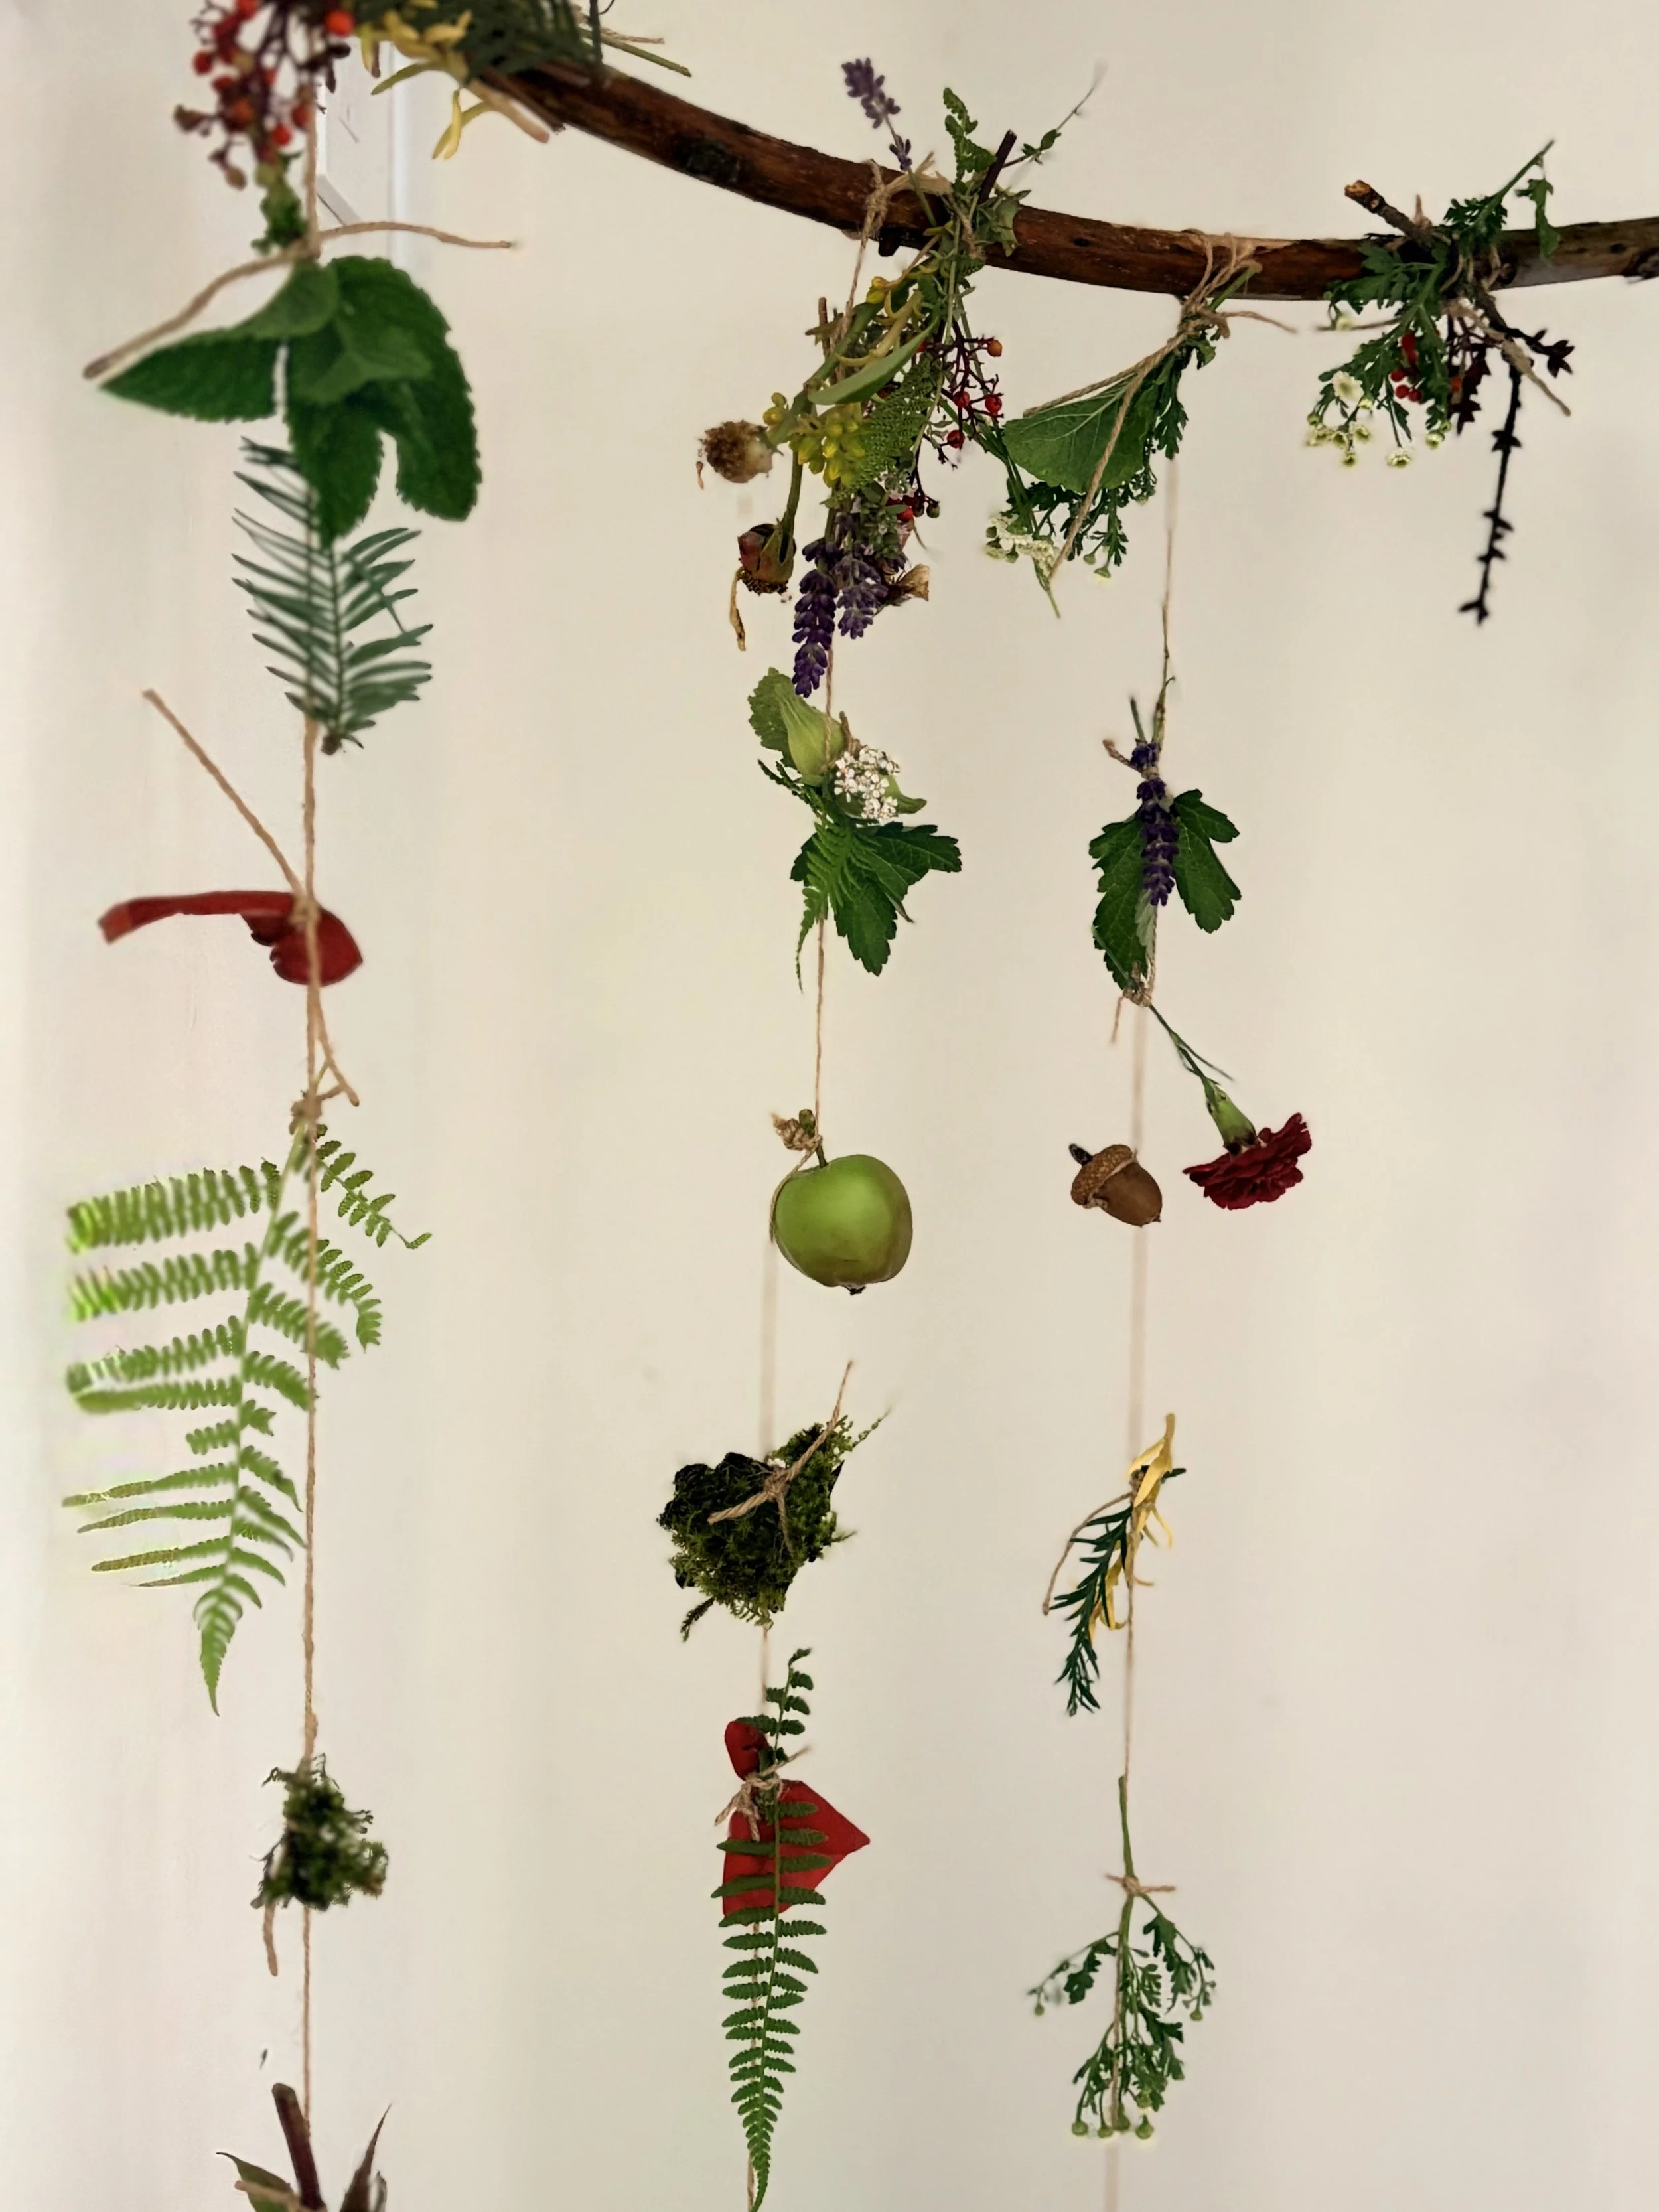
We’ve been trying to start the day with an outdoor activity. I found the egg carton idea above on Pinterest (where all good ideas reside ;). I attempted to find the original creator but was unable to. My kids loved storing their nature treasures in the egg cartons! Thank you to whoever came up with this idea!

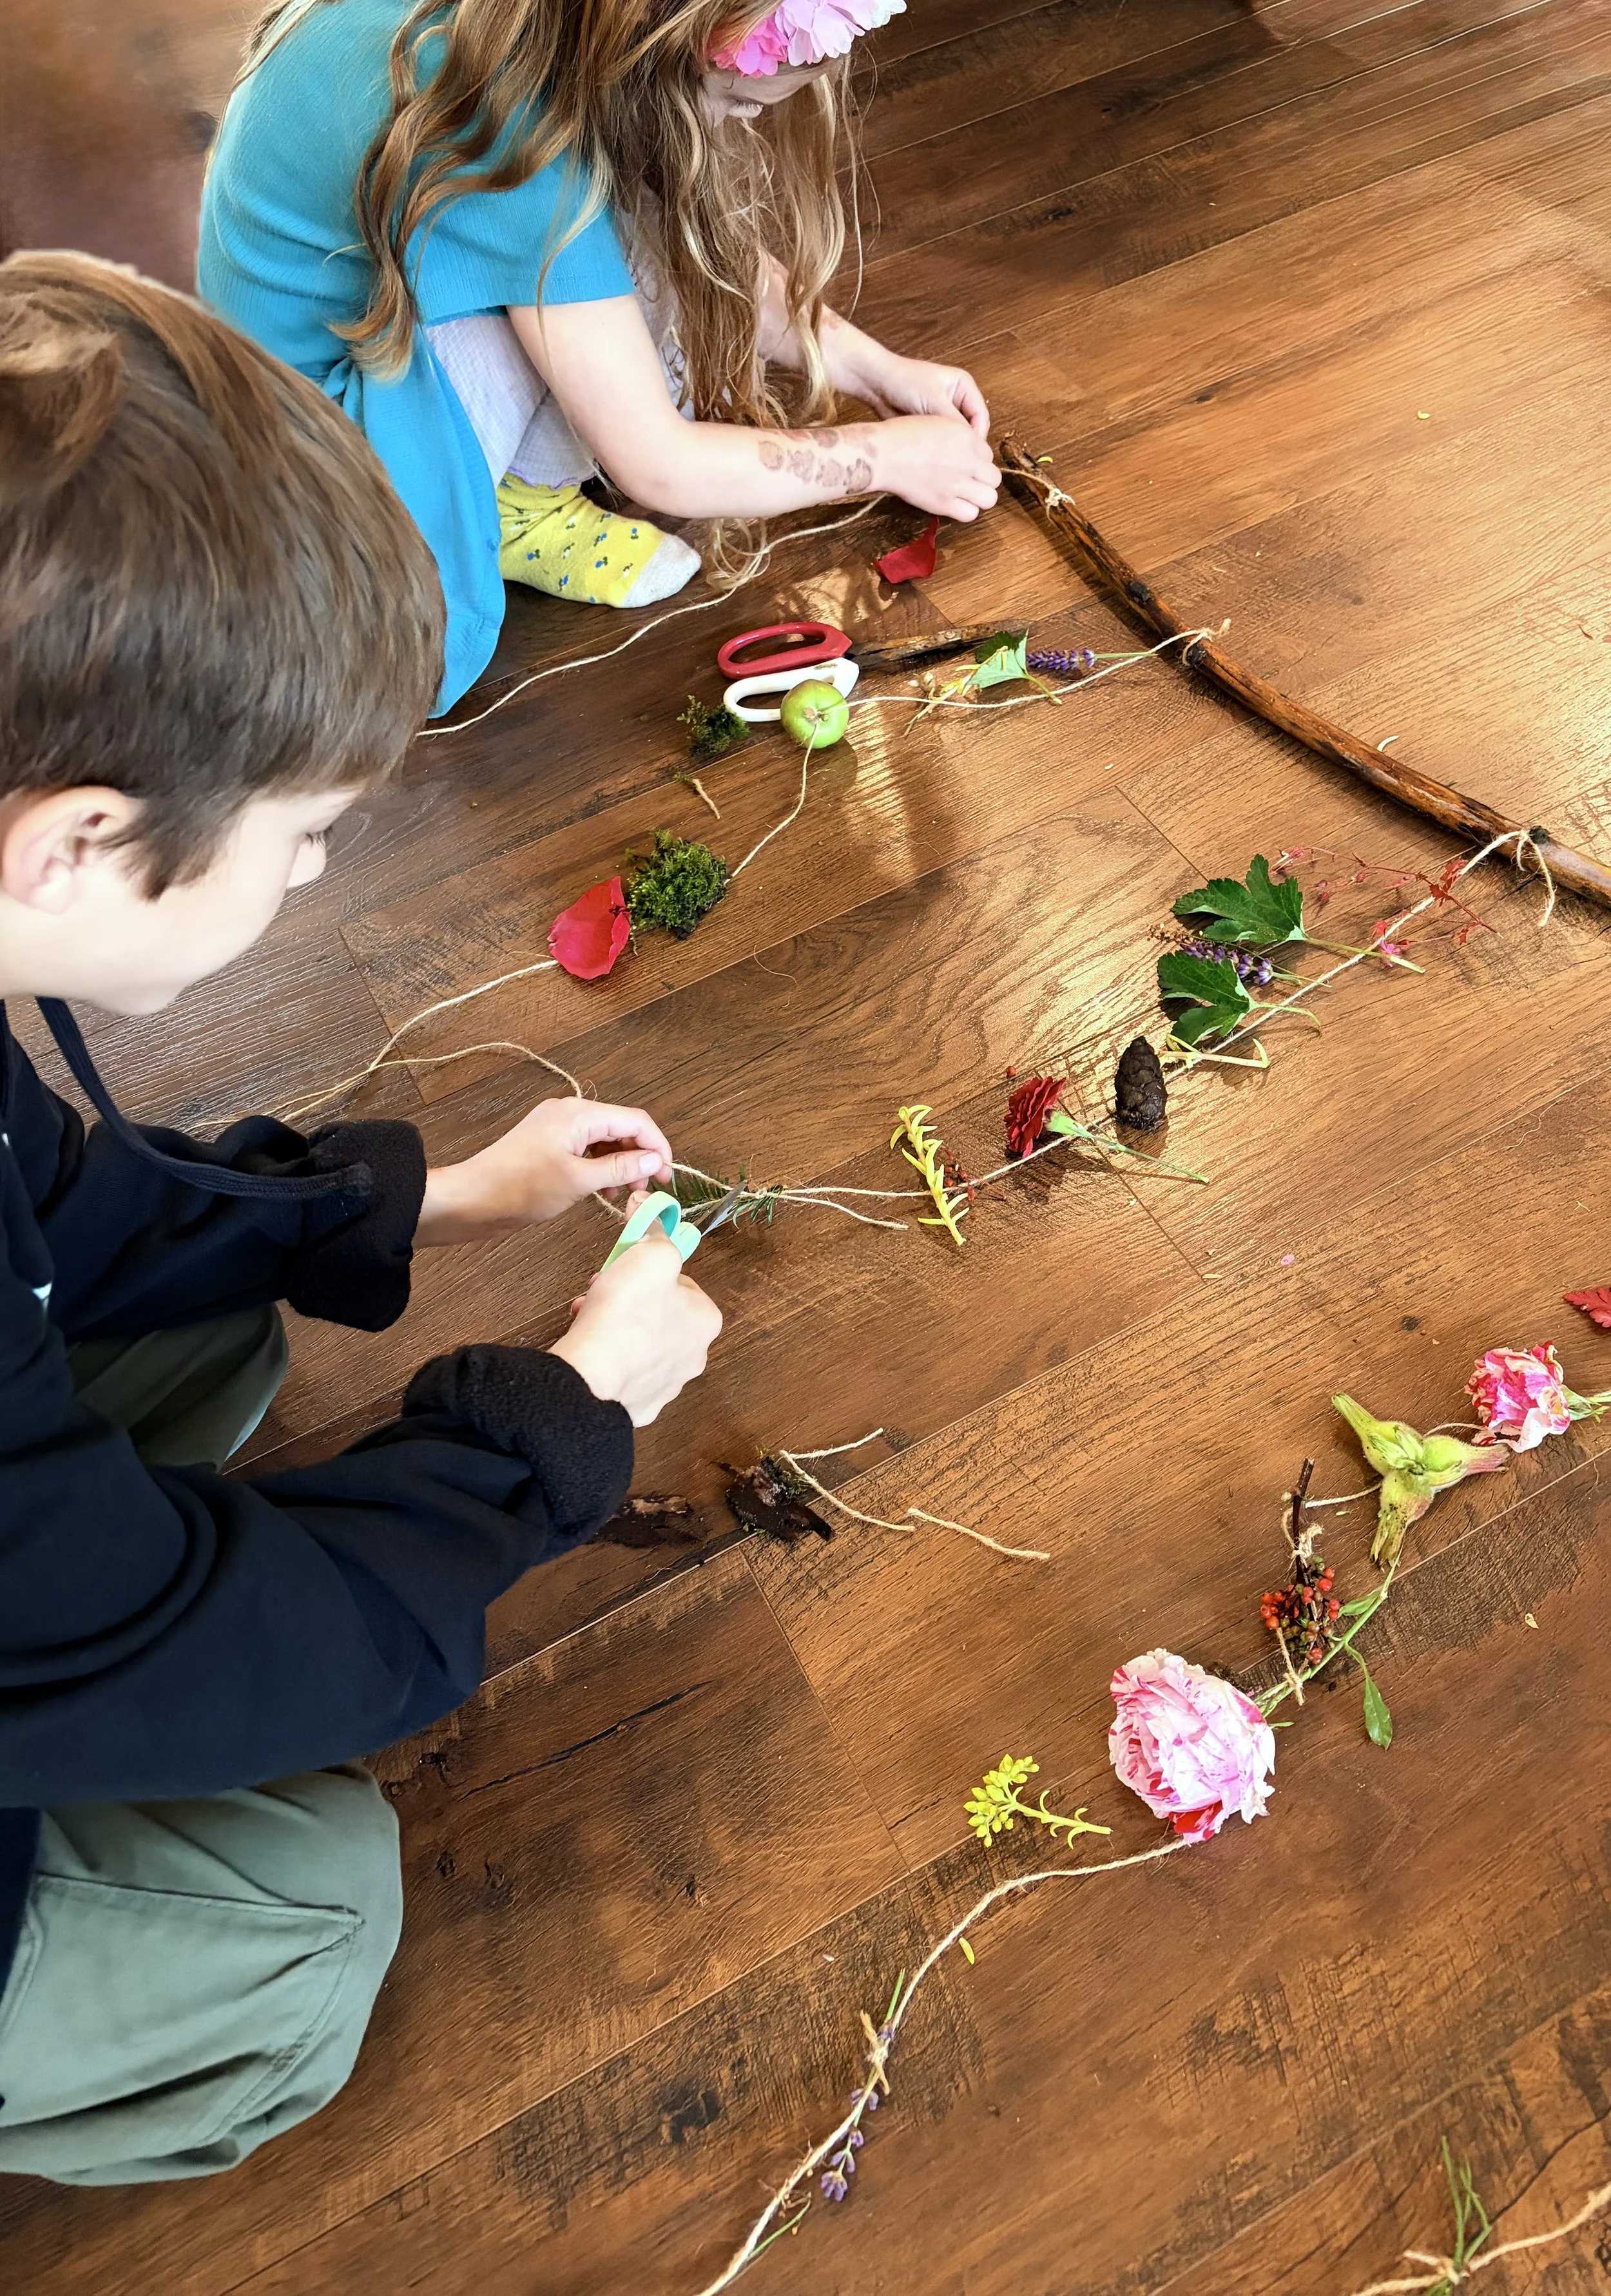
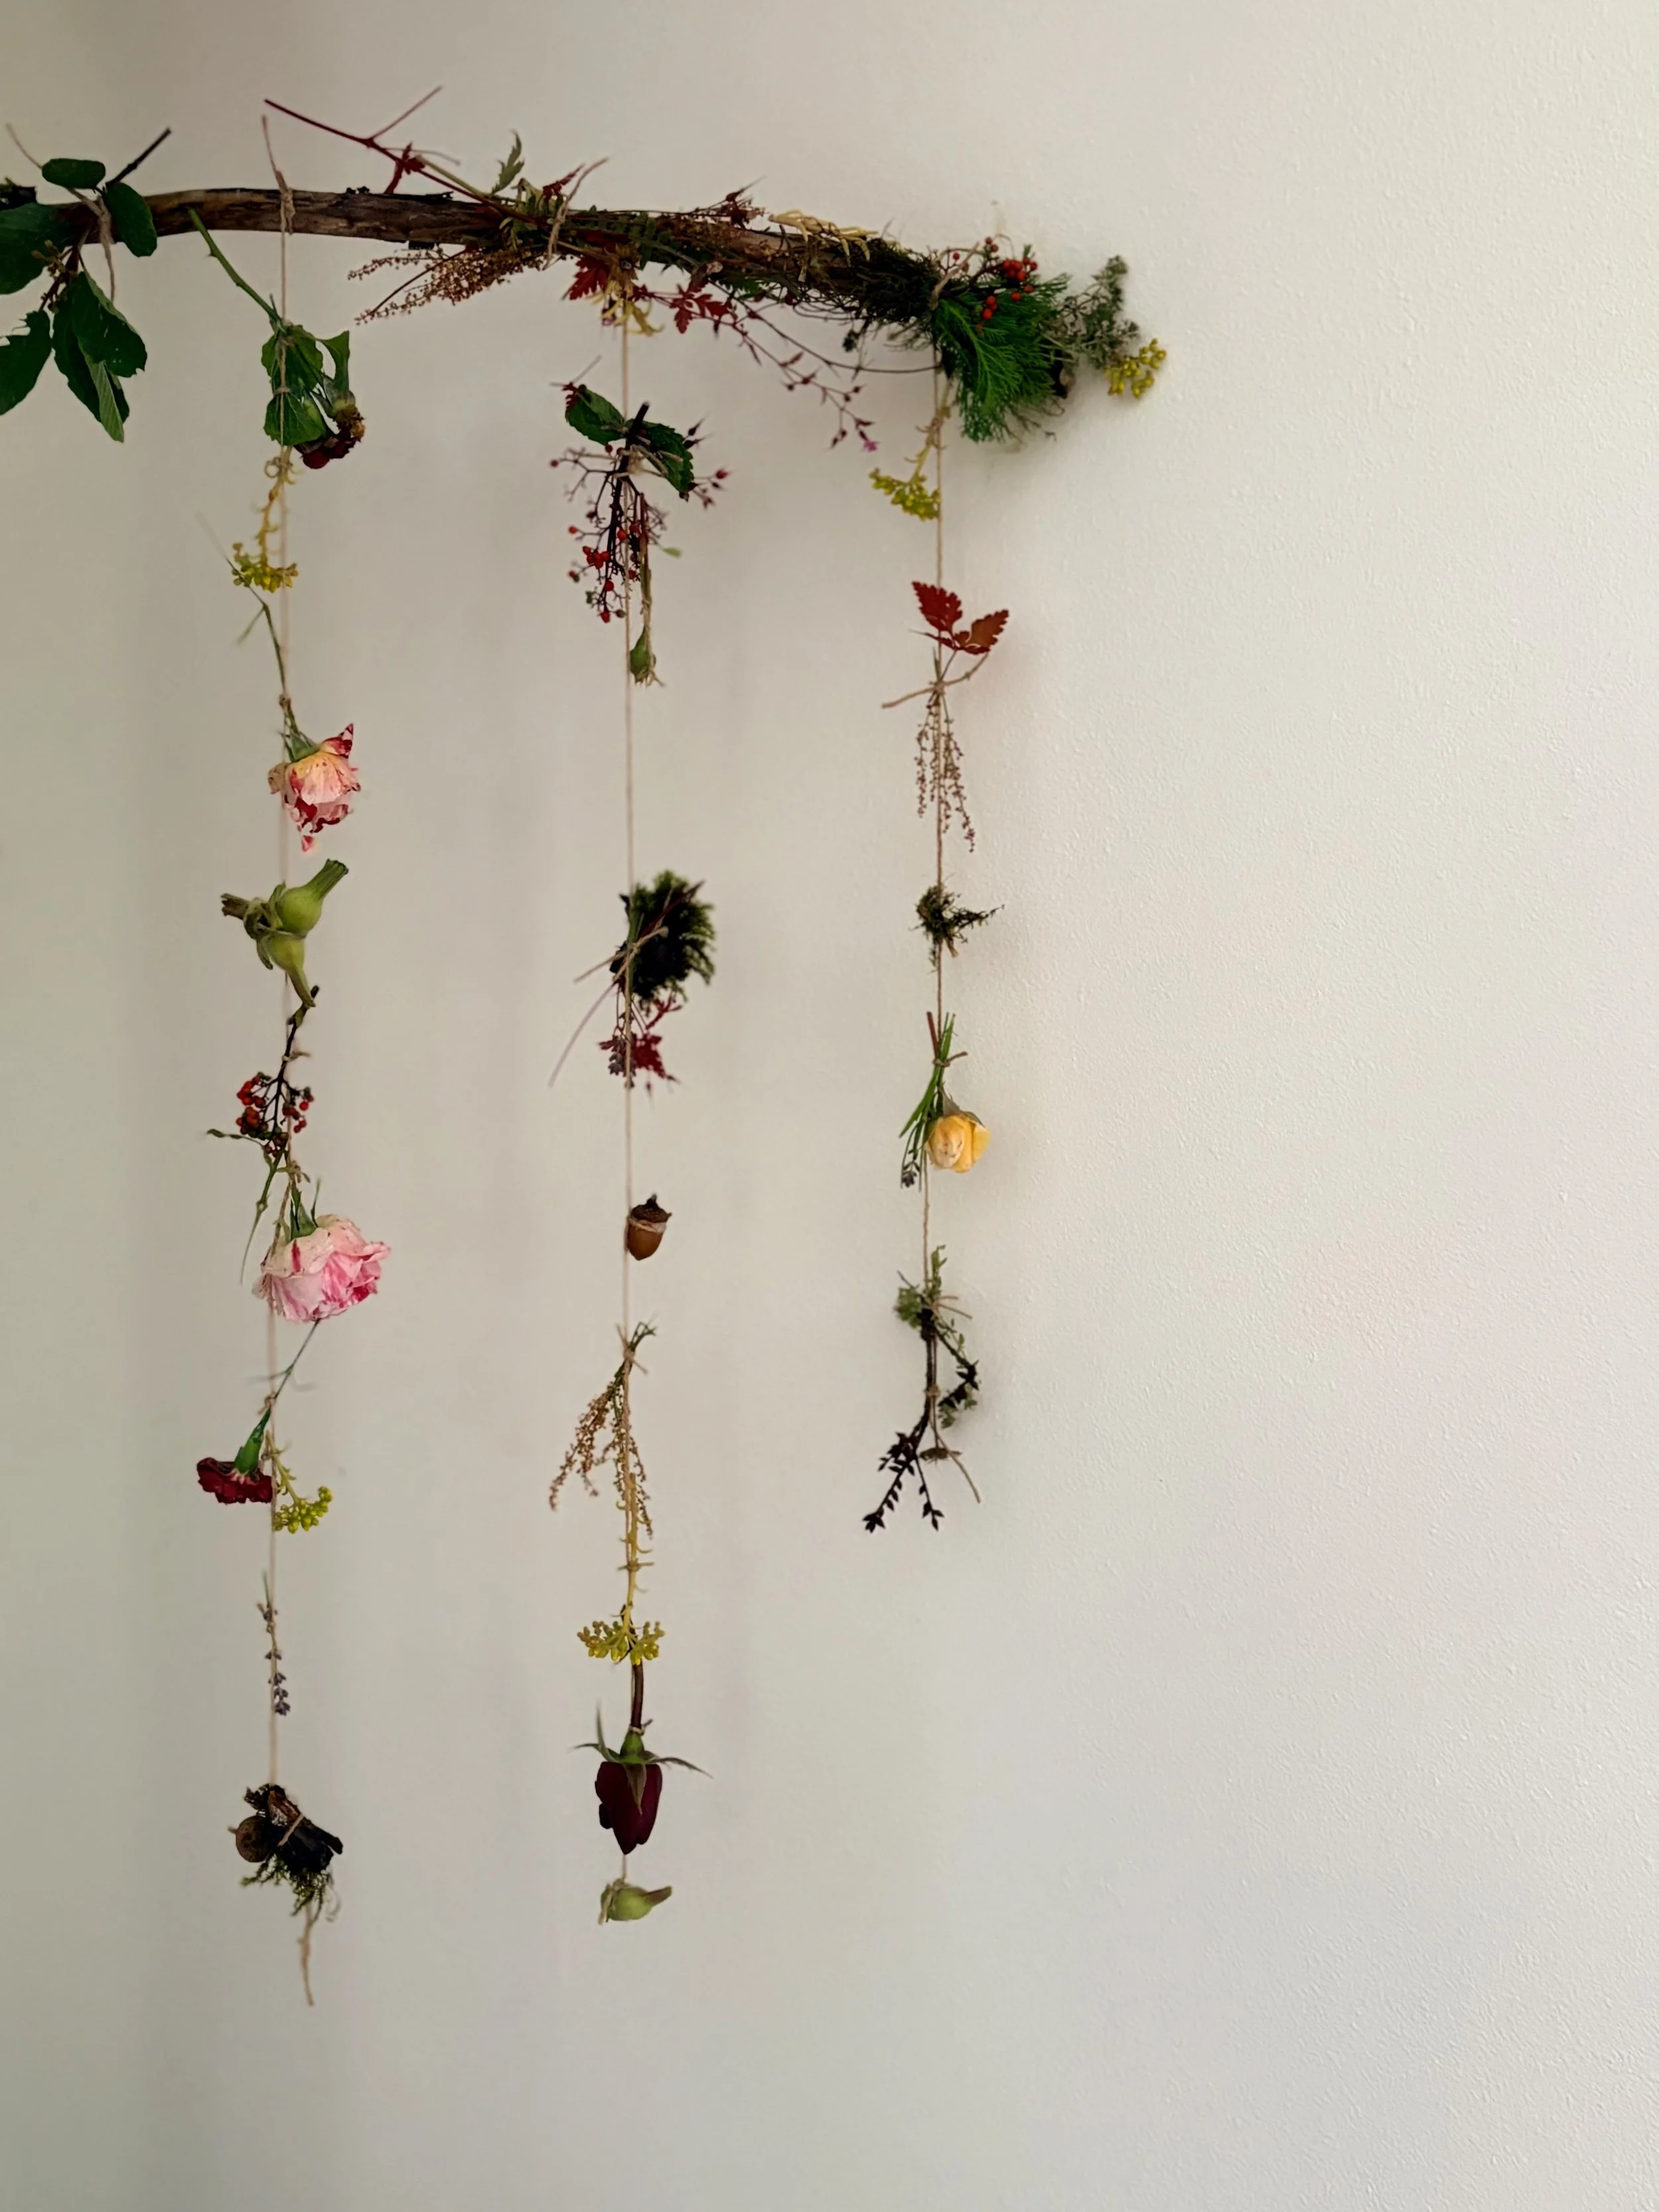
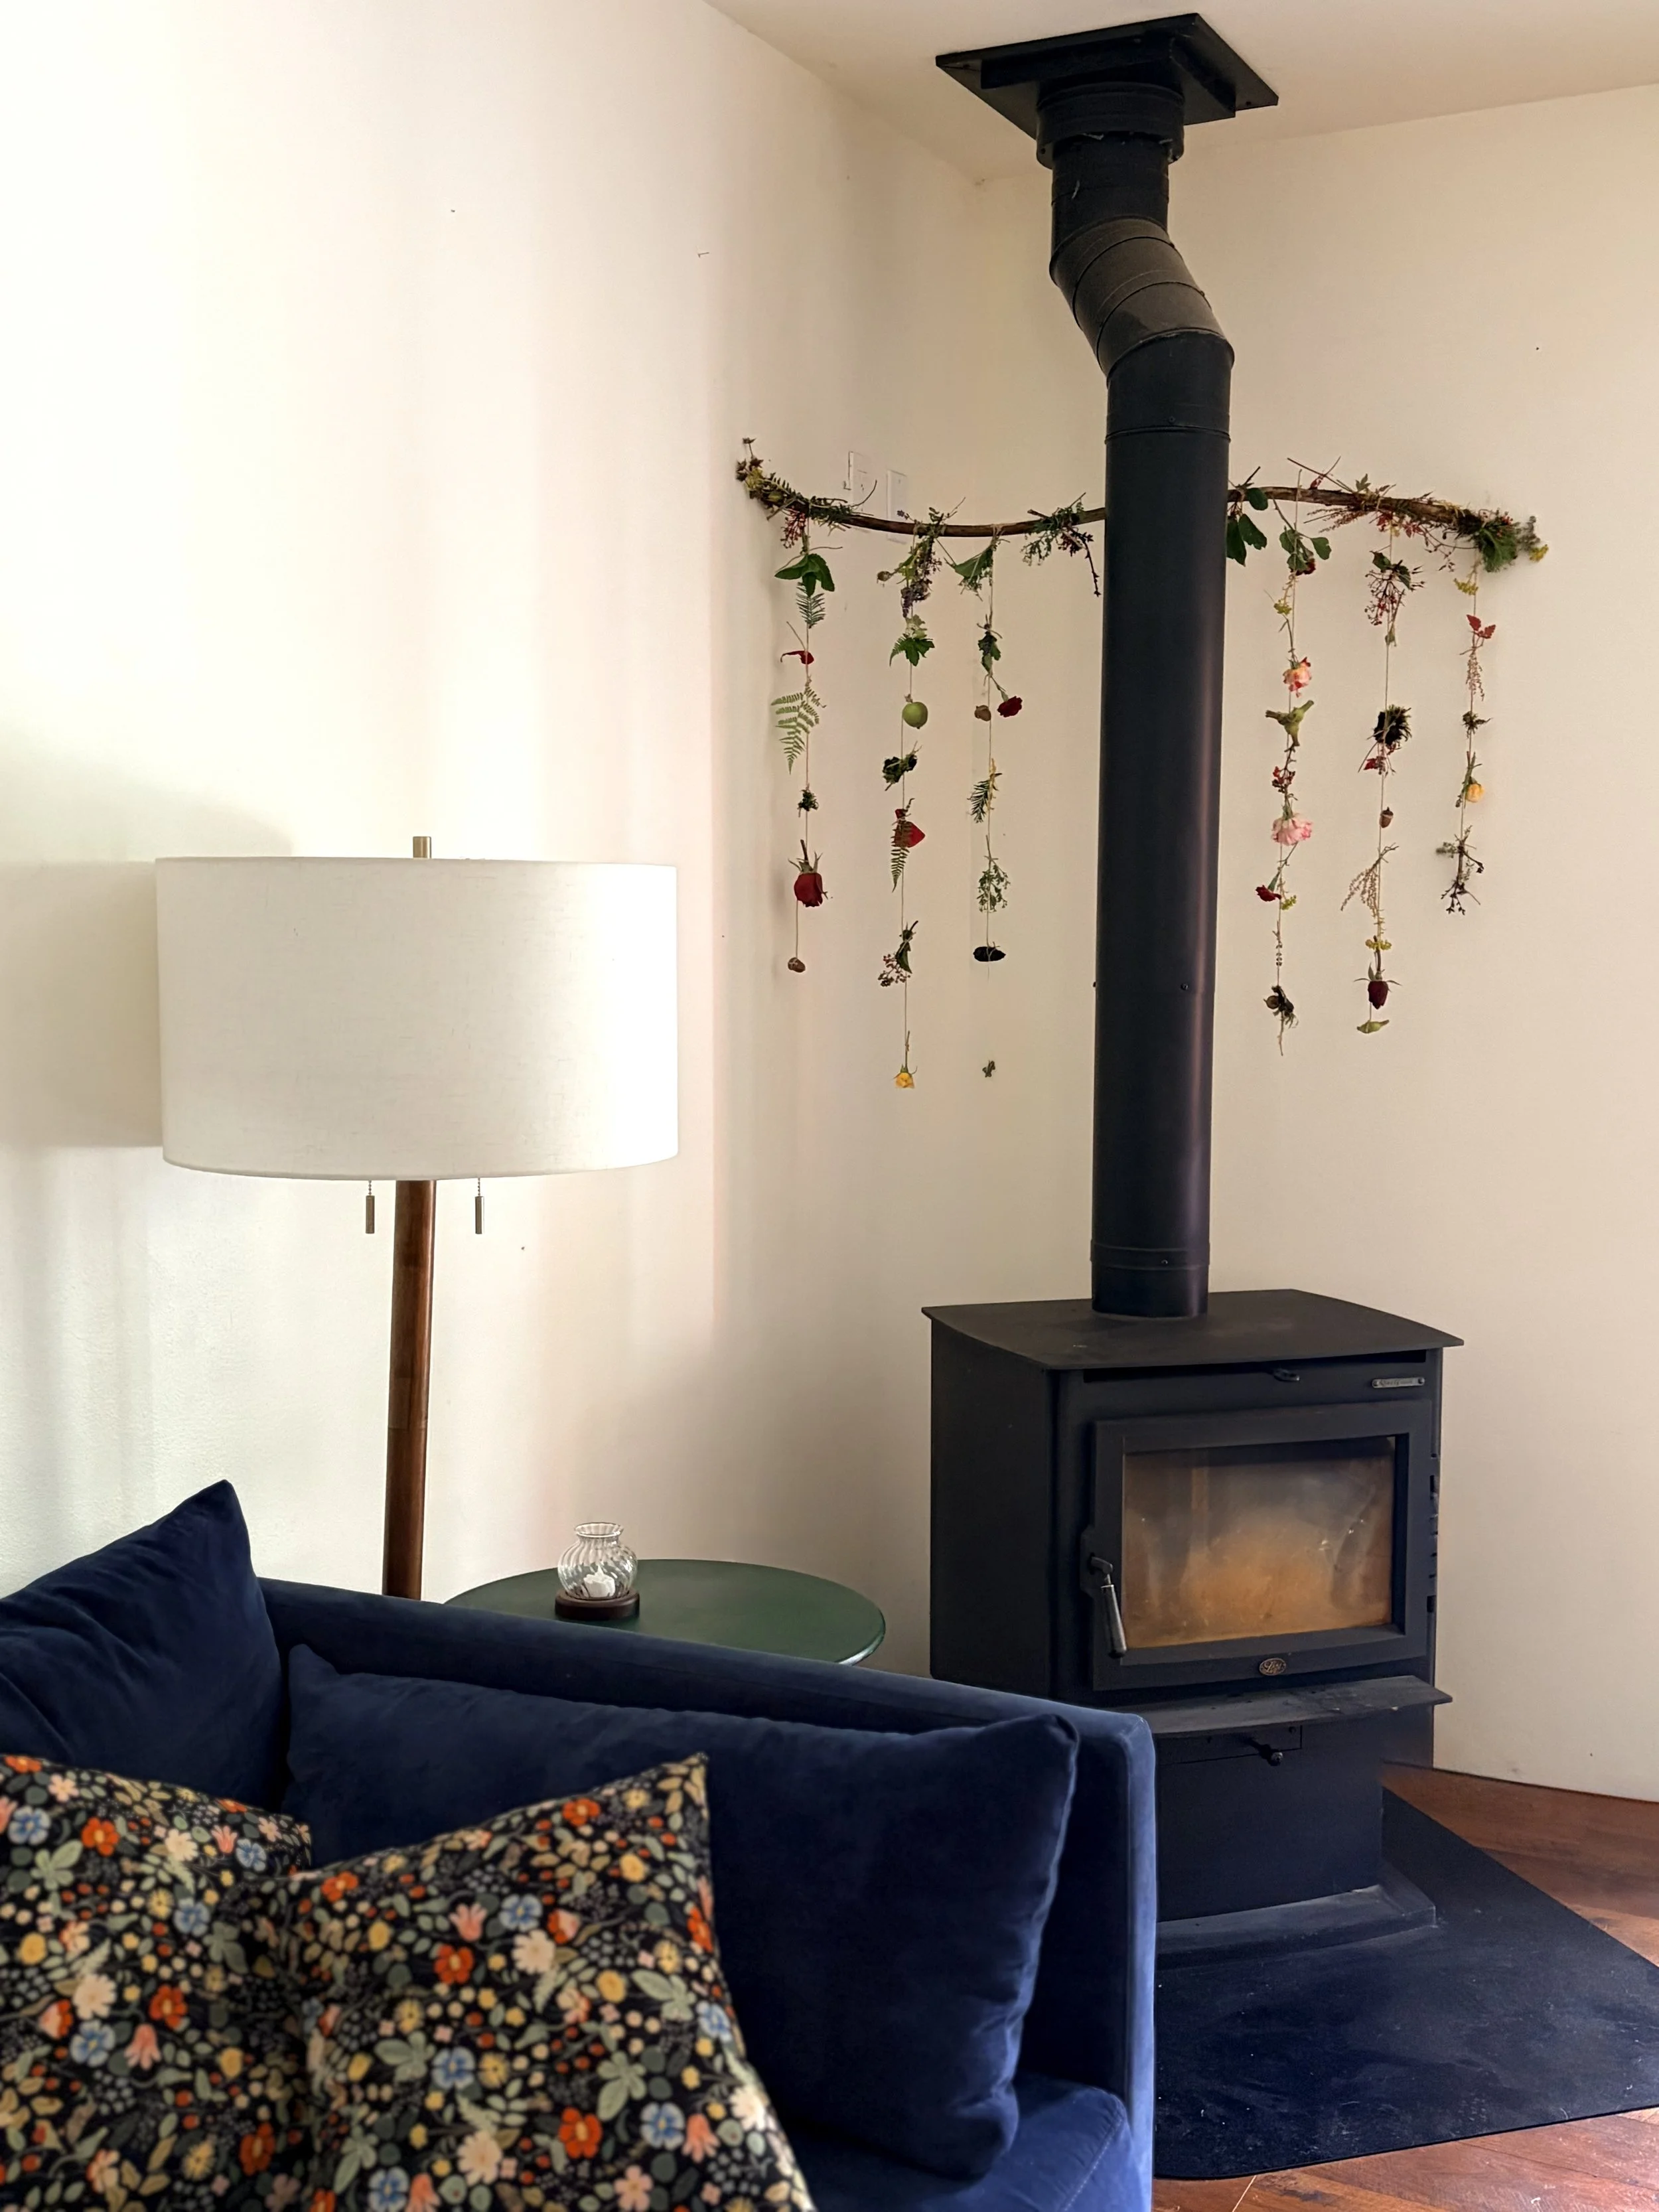
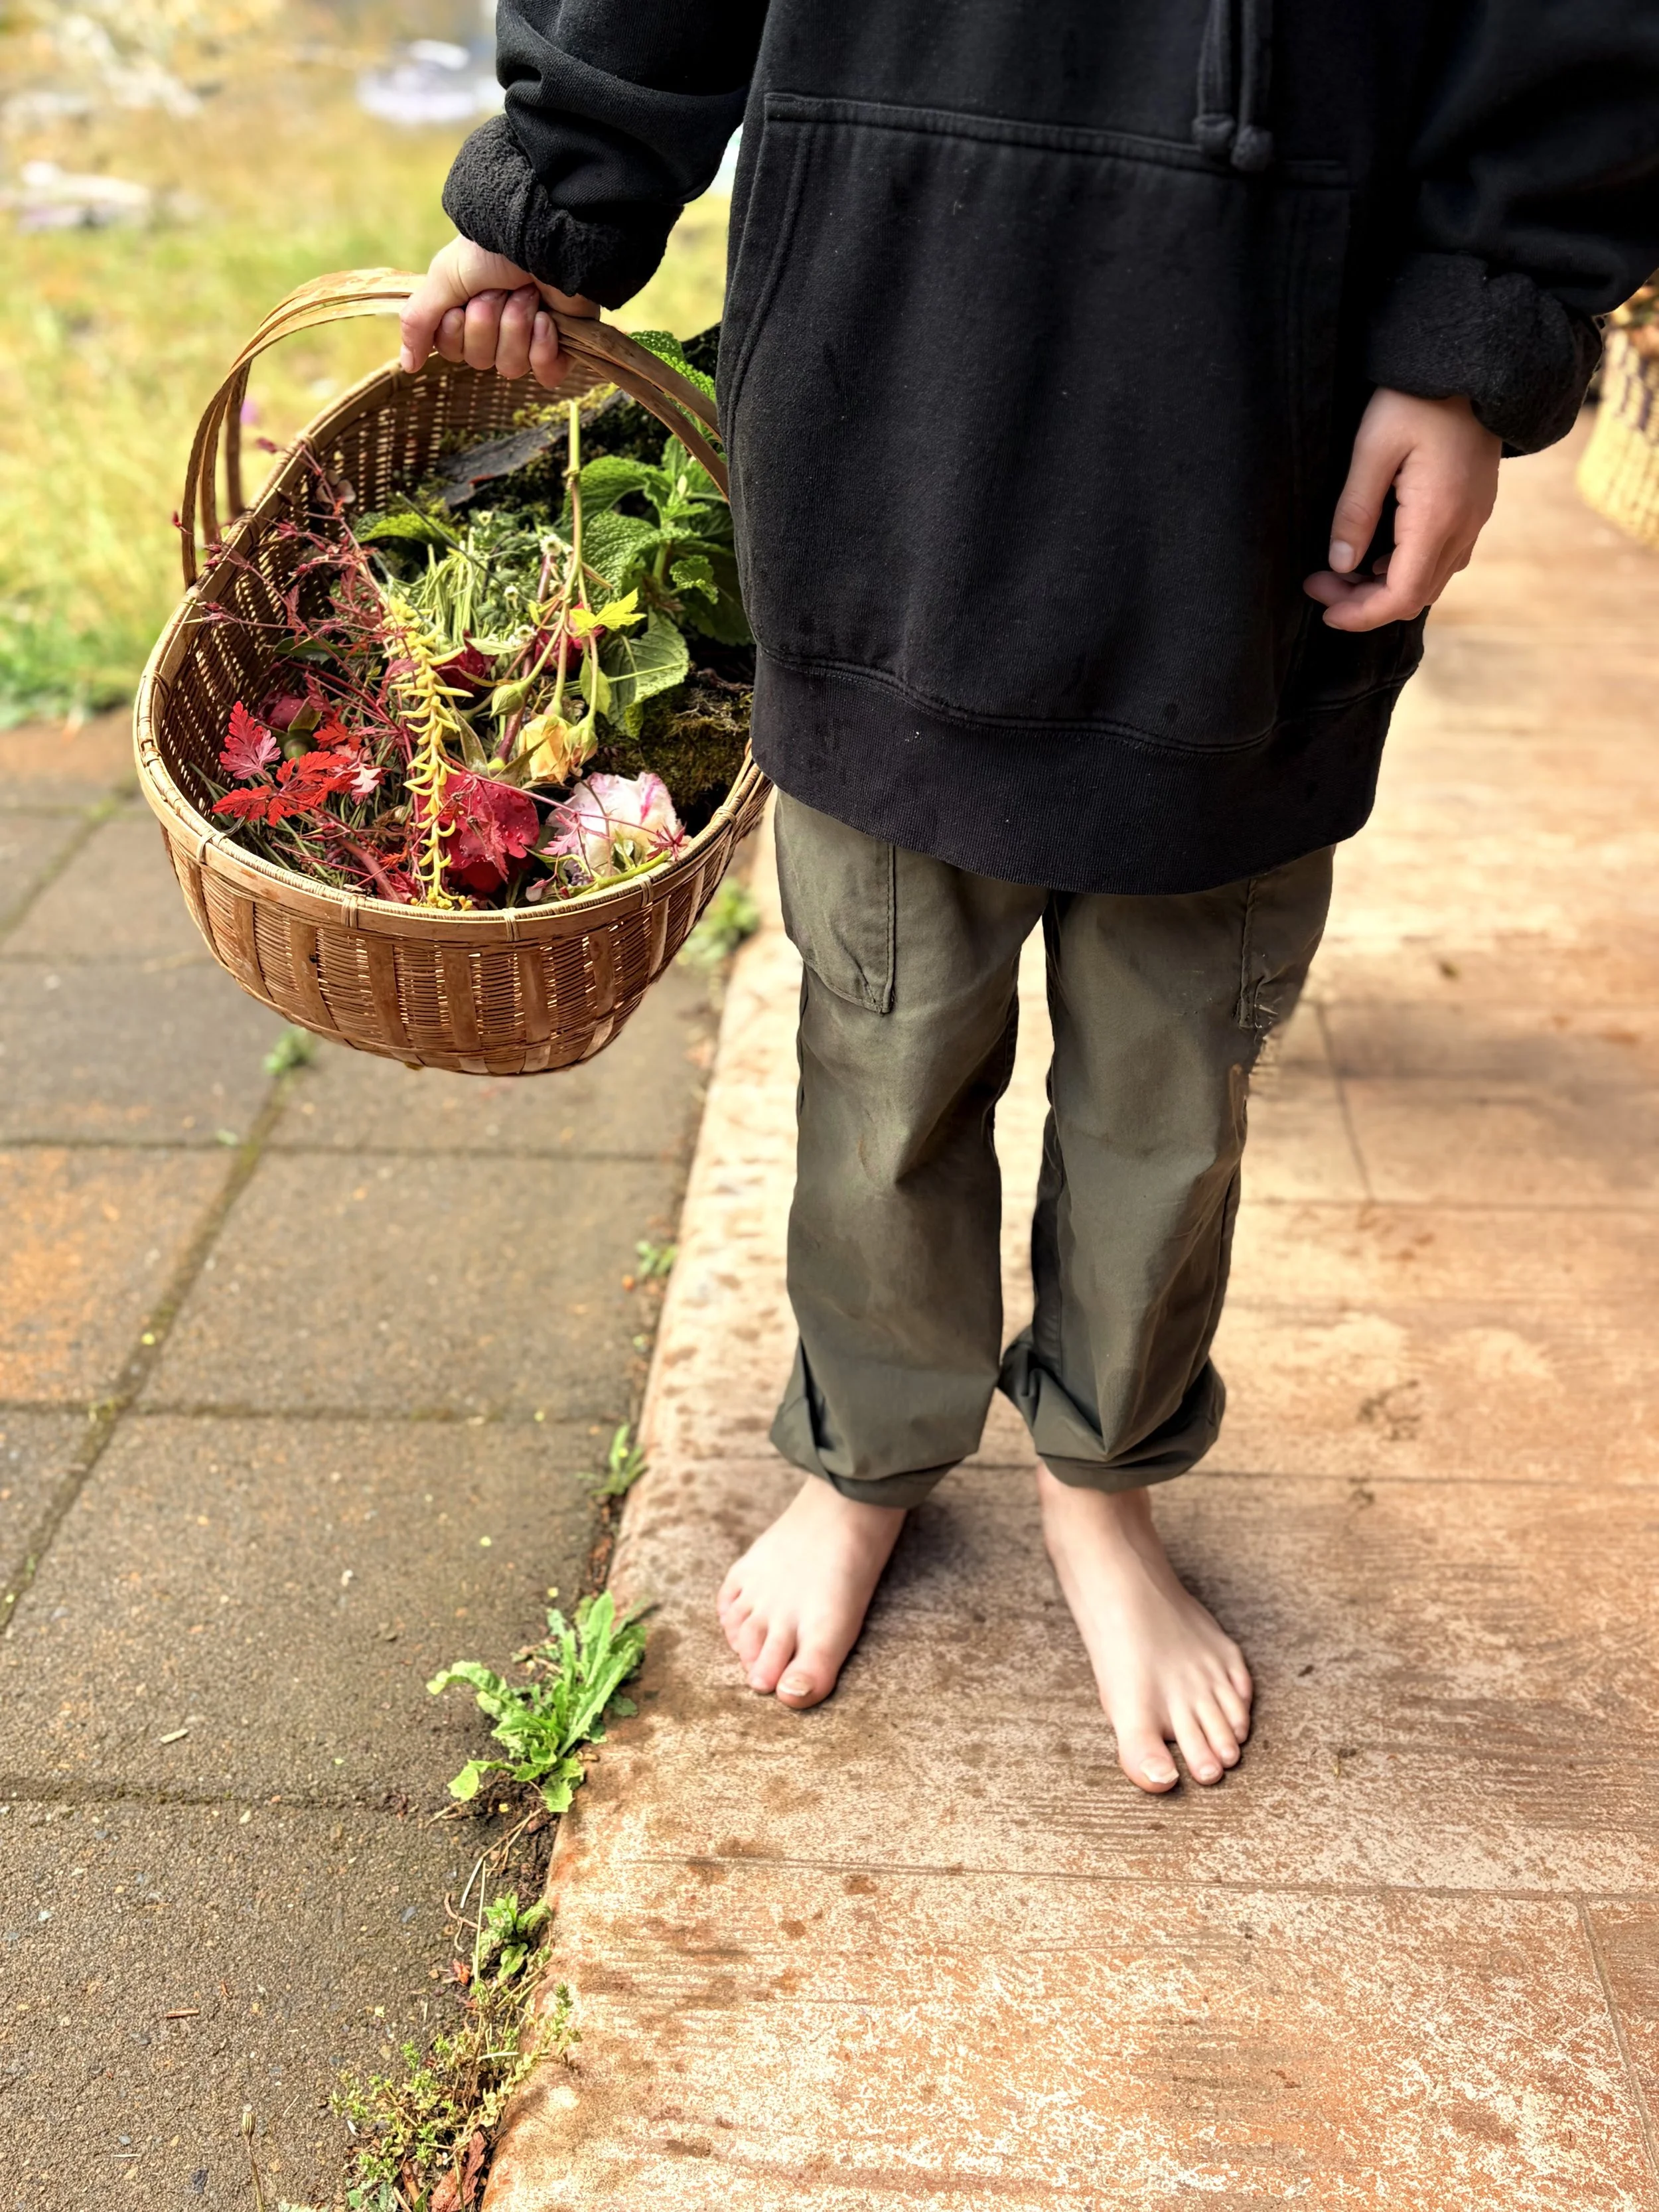
With the extras, we made what my daughter calls “faerie chains”. This project kept them busy most of the morning (though I ended up joining in rather than folding laundry). I HATE folding laundry but that is a journal entry for another time ;) We are lucky to live on a farm but you could find many of these items almost anywhere! In fact we collected all our acorns from a soccer field parking lot.

Here’s what you’ll need:

  • A sturdy branch

  • Twine of some kind

  • Nature items. You can include items that wilt (we did). However, things that dry will be best. Twigs, evergreen, acorns, rose buds, rose hips, thyme, lavender, and moss are all good choices.

  • Hot glue if you want to further secure your items to the twine.

  • Nails, hooks and/or fishing line for hanging. This will look different depending on where you want to display your faerie chain. We already had nails in place from christmas behind our wood stove, so I rested the faerie chain branch on those. Never place these items behind a stove you plan to use! Since it is June, we will not be using our stove until the fall.

Directions:

Collect the nature items. Find a sturdy branch. Attach the twine in long lines hanging down from the branch. Use smaller pieces of twine to tie on your selected nature pieces. Hang where you will enjoy seeing it! Pretty straight forward.

I love anything that gets my kids outside, forces them to problem solve and engages their imagination. The fact that it is FREE makes me especially happy…enjoy!

-Jenni

Open For The Season

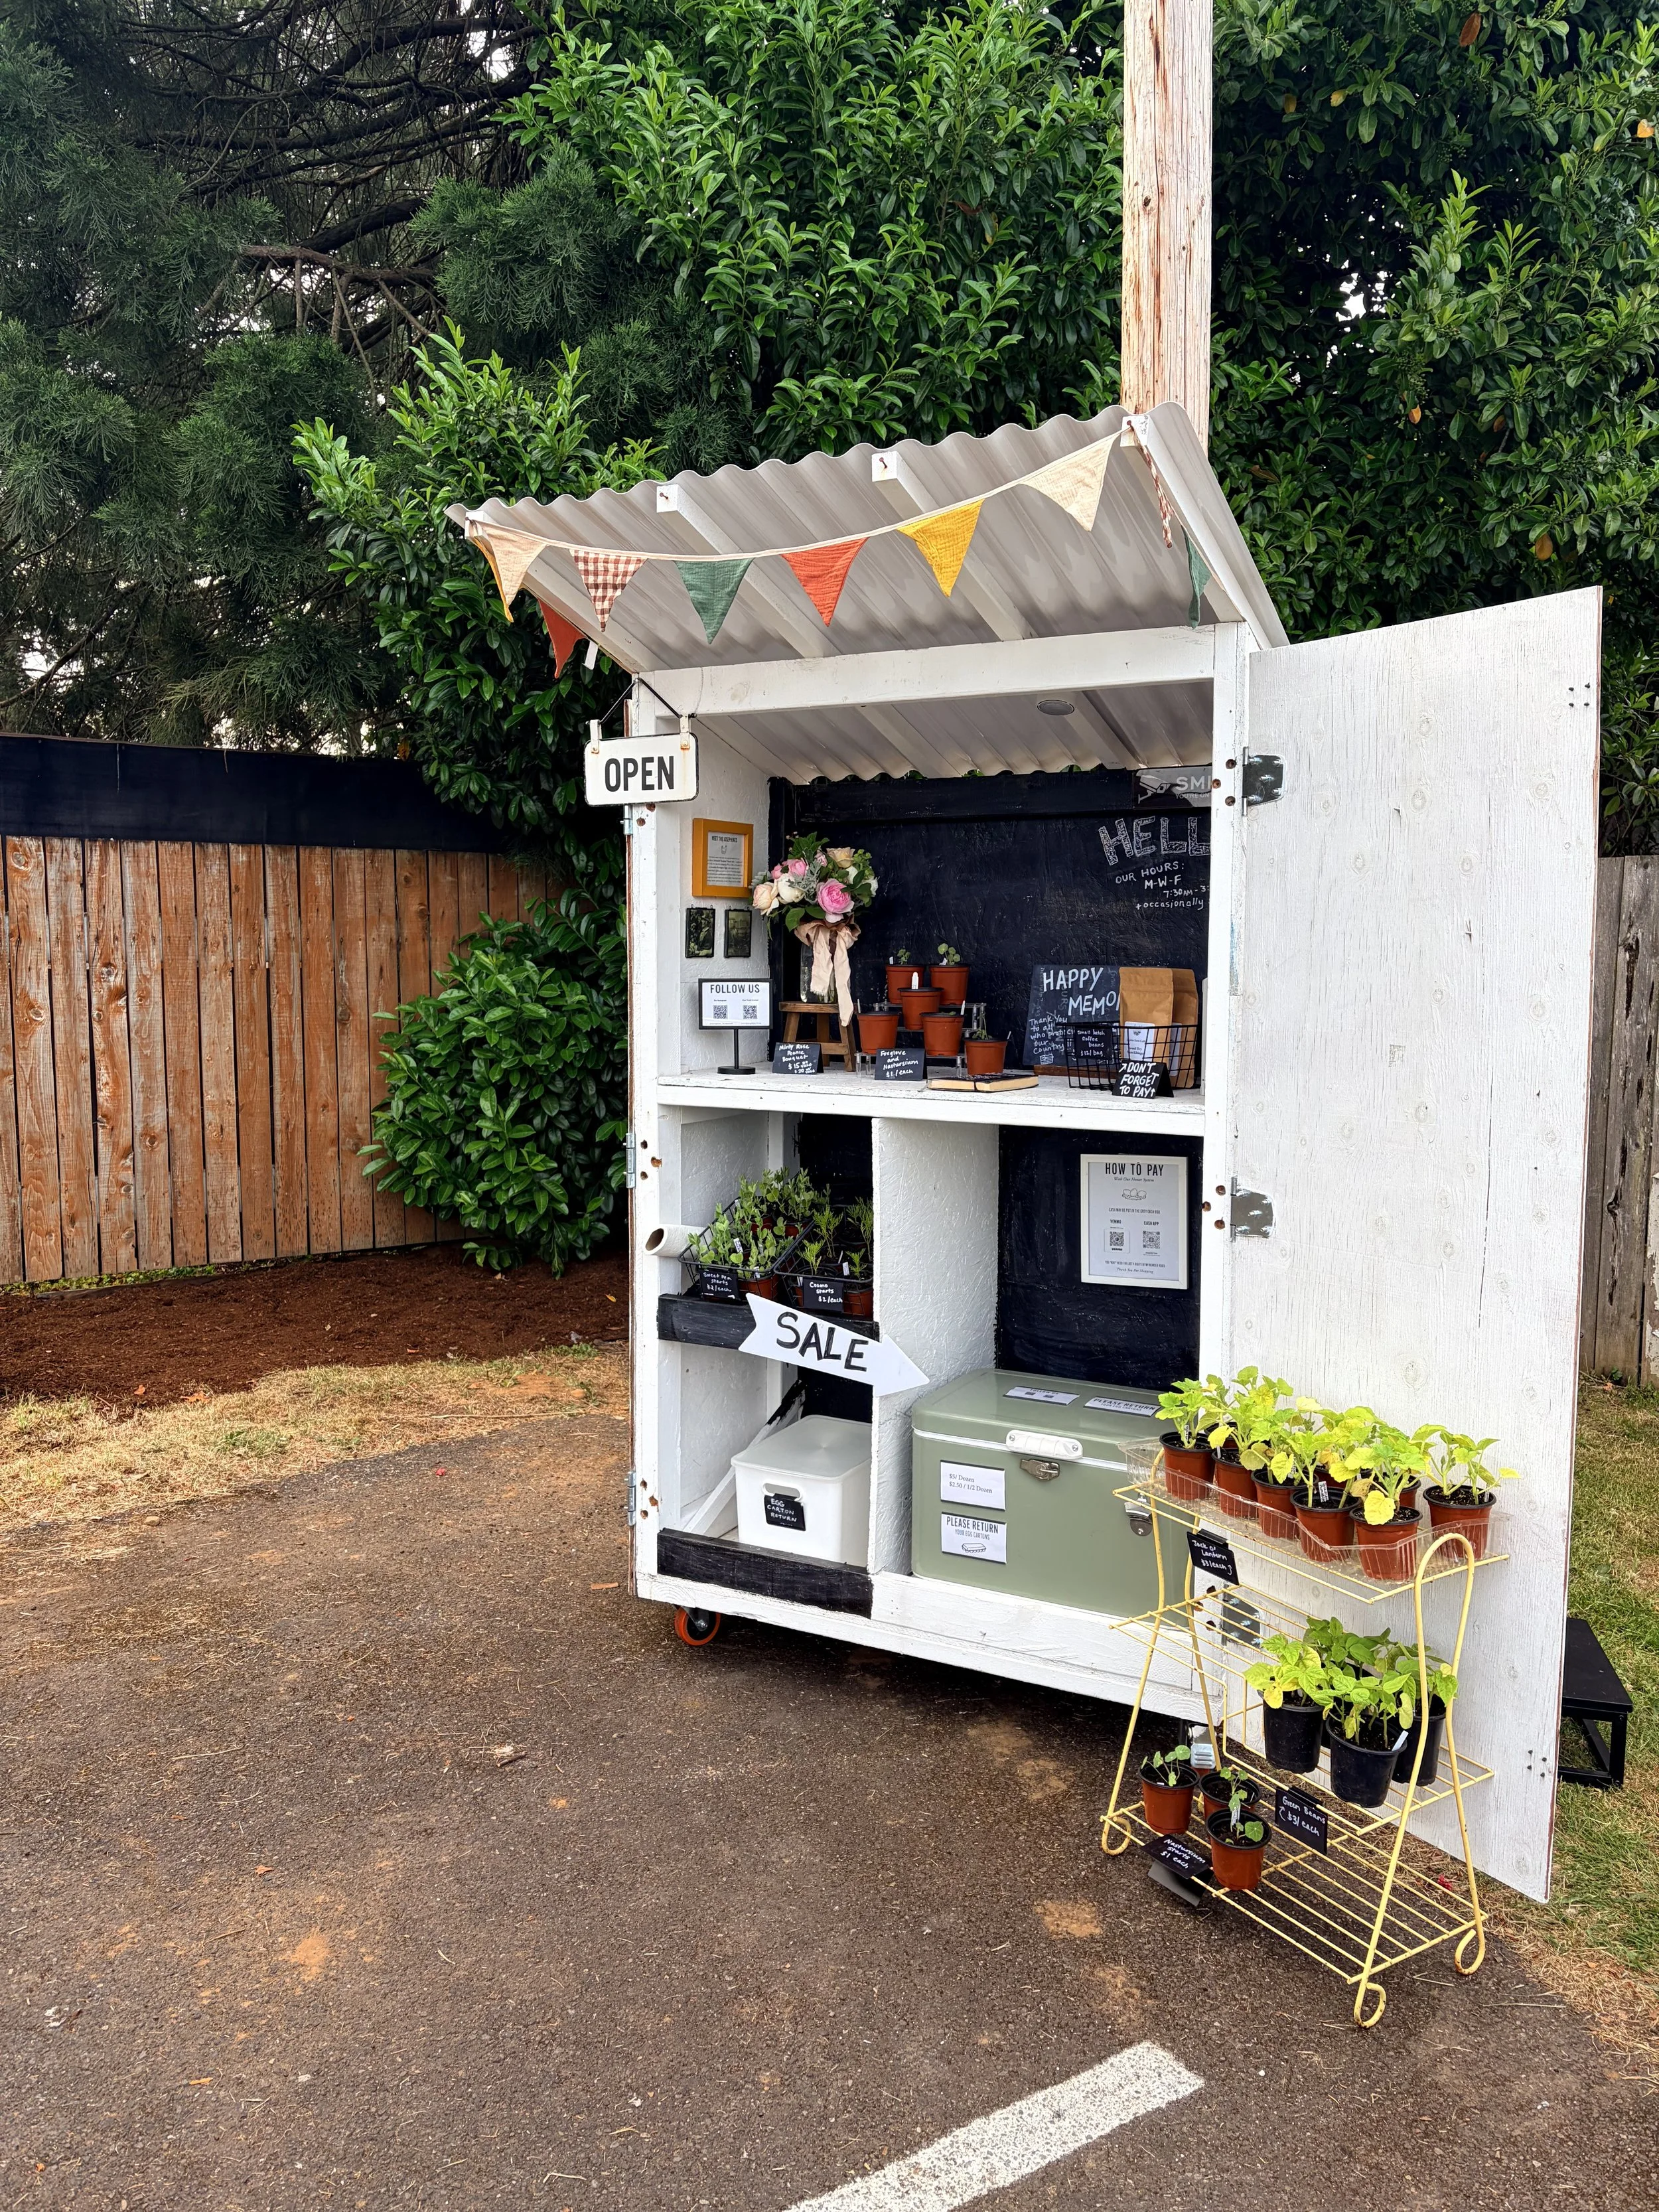
Happy Memorial Day! We are open officially for the season and it feels good to be back :) This year, as I started my seeds, I thought of our farm stand shoppers. I grew lots of pumpkin, green bean, sweet pea, cosmo and nasturtium starts for you!

The farm stand will be open M-W-F 8am-6pm from Memorial Day through to Halloween. I‘d LOVE to stay open through the beginning of December, but we’ll see if the farm agrees. We will also be open for some selected Saturdays over the summer, keep up to date with us on Instagram.

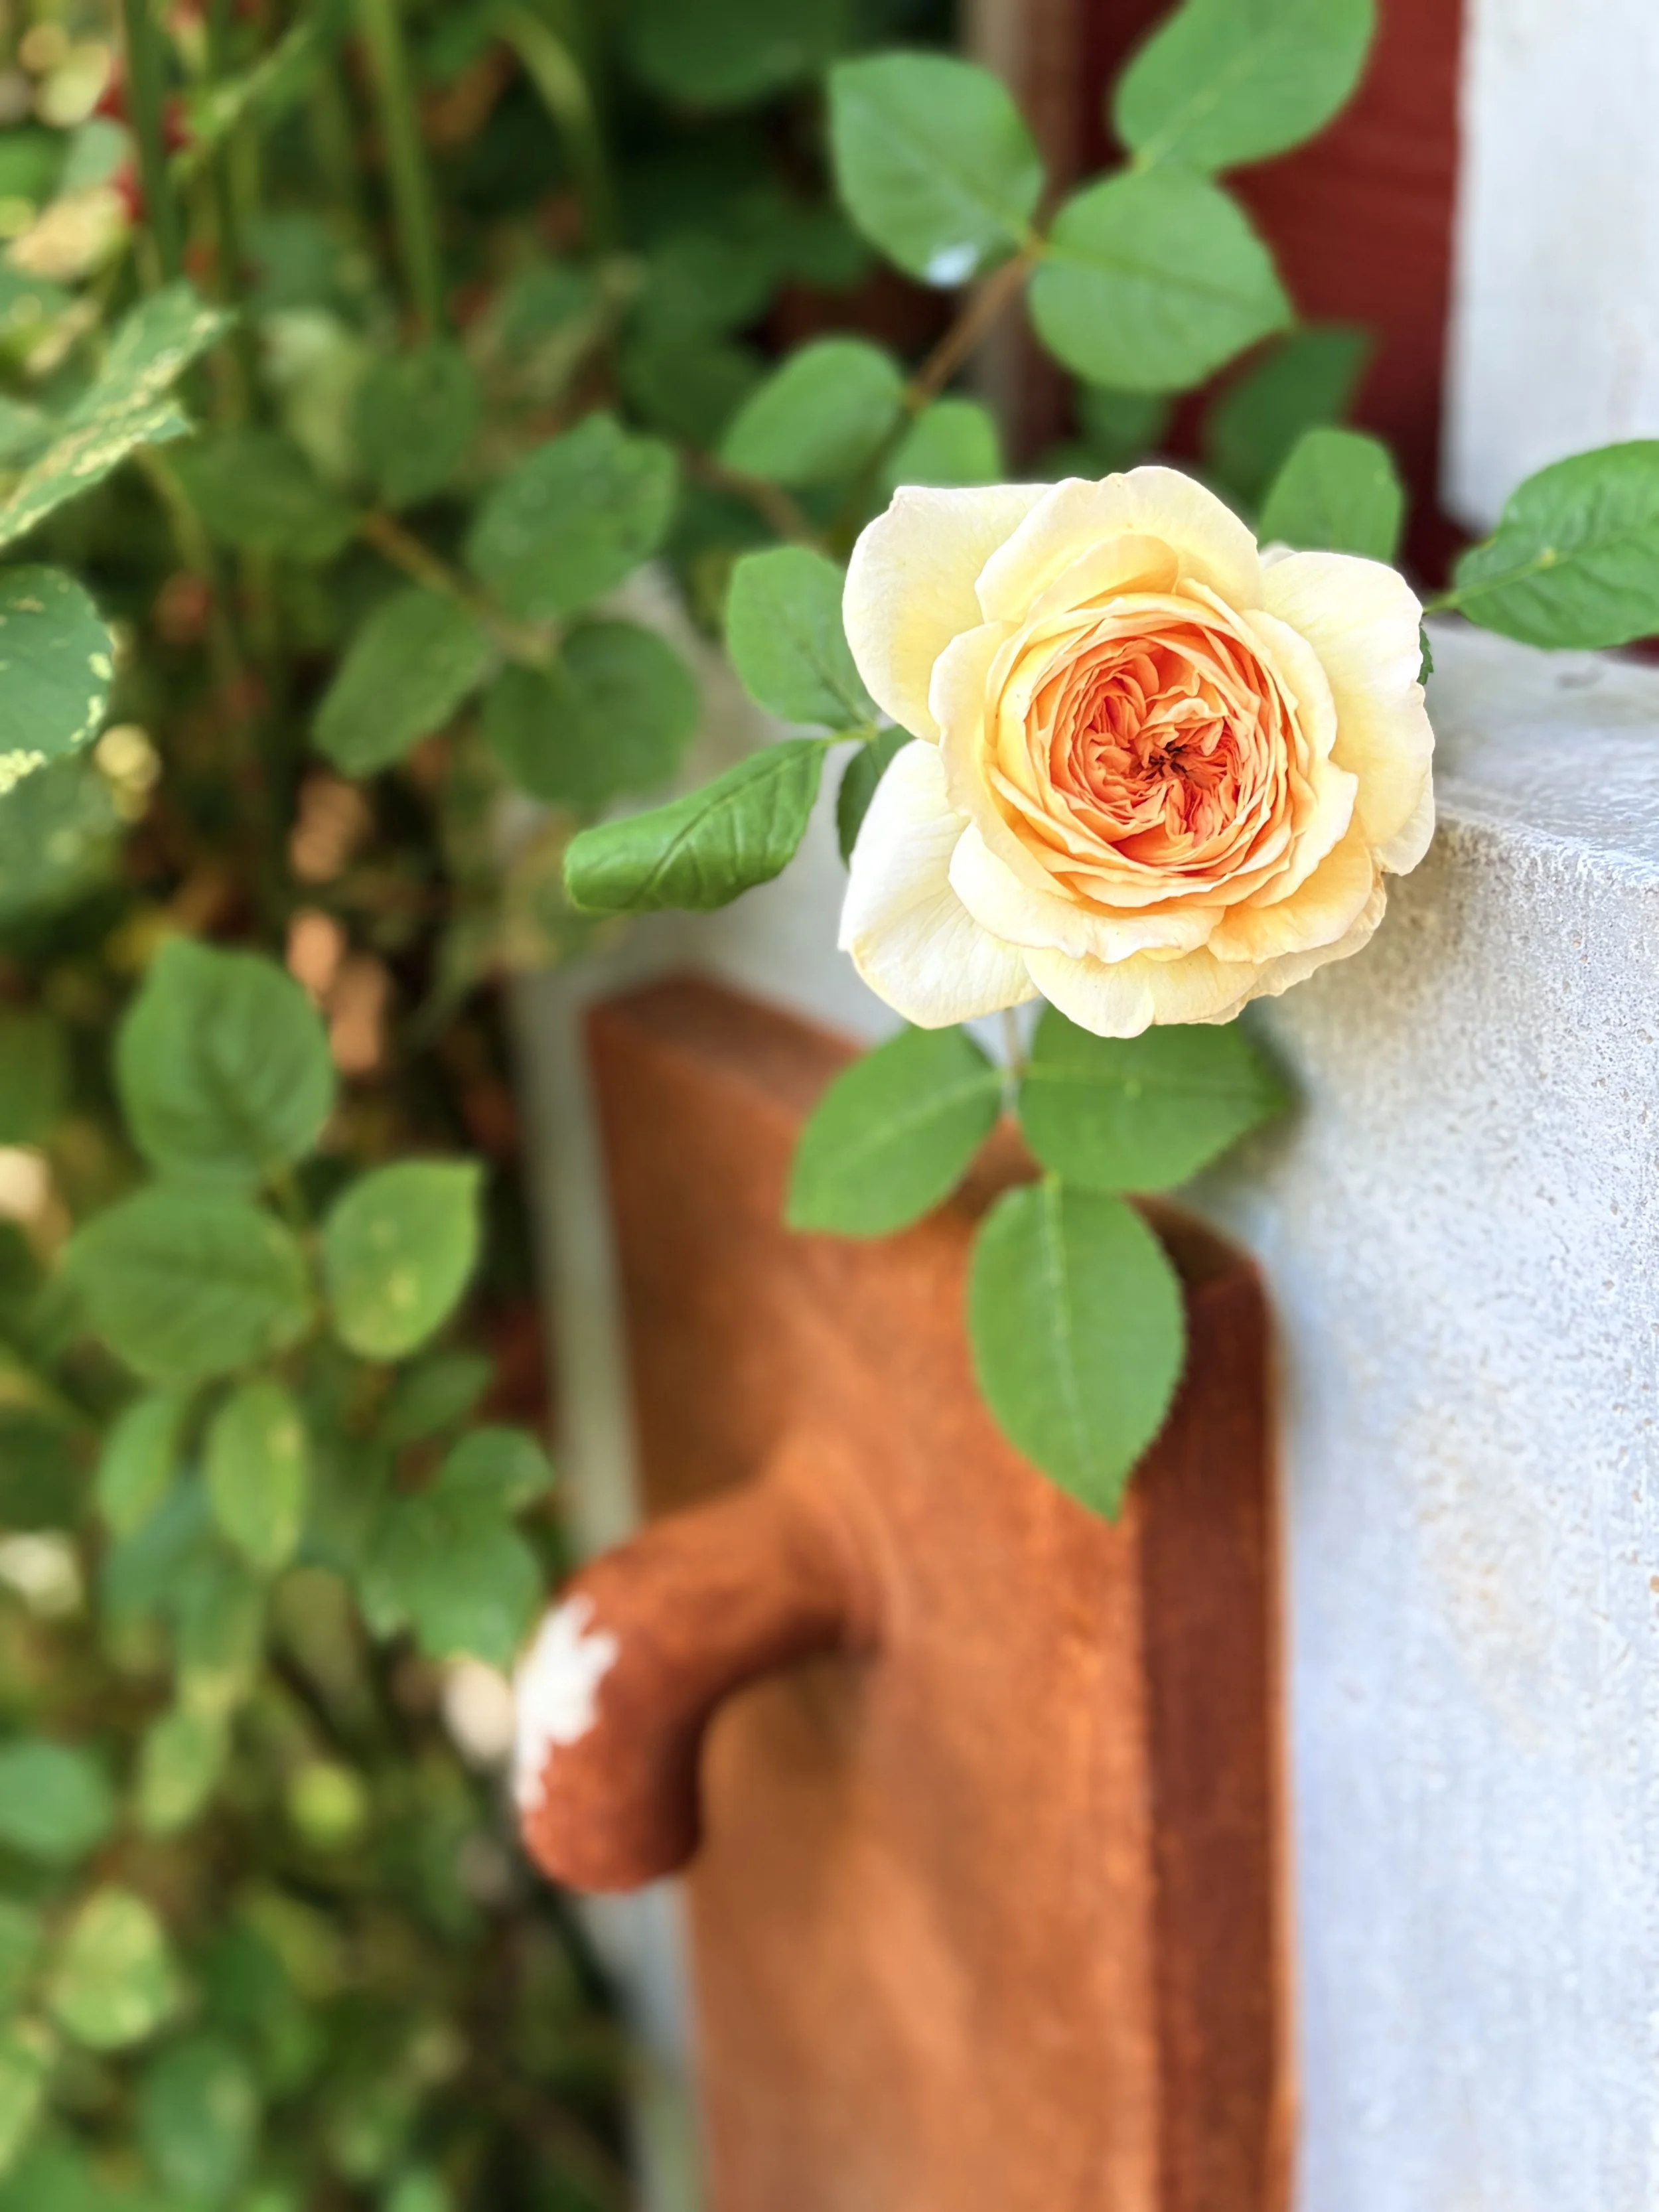
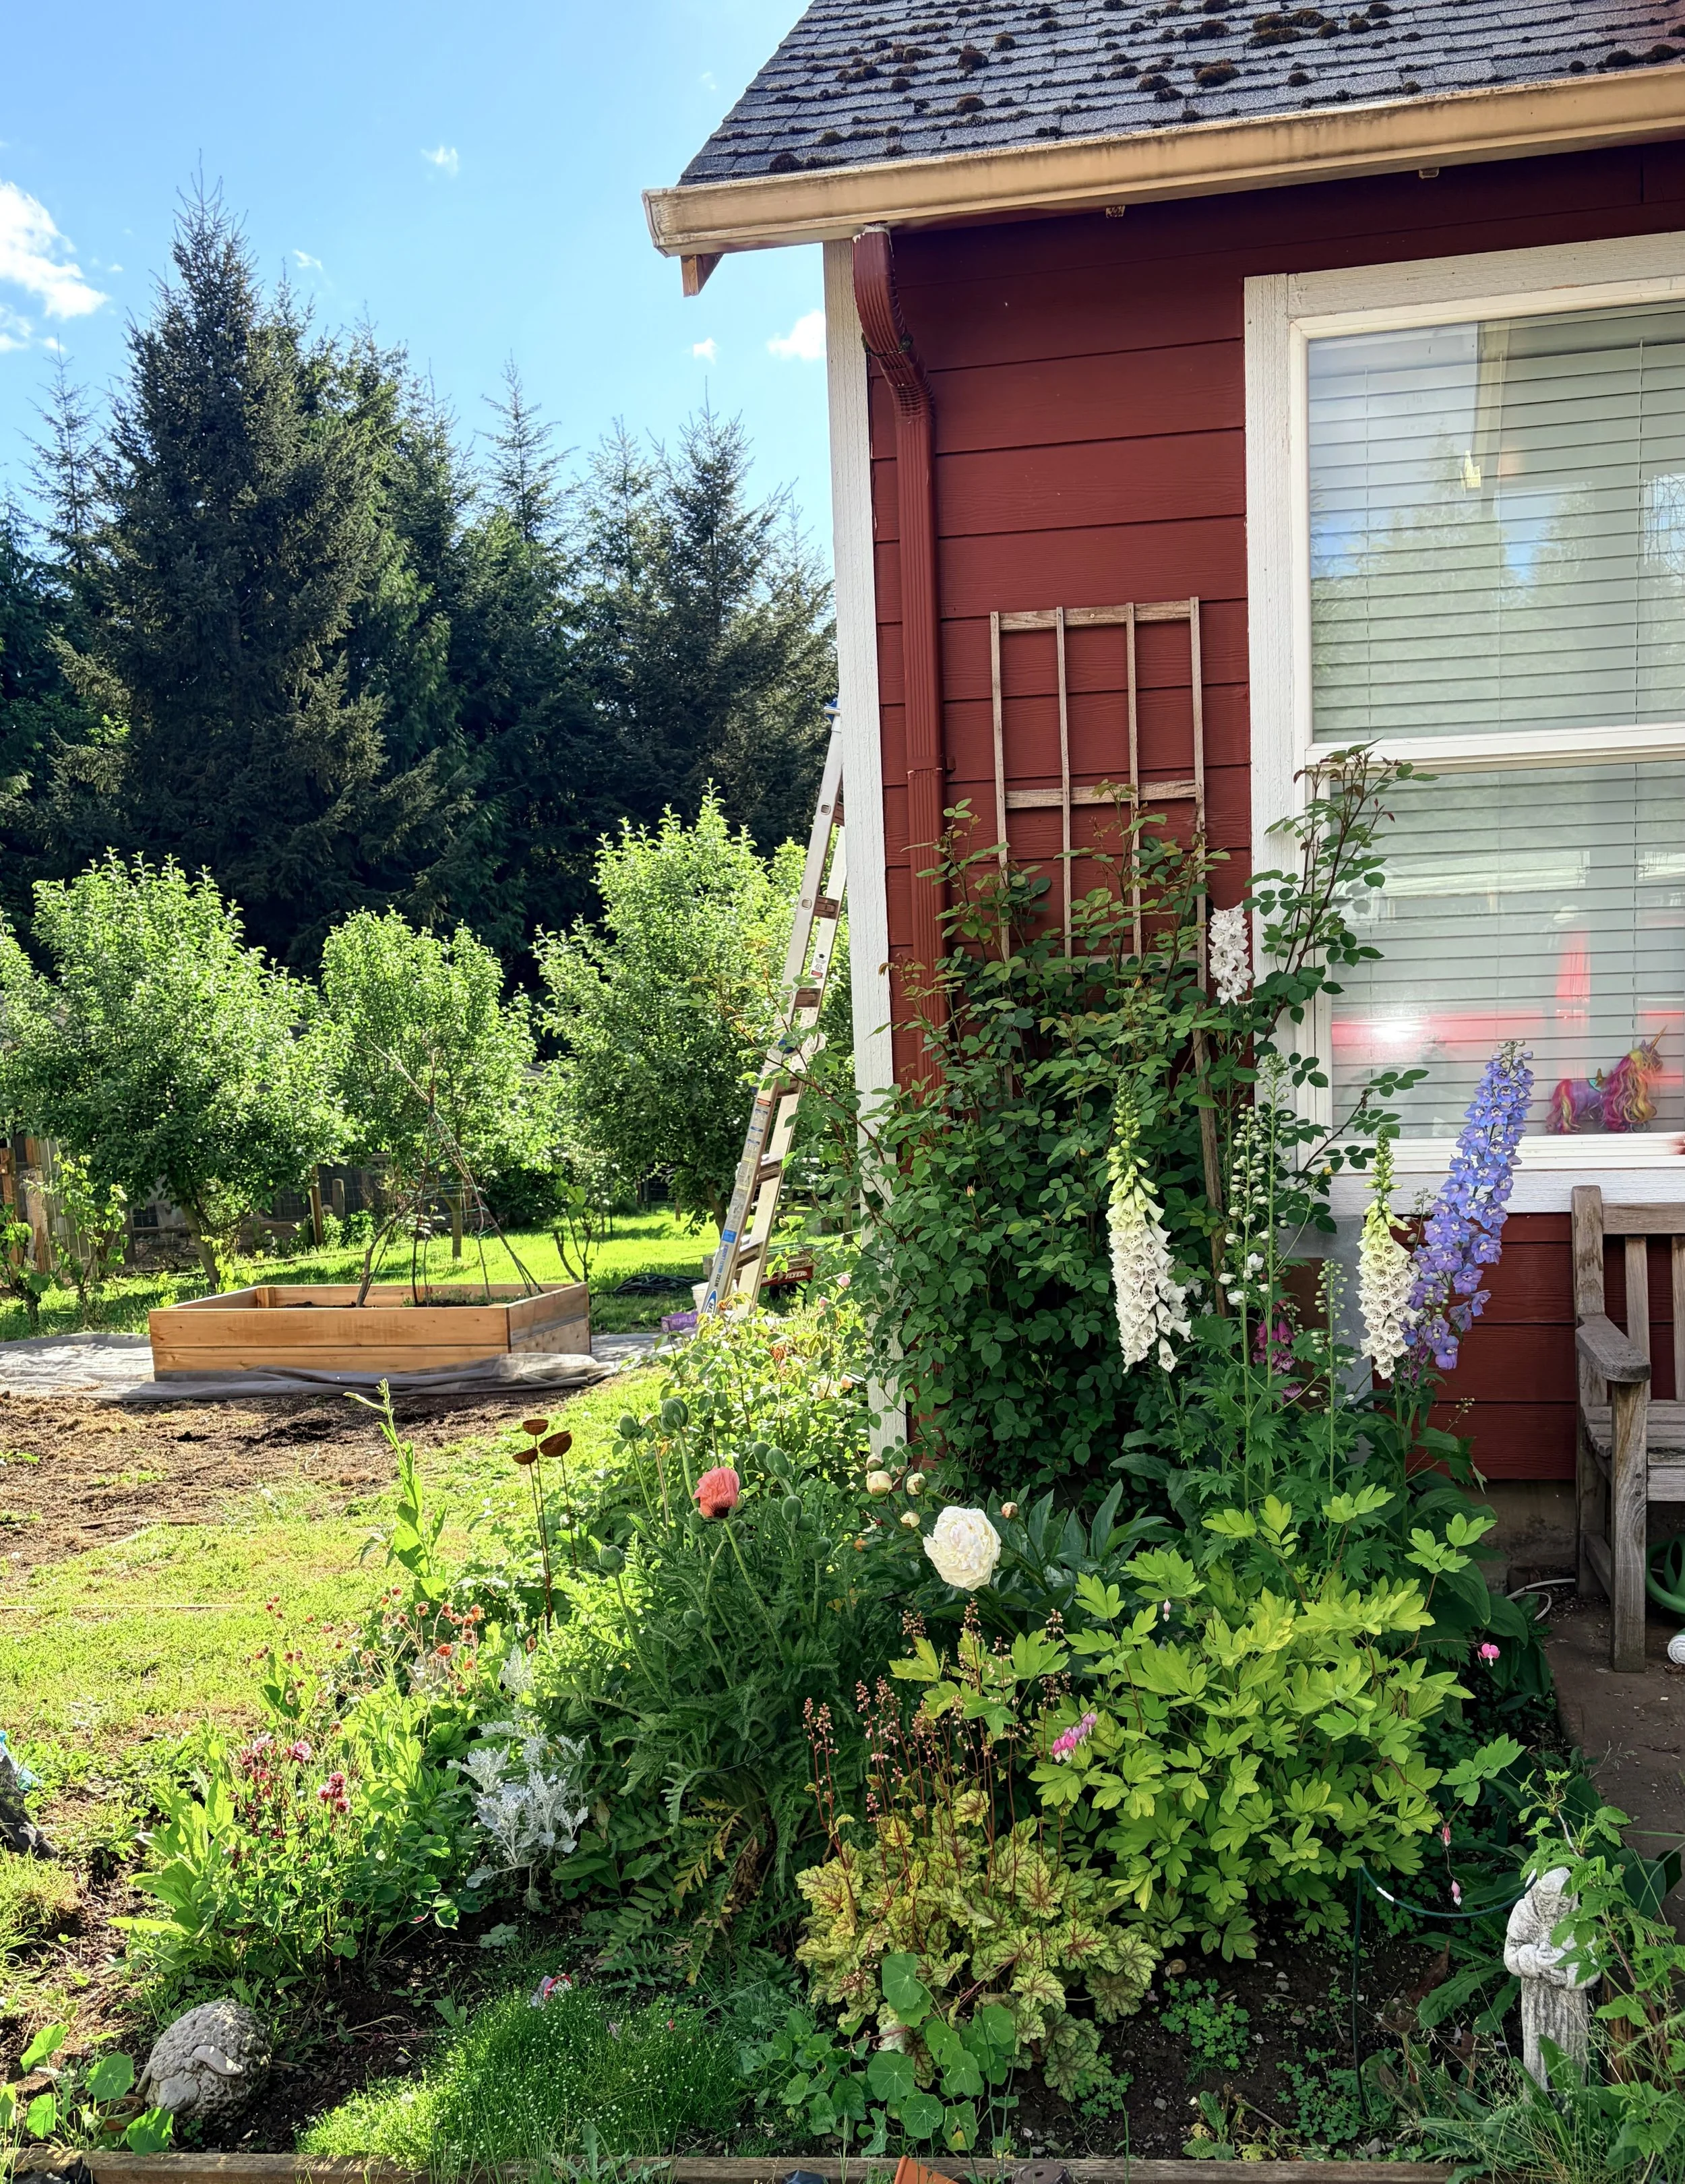
The roses are going crazy right now. Above is one of my favorites, the Bathsheba climbing rose by David Austen. It has almost no thorns, is fast growing and has nice long stems for cut flowers too. Best part? It smells like cantaloupe.

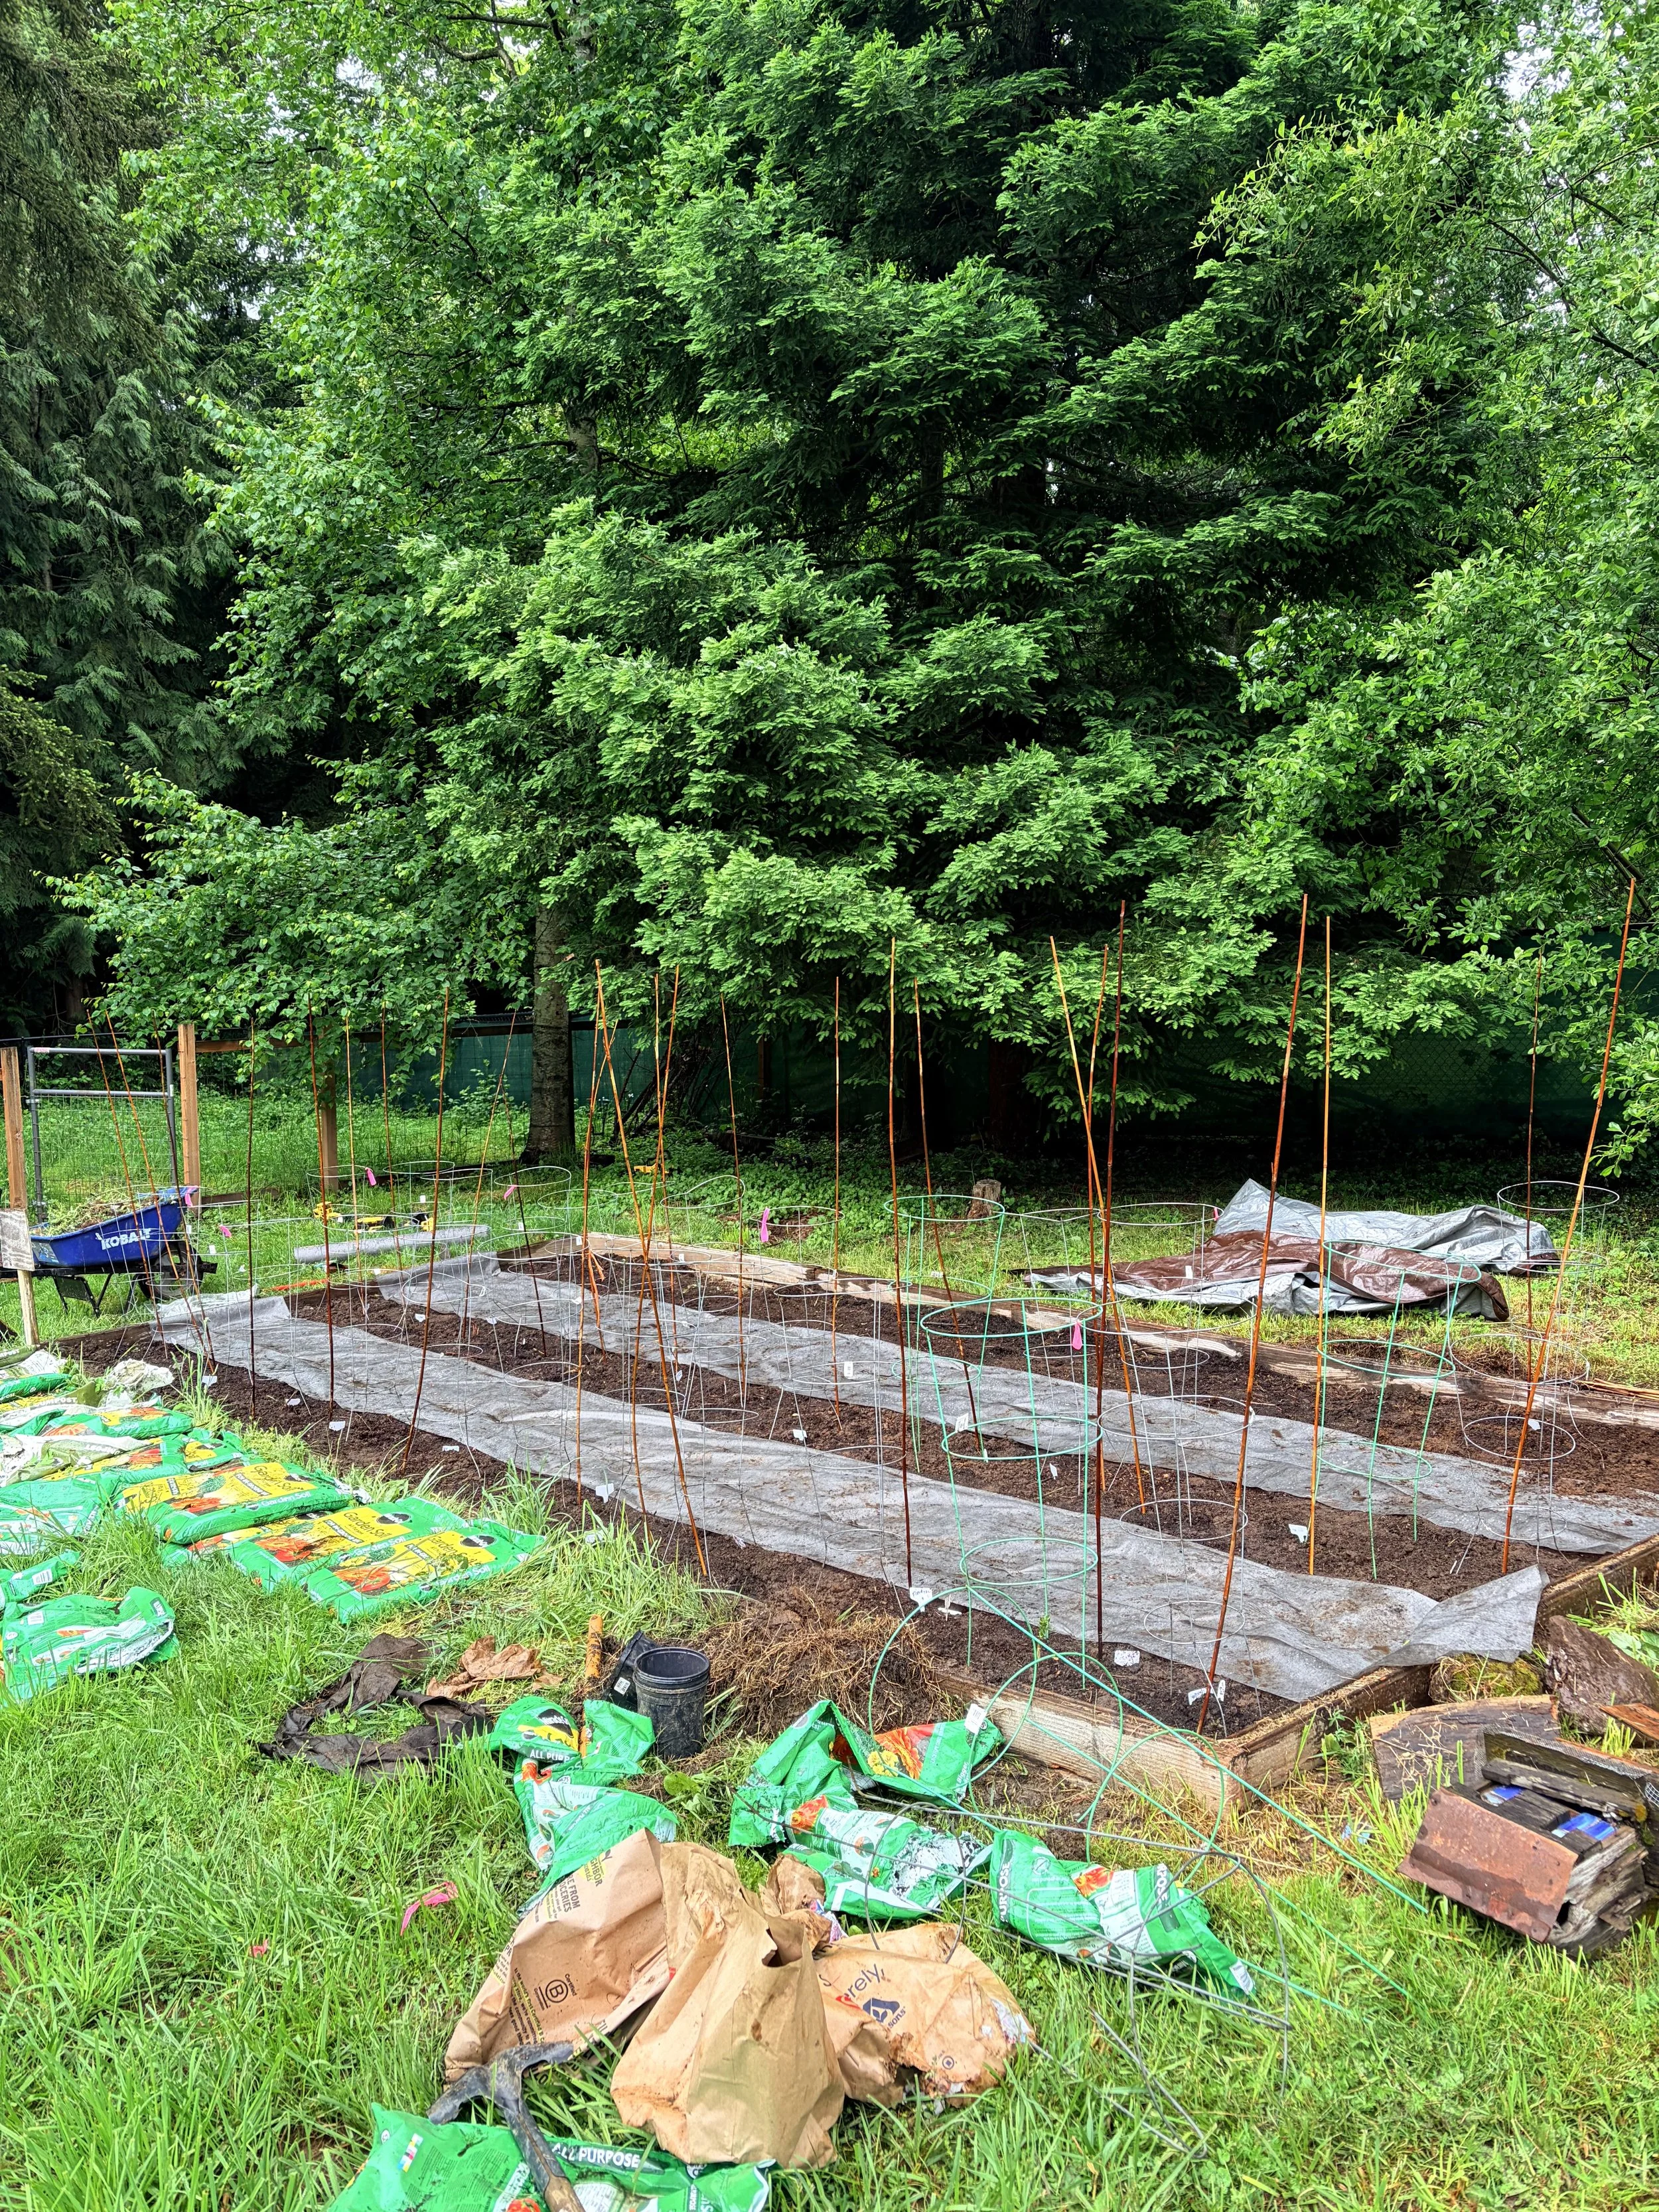
I finally have my dahlia rows moved to a more suitable place. Ive tried many different forms of staking. I met a 90 year old woman who told me to keep it simple and use a tomato cage reinforced with a bamboo stake on top of each tuber. If you are a dahlia enthusiast you are likely thinking that’s too many cages to buy.

You would be correct! We happened to have tons of tomato cages that were left here when we moved in. They had been piled behind our shed for several garden seasons. So I figured, why not try it? This is not a solution for large dahlia rows but for our small collection, seems like an interesting solution. We’ll see!

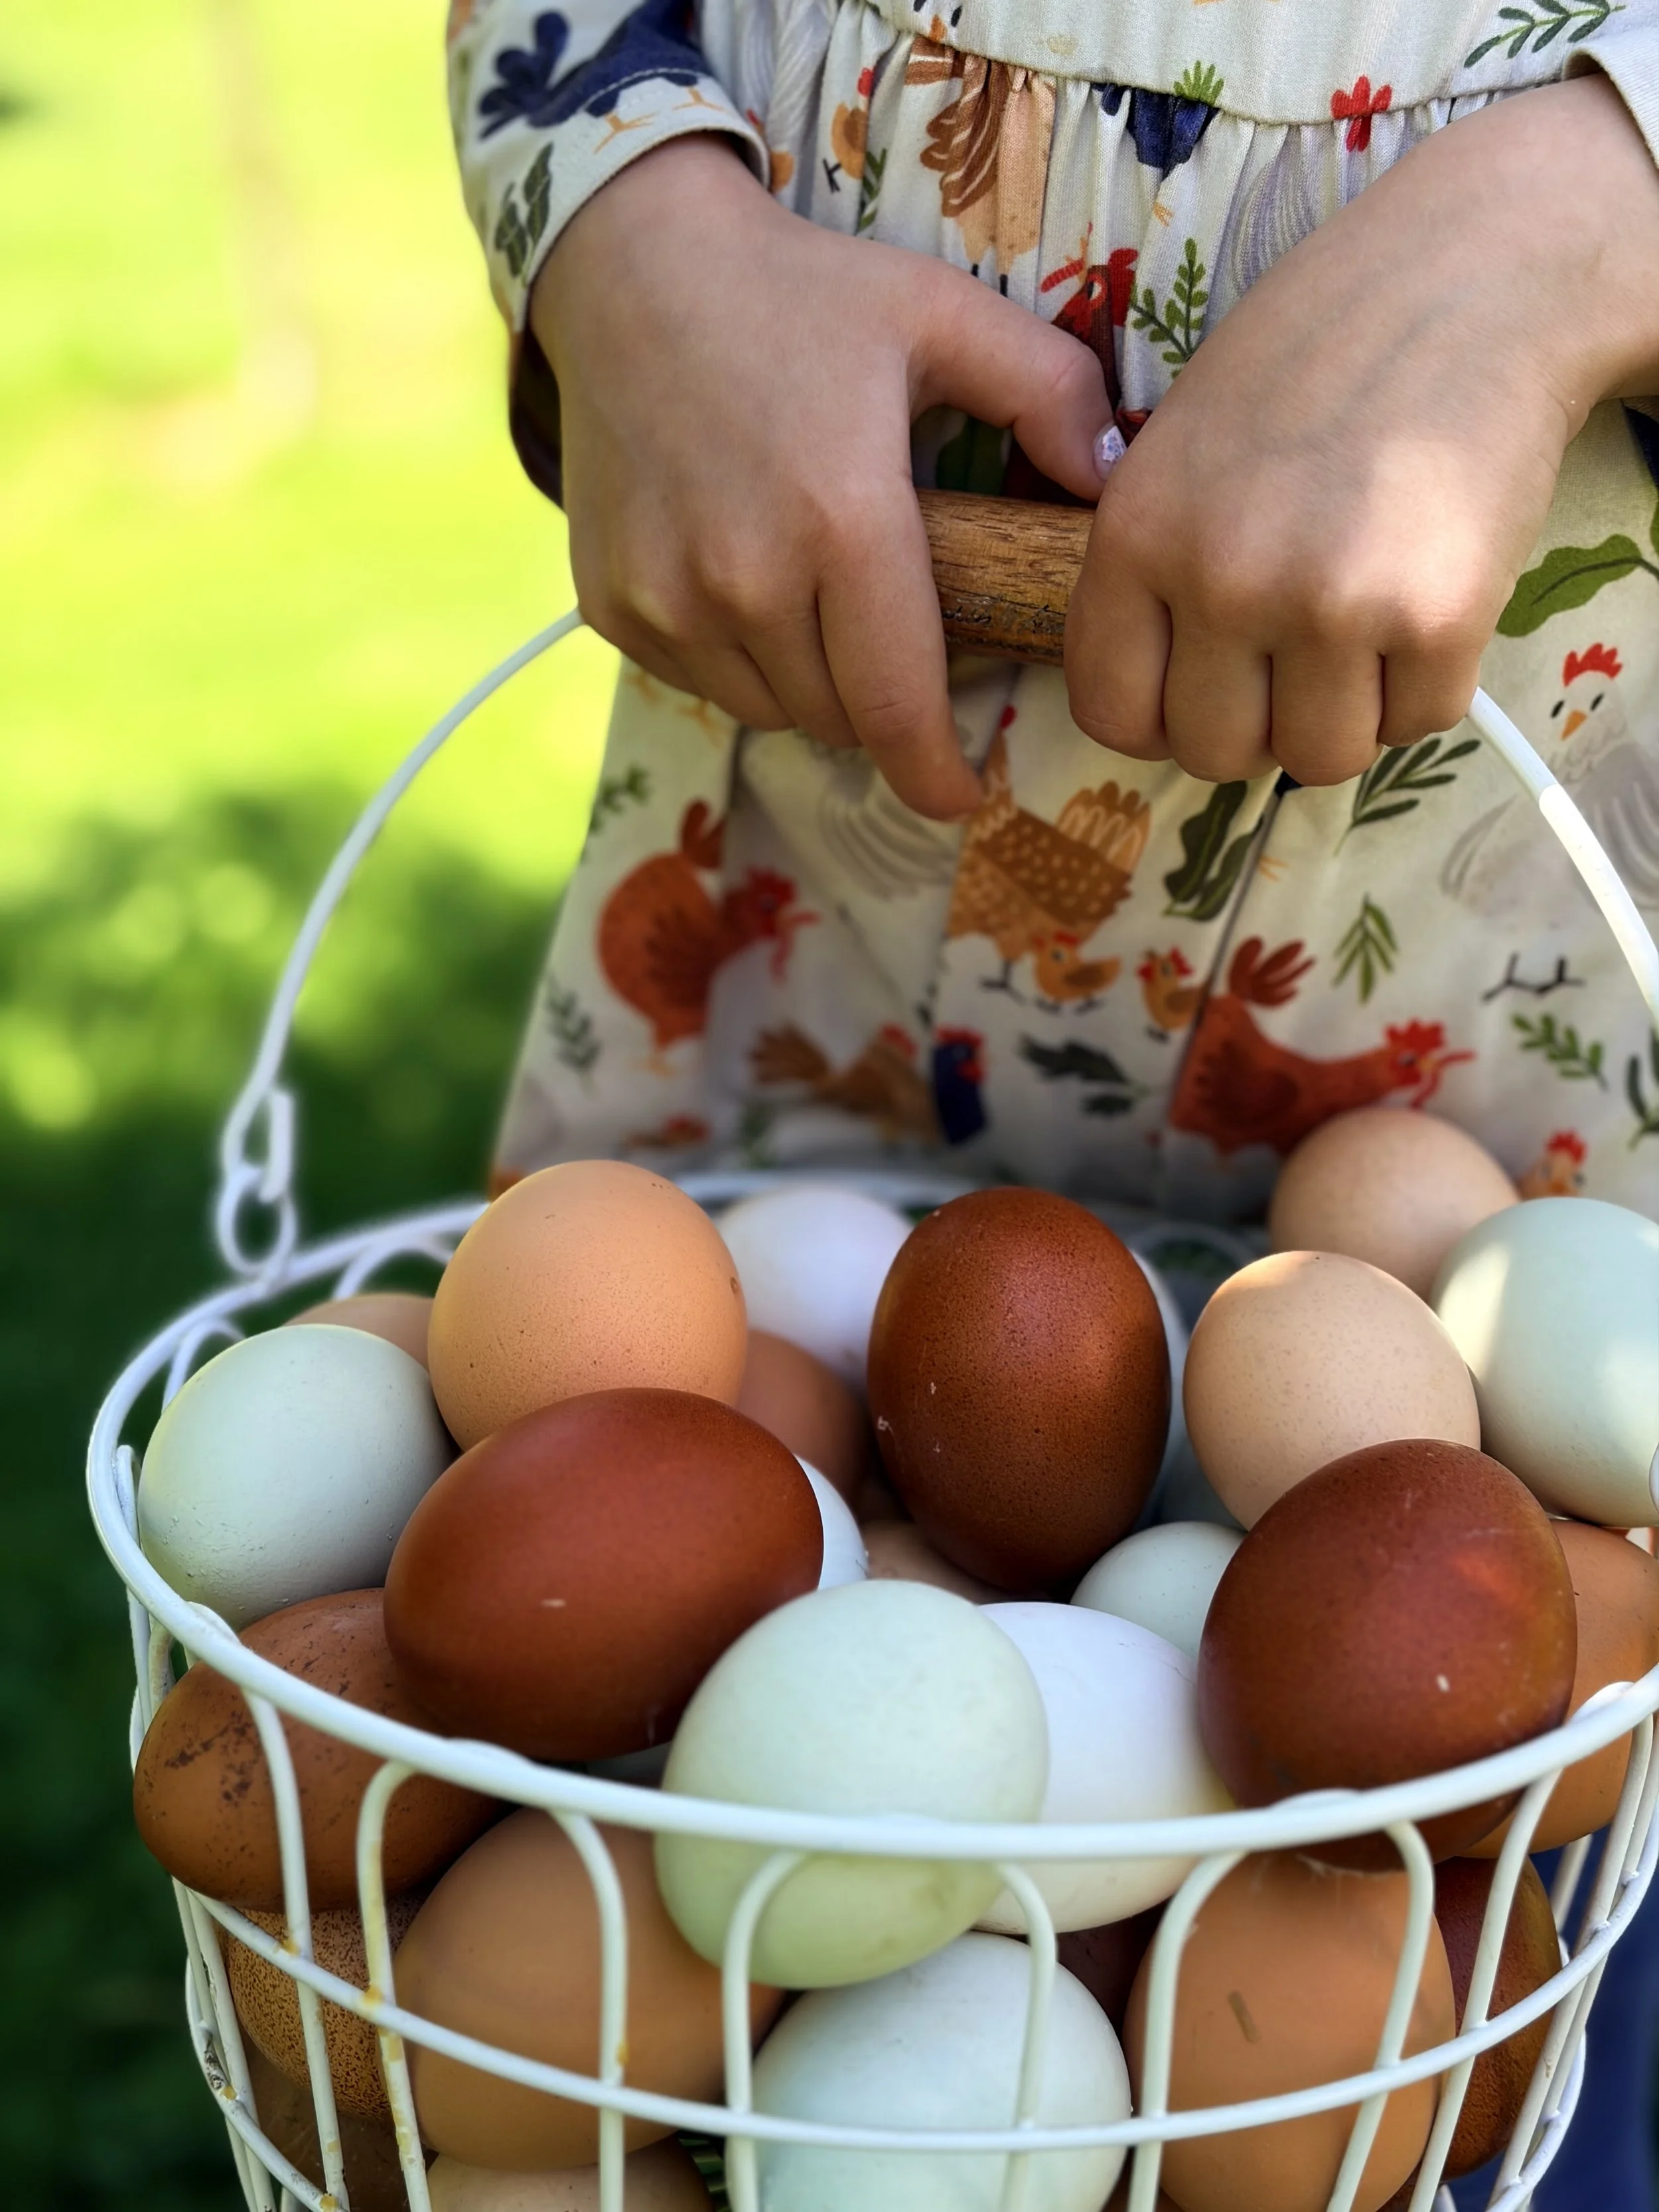
We have more eggs than you can imagine! This season we are offering dozen and 1/2 dozen cartons of eggs. Do you see the extra large copper eggs in this photo? It’s practically like eating two eggs at once they are so big - you can thank our Maren breeds for these giant, richly colored eggs.

I’m the most excited about our farm that Ive ever been. We have been re-doing our garden structure, amending soil properly, and started so many seeds this year. The hens are happy and so are we…bring on the growing season!